Chapter 3 ________________________________________________________________ Installation
VAISALA ________________________________________________________________________ 71
To install the unit, follow the procedure below:
1. See section Installing Solar Panel on page 64 for mechanical
installation instructions.
2. Attach the cable (5 in Figure 63 on page 70) to the power
connector of MAWS, see section Connecting Cables below.
3. Adjust the angle of the solar panel as described in section
Installing Solar Panel on page 64.
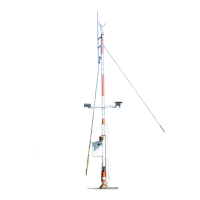
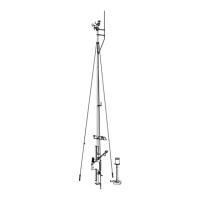
Installing Sensors
The mechanical installation of the sensors is presented in the
following sections.
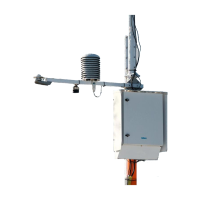
Connecting Cables
After installing the sensors mechanically, follow the instructions in the
steps below to connect the cables. Step 1 is for the lower base of the
tube and step 2 is for the upper base of the tube.
NOTE
Be careful when connecting cables so that the connector pins will not
bend.
1. Connect the sensor cables to the connectors on the lower base
and tighten the screw nuts. For connector description, see Table
10 below.
Table 10 Default Lower Base Connectors
Connector Sensor/Device
(H) COM0 Terminal
(I) COM1 Communications or sensors with RS-232
interface
(K) COM2 Communications or sensors with RS-232
interface
(L) QMT103 or QMT107
(M) Additional sensor
(O) Additional sensor