1. Locate and remove the bypass screw from the valve
and discard (this screw may be covered by a sticker).
Note the bypass screw may have require either a
fl at head screwdriver or an Allen key depending on
its type. The bypass screw has a rubber O-ring and
may need to be carefully pulled out using pliers
after unscrewing.
2. Insert the replacement minimum rate bypass screw
and hand tighten using a screwdriver/Allen key.
Refer to the Specifi cations table on page 1 for proper
bypass screw (the number is stamped on the barrel
of the screw).
3. If the burner module was removed, re-install it now
by reversing the previous steps.
4. Replace the burner by reversing the previous steps.
Test for Leaks
1. Reconnect gas inlet to valve, tightening pipe connec-
tion. Open shut off valve and inspect.
2. Test for leaks by applying a liquid detergent or soap
solution to all connection joints that were taken
apart and reassembled. Bubbles forming indicate a
gas leak.
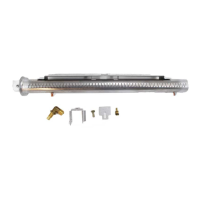
Bypass screw
Valve
WARNING
NEVER use an open fl ame to check
for leaks! Correct any leak detected
immediately.
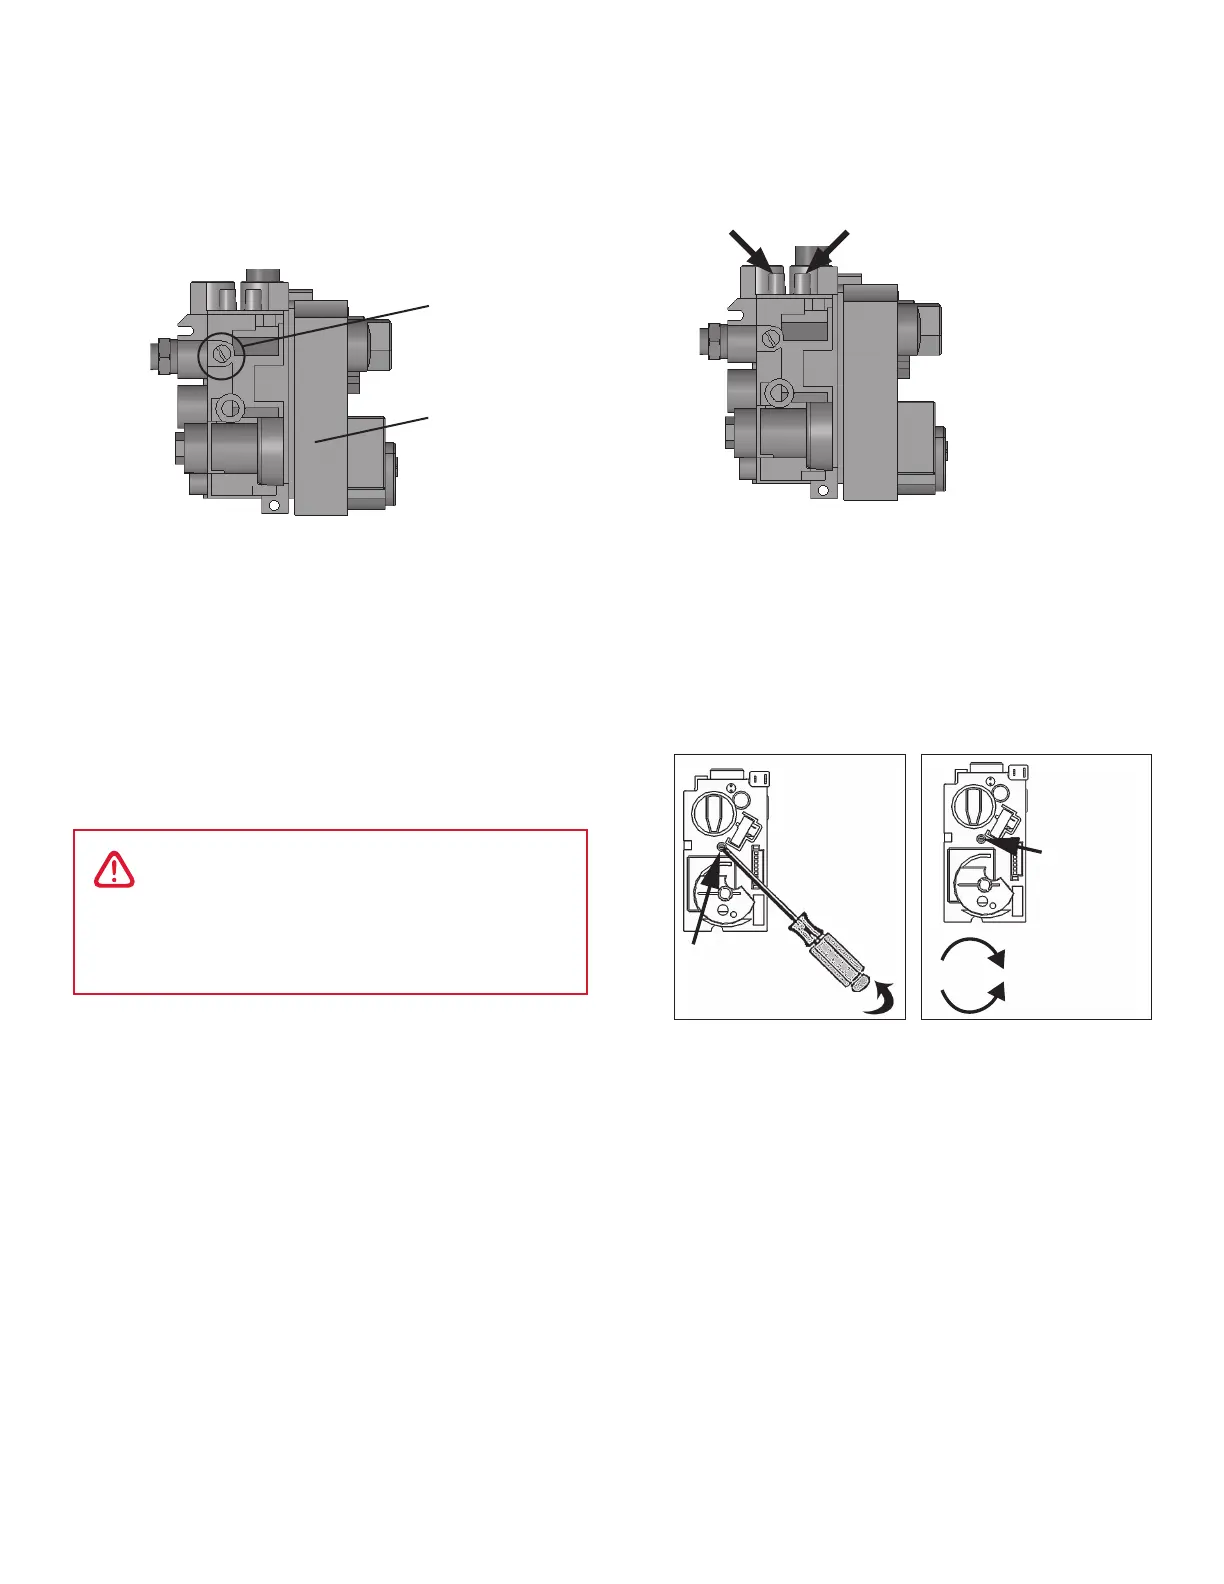
Set Manifold Pressure
1. Fit a manometer to the manifold pressure test tap
on the valve using 1/4” ID tubing —see fi gure below.
2. Light the appliance and turn the control to full
input.
3. Adjust the pressure adjustment screw using a small
jeweller’s size fl at blade screwdriver - as shown
below - while the appliance is running at full input
to produce manifold pressure, as per Specifi cations
table on page 1.
4. Turn off the appliance, remove the manometer and
tighten the test tapping screw.
5. Check all connections for leaks.
Manifold
Pressure
Test Tap
Valve Inlet
Pressure
Loosen screws inside
inlets to check (tighten
afterwards)
Pressure Test Tappings
Front Face of
Control Valve
Pry off
plastic cap
Front Face of
Control Valve
Pressure
adjustment
screw behind
plastic cap
Increases pressure
Decreases pressure
4
 Loading...