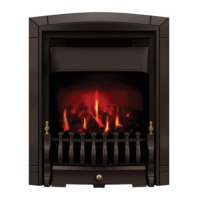
2. Remove the injector.
3. Verify that you use the correct injector before you
install it—see Specifi cations table on page 1. Install
the injector corresponding to the gas type to be
used.
4. Reinstall the air shutter (3 screws).
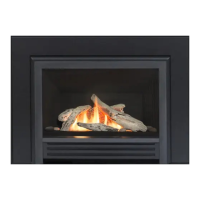
Convert the pilot injector
1. Remove the pilot hood by pulling it upwards.
2. Unscrew the pilot injector us-
ing an Allen key. Discard the
pilot injector. Replace with the
appropriate pilot injector—see
Specifi cations table on page 1.
Screw the new injector into
assembly and tighten.
3. Refi t the pilot head by push-
ing down on it. Ensure that it
snaps into position with the
correct orientation (there is a
keyed slot).
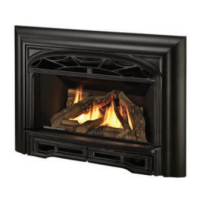
Remove and replace the minimum rate
bypass screw
You can access the bypass
screw on the valve through the
access hatch in the front panel
of the appliance.
Remove and replace the mini-
mum rate bypass screw from
the valve with the appropriately
labelled bypass screw—see
Specifi cations table on page 1.
The screw has a rubber O-ring
holding it into the valve body
and may require prying out or
removing the screw with needle
nose pliers.
Reinstall the burner and media trays
1. Reinstall the burner (LX1, 4 screws; LX2, 6 screws).
2. Reinstall the media trays (LX1, 4 screws; LX2, 6
screws).
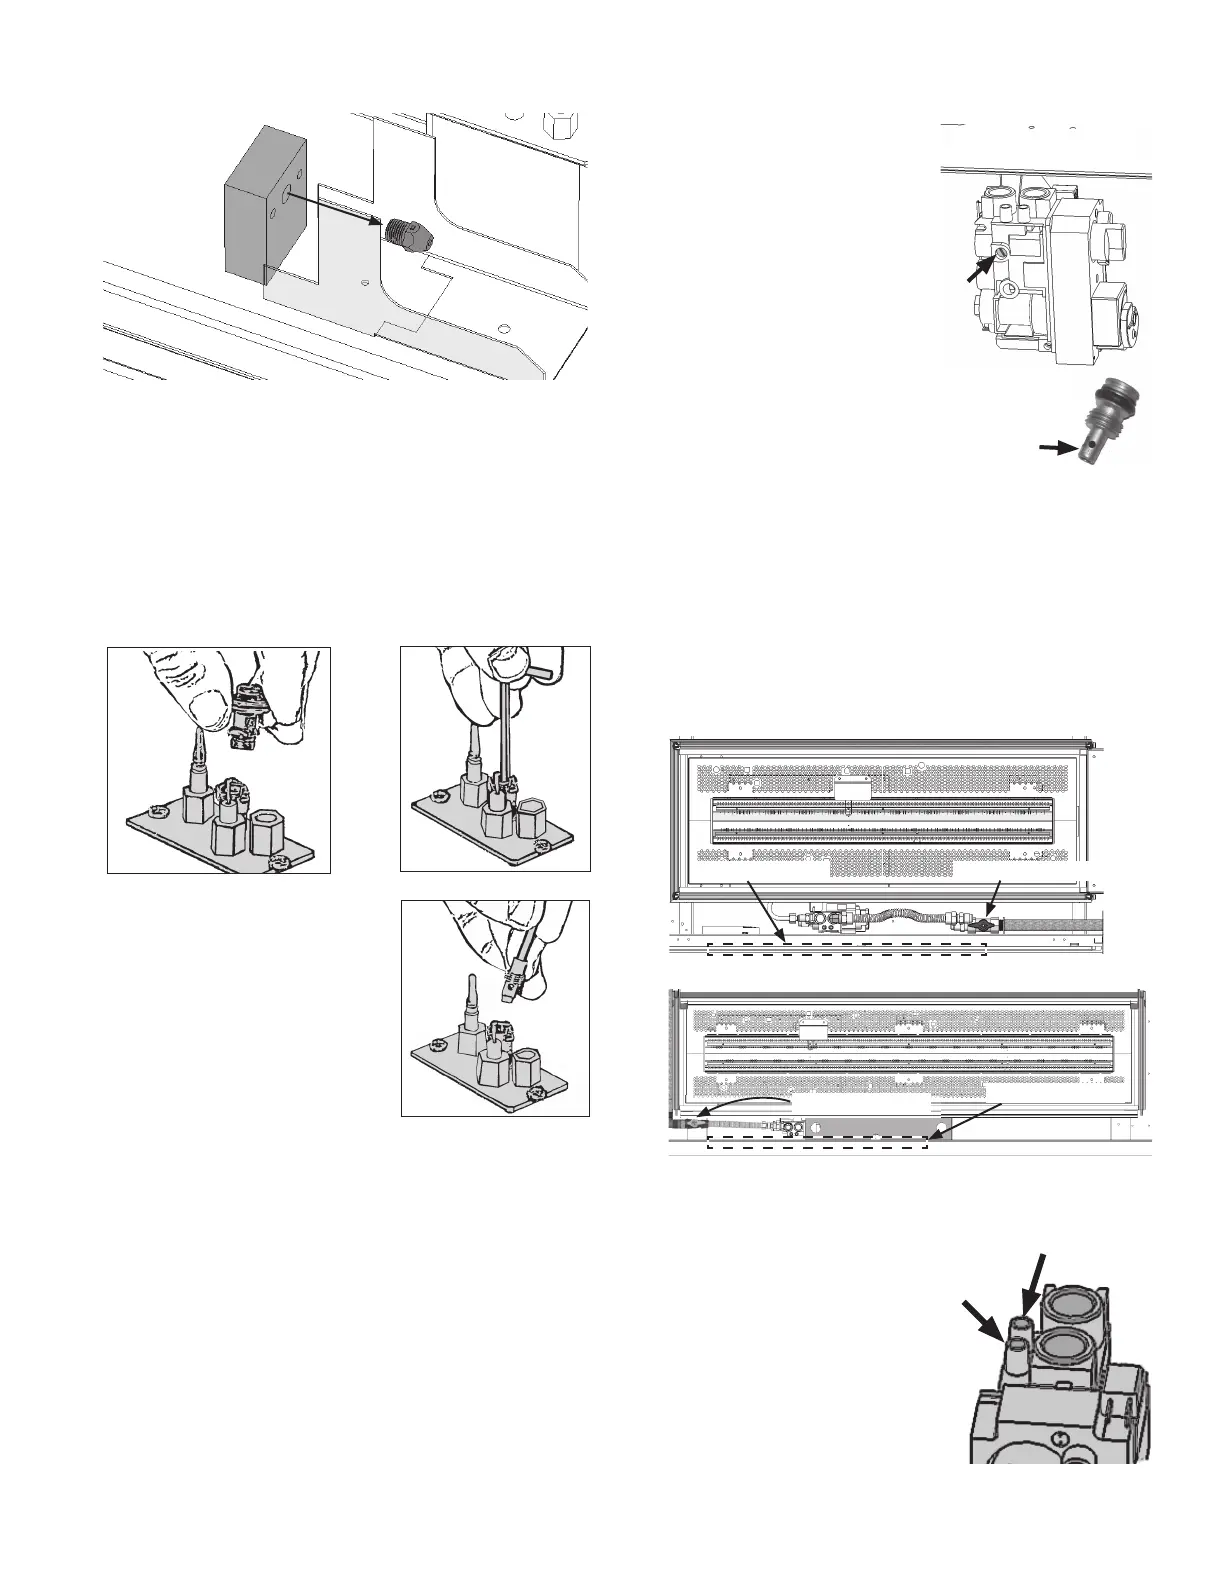
Set and check the manifold pressure
1. Turn on the gas at the shut off valve.
2. Fit a manometer to the
manifold pressure test
tap on the valve—see
diagram at right.
3. Light the appliance and
turn the control to full
input.
minimum rate bypass
screw location
Bypass
screw
marking
LX1 - Top view
Gas shut-off valveAccess panel
Gas shut-off valve
LX2 - Top view
Access panel
Valve
Inlet
Pressure
Loosen screw to check
(tighten afterwards)
Pressure Test Tappings
Manifold
Pressure
Test Tap
3

 Loading...