Do you have a question about the Valor G3 and is the answer not in the manual?
Safety screen reduces burn risk from hot glass. Installation is mandatory for protection.
Warnings about operating with damaged glass. Handle with care.
Unit requires specified vent system. Do not obstruct airflow.
Supplemental heating only. Not for solid fuel or construction use.
Requires qualified personnel. Annual inspection recommended.
Certified to ANSI Z21.88/CSA 2.33. Complies with local codes.
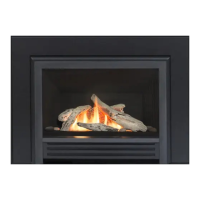
Details on natural gas (738KN) and propane gas (738KP) supply.
Operates on battery power; no external electrical source needed.
Field convertible between natural gas and propane fuels.
Approved for existing solid-fuel fireplaces. No specific hearth required.
Adaptable for protected outdoor applications per specific manual.
Lists necessary fuel beds and liners for installation.
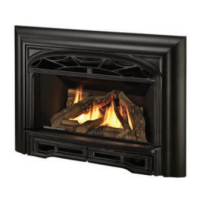
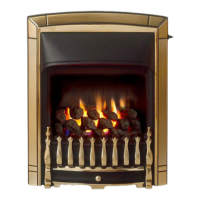
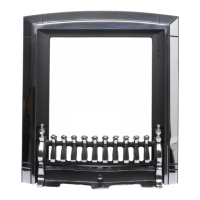
Lists optional items like surrounds, trims, and conversion kits.
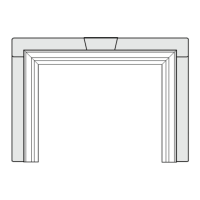
Specifies required cavity dimensions for installation based on trim types.
Details required clearances for mantels based on projection and height.
Specifies minimum distance from appliance to combustible walls.
Guidelines for combustible flooring and hearth placement.
Installer checklist for homeowner info, unpacking, and parts verification.
Appliance must be installed in existing solid-fuel fireplace or approved construction.
Vent terminal must be through the roof. Check local codes for termination.
Use 3" flex liner or 4" type "B" vent with specific kits.
Avoid joining flex pipes; use approved connectors. Handle bends carefully.
No modifications compromising fireplace integrity. Dampers may need removal.
Chimney must be swept and fireplace cavity cleaned of debris.
Dampers in zero-clearance fireplaces must be removed; masonry dampers fixed open.
Ensure fit behind any raised curbs; some may be removable.
Plan gas line route, use existing holes or drill new ones.
Must be permanently removed before insert installation.
Clearances must conform to original solid-fuel fireplace requirements.
Label conversion to gas appliance.
Instructions for removing the fireplace window for installation access.
Connect the vent liner to the appliance and secure.
Connect the gas supply line to the appliance's inlet.
How and where to test gas supply lines for leaks.
Guidelines for installing various liner types into the firebox.
How to adjust the fuel bed support bracket position.
Instructions for installing different fuel bed kits.
Step-by-step guide for placing logs for the Traditional Log Kit.
Instructions for installing the rock set fuel bed.
Instructions for installing the driftwood log set.
Step-by-step guide for placing logs for the Legend Traditional Log Set.
How to refit the fireplace window after installation.
How to install batteries for the remote receiver and handset.
Steps to pair the remote handset with the receiver.
Verify flame operation and adjust primary aeration shutters.
Installing the front and trim pieces, including side shrouds.
Instructions for installing the optional wall holder for the remote.
Procedure to pair the remote control with the fireplace receiver.
Technical details on the radio frequency used for communication.
How to turn the fireplace on using the remote.
How to turn the fireplace off using the remote.
Setting the fireplace to pilot flame mode.
How to increase or decrease flame height using the remote.
Quick adjustment to maximum or minimum flame settings.
How to change temperature units and clock format.
Procedure for setting the current time on the remote handset.
Cycling through Manual, Temperature, and Timer modes.
Adjusting daytime and nighttime temperature setpoints.
Programming timed periods for temperature adjustments.
Setting the time for the first programmed period's high temperature.
Setting the time for the first programmed period's low temperature.
Setting times for the second programmed period's temperatures.
Example of programming timer settings with default temperatures.
System feature turns valve to pilot after 8 hours of no movement.
Shuts off fire on low battery; On-Demand Pilot for inactivity.
Indicators for low battery in handset and battery holder.
Procedure for matching replacement handsets or receivers.
| Brand | Valor |
|---|---|
| Model | G3 |
| Category | Indoor Fireplace |
| Language | English |