www.vanco1.com
800.626.6445
5
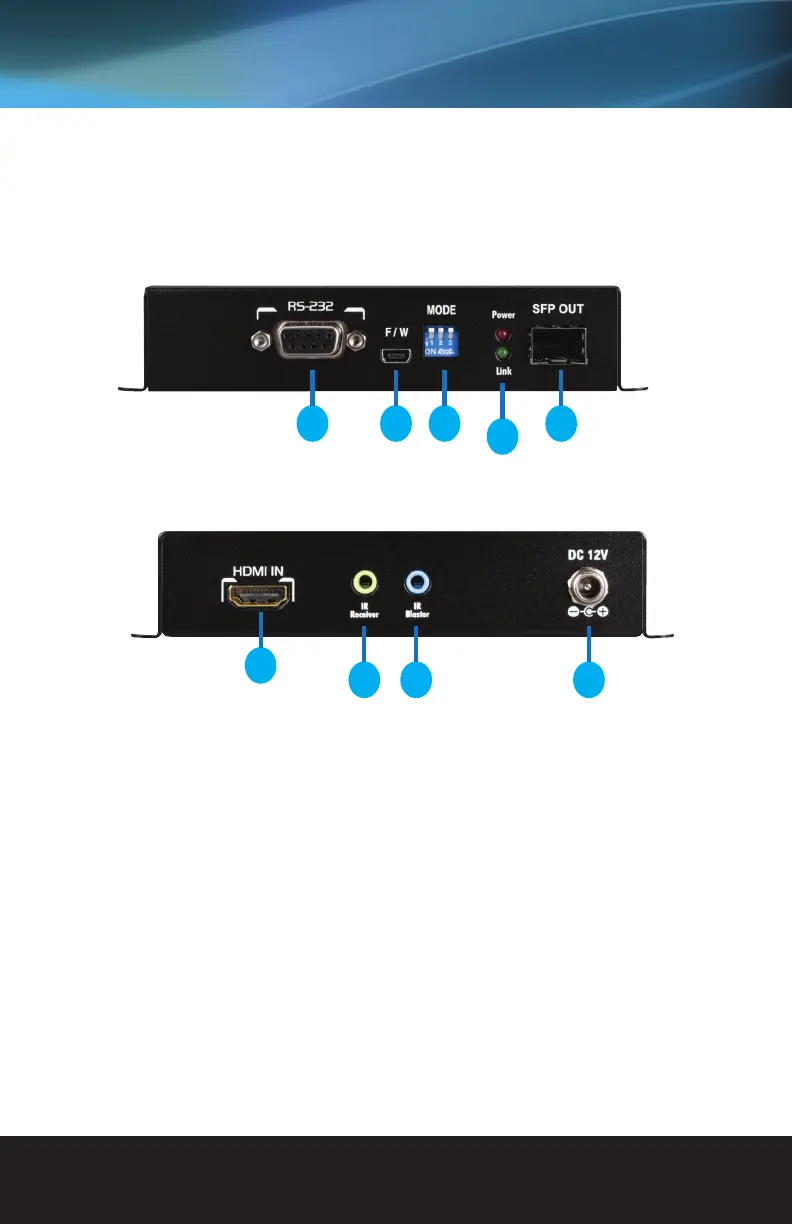
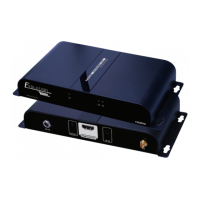
1. RS-232: Connect for control via PC or third party control system
2. Firmware Update Port: any available f/w updates will be available under the EVEXFBR1 product page on
www.vanco1.com
3. DIP Switch for Control: Enable or disable bi-directional IR and/or RS-232; see “Control Type Setup” section
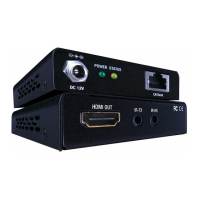
4. Power and Link lights: Both LEDs should be illuminated for proper functionality, link indicates that both the
TX and RX are communicating
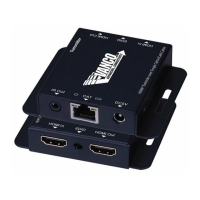
5. SFP OUT: Connect ber optical cables from this unit to the RX (multimode modules included)
6. HDMI IN: Connect an HDMI source
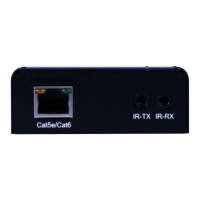
7. IR IN: Connect the included IR Receiver (RX) to control the display
8. IR OUT: Connect the included IR Transmitter (TX) to control the source
9. DC 12V: Connect the included 12V Power Supply (both TX and RX need to be plugged into power)
PANEL DESCRIPTIONS
Transmitting Unit
21 3
4
5
6
7 8 9