8
After installation, go to Homepage > SETTING > SETTINGS > Projection
Settings > Projection Mode to select the appropriate projection mode to ensure
the image is projected correctly.
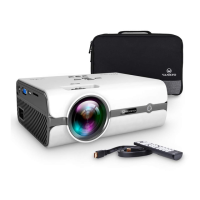
Mounting Screw: 1/4" (not included)
Power On/Off
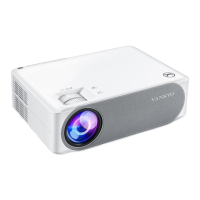
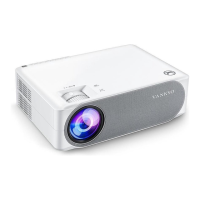
Take off the protective film.
Plug the power cord into an outlet.
Press the Power Button once to turn on the projector.
Press the Power Button twice quickly to turn off the projector.
Image Adjustment
Note: For optimal Auto Keystone Correction and Auto Focus performance, please ensure
that the camera is clean and free from any obstructions that may obstruct its view of the
screen/wall.
Keystone Correction
Auto Keystone Correction: When the projector is powered on, it will automatically
correct the keystone distortion.
Manual Keystone Correction: Go to Homepage > SETTING > SETTINGS >
Projection Settings > Manual Keystone Correction to manually correct the
distortion.
Focus
Auto Focus: When the projector is powered on, it will automatically adjust the
image quality.
Manual Focus: Go to Homepage > SETTING > SETTINGS > Projection
Settings > Manual Focus or press the F+ and F- buttons on the remote to
manually sharpen the image focus until the blurred image becomes clear.
Image Scaling
Go to Homepage > SETTING > SETTINGS > Projection Settings > Digital
Zoom, then press the up and down buttons on the remote to enlarge or reduce the
image size (optional).
Automatic Obstacle Avoidance
This feature allows the projector to detect and avoid obstacles in specific areas.
Step 1: Go to Homepage > SETTING > SETTINGS > Projection Settings to turn on
Automatic Obstacle Avoidance.
Tip: Before activating this feature, make sure Auto Keystone Correction is enabled.