❑ Connect the return line (back to the boiler) to the “HX Out” fitting
(heat exchanger out) of the heat exchanger.
❑ Do not apply heat directly to the “HX IN” or “HX OUT” as it
includes O-rings which can melt.
❑ For closed-loop systems that do not use water as the heat- transfer
fluid, the total volume of the heat-transfer fluid in the closed loop shall
be less than 10% of storage tank volume.
❑
G. FILLING THE WATER HEATER
❑ Check that the temperature and pressure relief valve has been
properly installed (mandatory requirement).
❑ Completely close the drain valve.
❑ Open the highest hot water faucet to allow air to escape from piping.
❑ Open the valve to the cold-water inlet and allow the heater and piping
system to completely fill, as indicated by a steady flow of water from
the open faucet.
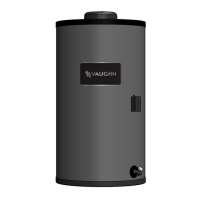
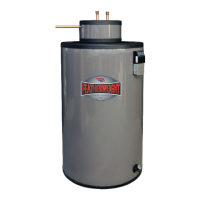
H. THERMOSTAT INSTALLATION
❑ The Featherweight water heater can be controlled by either an
ETC102 or a TPI thermostat.
❑ Place hole in back of the thermostat over the temperature sensor
leads. It should fit flush against the tank. Use the provided self-
tapping screw to attach case back directly to the Featherweight. (See
THERMOSTAT DIAGRAM 3 on page 16).
❑ Connect temperature sensor wires to press release connector or
screw terminal. (See THERMOSTAT DIAGRAM 6 on page 19).
❑ Run all 24VAC wiring through the square notch on bottom of
thermostat case. (See THERMOSTAT DIAGRAM 4 on page 17 and
THERMOSTAT DIAGRAM 5 on page 18).
❑ The Featherweight may operate as a separate heating zone using
either the heating system circulator and an appropriate zone valve,
or a separate circulator dedicated for water heating. (See
INSTALLATION DIAGRAM 1 on page 20 and INSTALLATION
DIAGRAM 2 on page 20).
❑ In both systems, the Featherweight is controlled through the
thermostat on the heater.
❑ Be certain to replace thermostat cover using the black screw
provided.