6
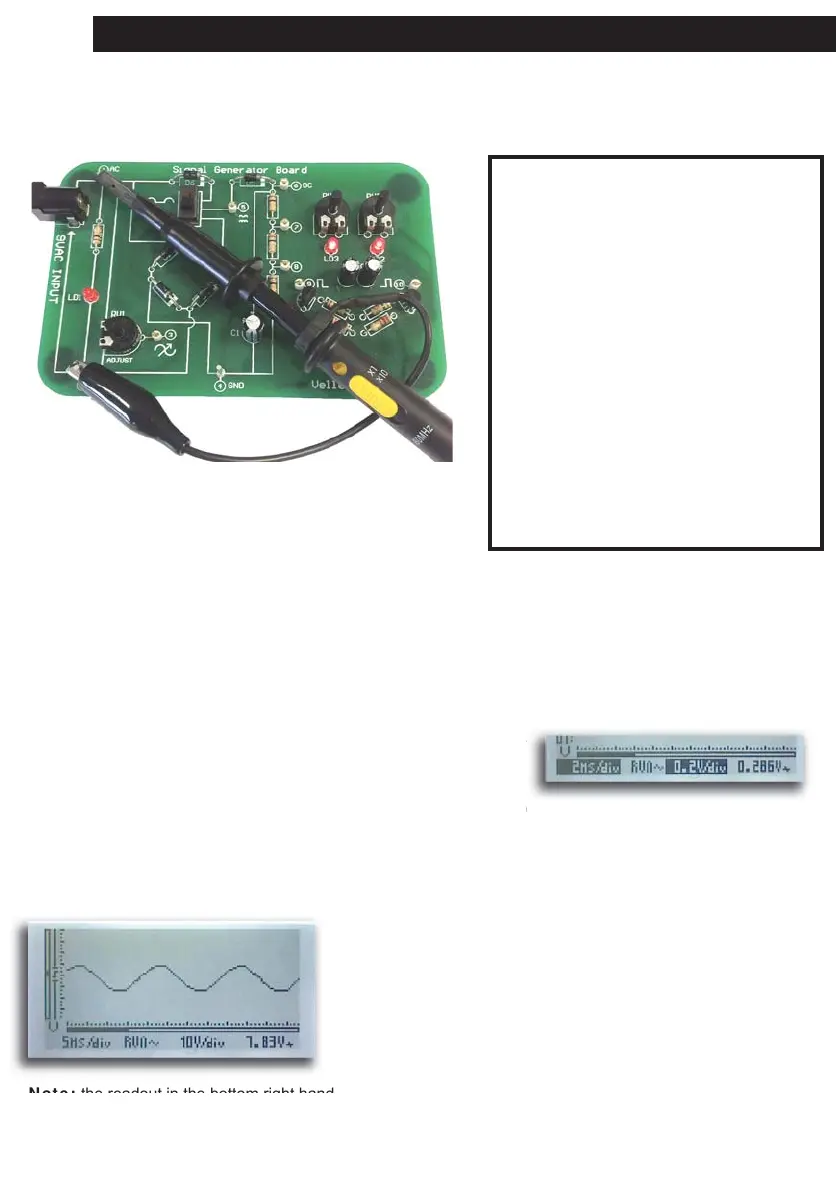
Experiment 1: Measuring AC voltage
Connection layout:
Connection summary:
GND clip : 2
Probe tip : 1
Purpose:
The purpose of this experiment is to display and measure AC voltage. In this particular case, we will
measure the AC voltage supplied to the board.
How?:
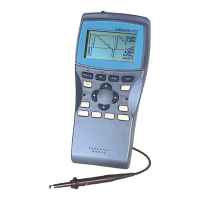
Turn on the HPS140 Handheld Pocket Scope 1. (see HPS140 manual for How-To instructions).
Place the probe switch “x1/x10” to ‘x1’.2.
The unit always starts up in ‘auto-setup’ mode. You can tell that
it is in auto-setup mode, because the readouts for Volts/div and
Time/div are displayed in ‘reverse video’ (white characters on
dark background). Thanks to the auto-setup mode, the unit takes care of V/div and time/div for you,
you do not have to do anything. In the lower right-hand corner, the RMS value of the supplied AC
voltage is displayed. More about auto-setup in the next experiment.
What we see:
Select ‘AC coupling’ • (see HPS140 manual for How-To instructions)
Set time/div to 5ms/div•
Set volts/div: to 10V/div•
Note: the readout in the bottom right hand corner displays the RMS value of the measured AC voltage.
Different readouts are available (see HPS140 manual for How-To instructions).
Note: If you live in an area where the AC grid frequency is 60Hz instead of 50Hz (e.g. US), the image may
slightly vary.
t
s care of V/div and time/div for
ou
Exp.1: measuring AC voltage
NOTES: