9
Experiment 3: Measuring AC grid frequency
and period
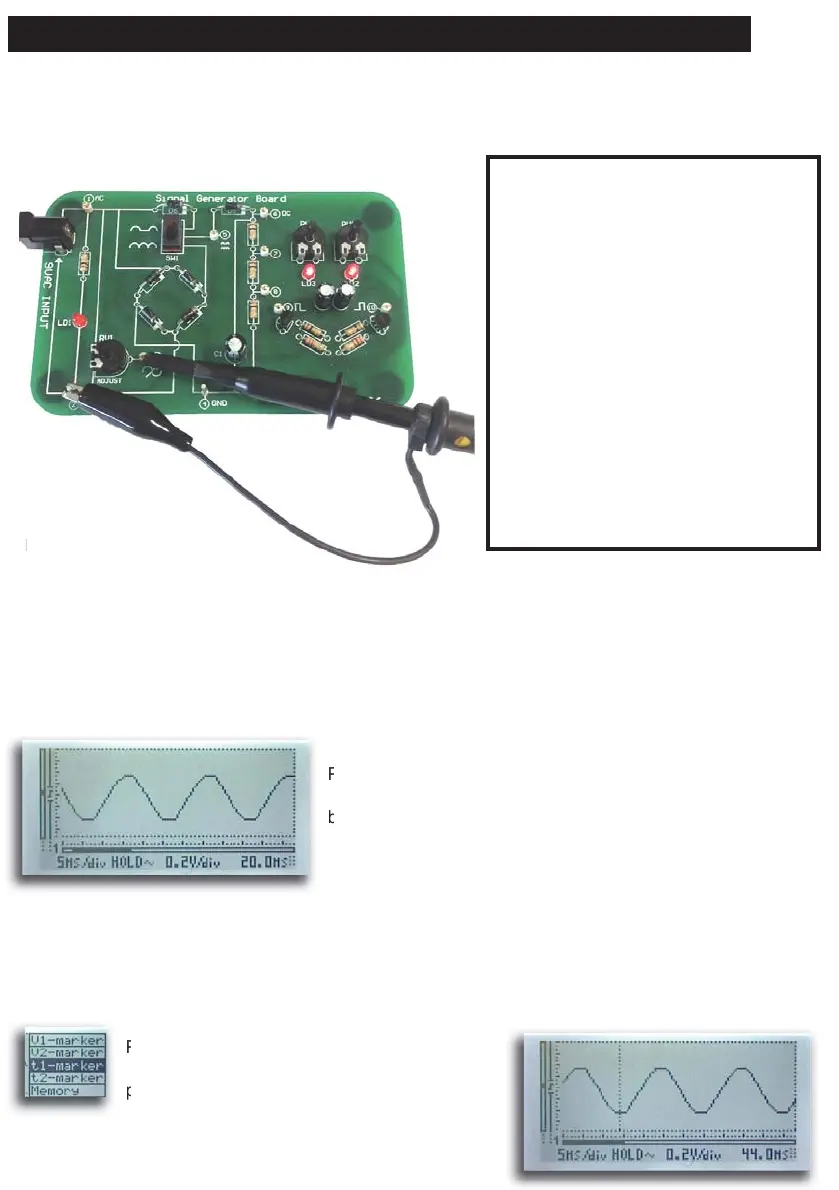
Connection layout:
Connection summary:
GND clip : 2
Probe tip : 3
Purpose:
The purpose of this experiment is to demonstrate the use of the markers to perform on-screen
measurement of frequency and period.
How?:
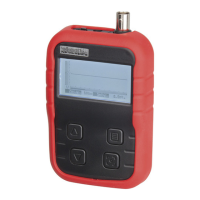
Turn on the HPS140 Handheld Pocket Scope 1. (see HPS140 manual for How-To instructions).
Place the probe switch “x1/x10” to ‘x1’.2.
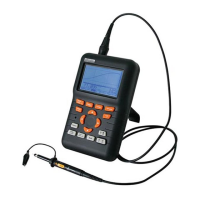
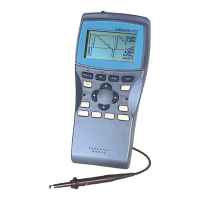
Press the lower right button, this will freeze the screen and
turn-on the markers. The upper right button allows us to toggle
between the different markers.
There are 4 markers, two horizontal and two vertical. The horizontal markers allow us to measure the
amplitude of a displayed signal, i.e. it measures how many volts there are between both markers. The
vertical markers allow us to measure time between the two markers. In order to measure the frequency
of a periodic signal, we can use the vertical markers and isolate one period of the signal.
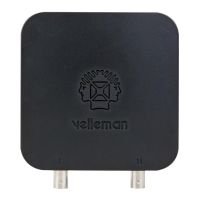
Press the upper right button repeatedly, to select
vertical marker 1. Next, use the arrow keys to
position marker 1 on the sine wave as shown.
NOTES:
Measuring AC grid frequency and period
t