Solar collector orientation – Part 3: Solar water heater system installation – 13
Solar collector orientation
Operating your VELUX solar water heater for optimal e ciency is based on the correct orientation, pitch, and location of
the solar collectors. In North America, collectors should be oriented due south, however may be oriented up to 45 degrees
east or west of due south with minimal losses in solar gain. Optimal pitch is +/– 10° from the latitude of the installation site.
VELUX collectors must be installed at a minimum pitch of 15 degrees from horizontal, and for optimal performance, the
recommended pitch is between 15–60 degrees. The collector should be mounted as close to the storage tank as possible
to minimize heat loss in the piping runs. The solar collector must be located in an area of the roof that will be unshaded for
the majority of the day (from 9:00–3:00) all year round. Adjacent buildings and trees should be checked for possible winter
shading.
Collector installation
The most important structural consideration is to securely anchor the solar collector to the structural members of the roof
with the stainless steel mounting screws provided. Preserving the integrity of the roof membrane is the most important
roofi ng consideration. Ensure that the solar collectors can be properly fl ashed and sealed in accordance with standard roofi ng
practices and the VELUX fl ashing instructions. Reference your VELUX collector installation manual for proper guidelines in
your application. All equipment should be installed in accordance with all local codes and best practices as identifi ed with
National Roofi ng Contractors Association (NRCA) or other qualifi ed body.
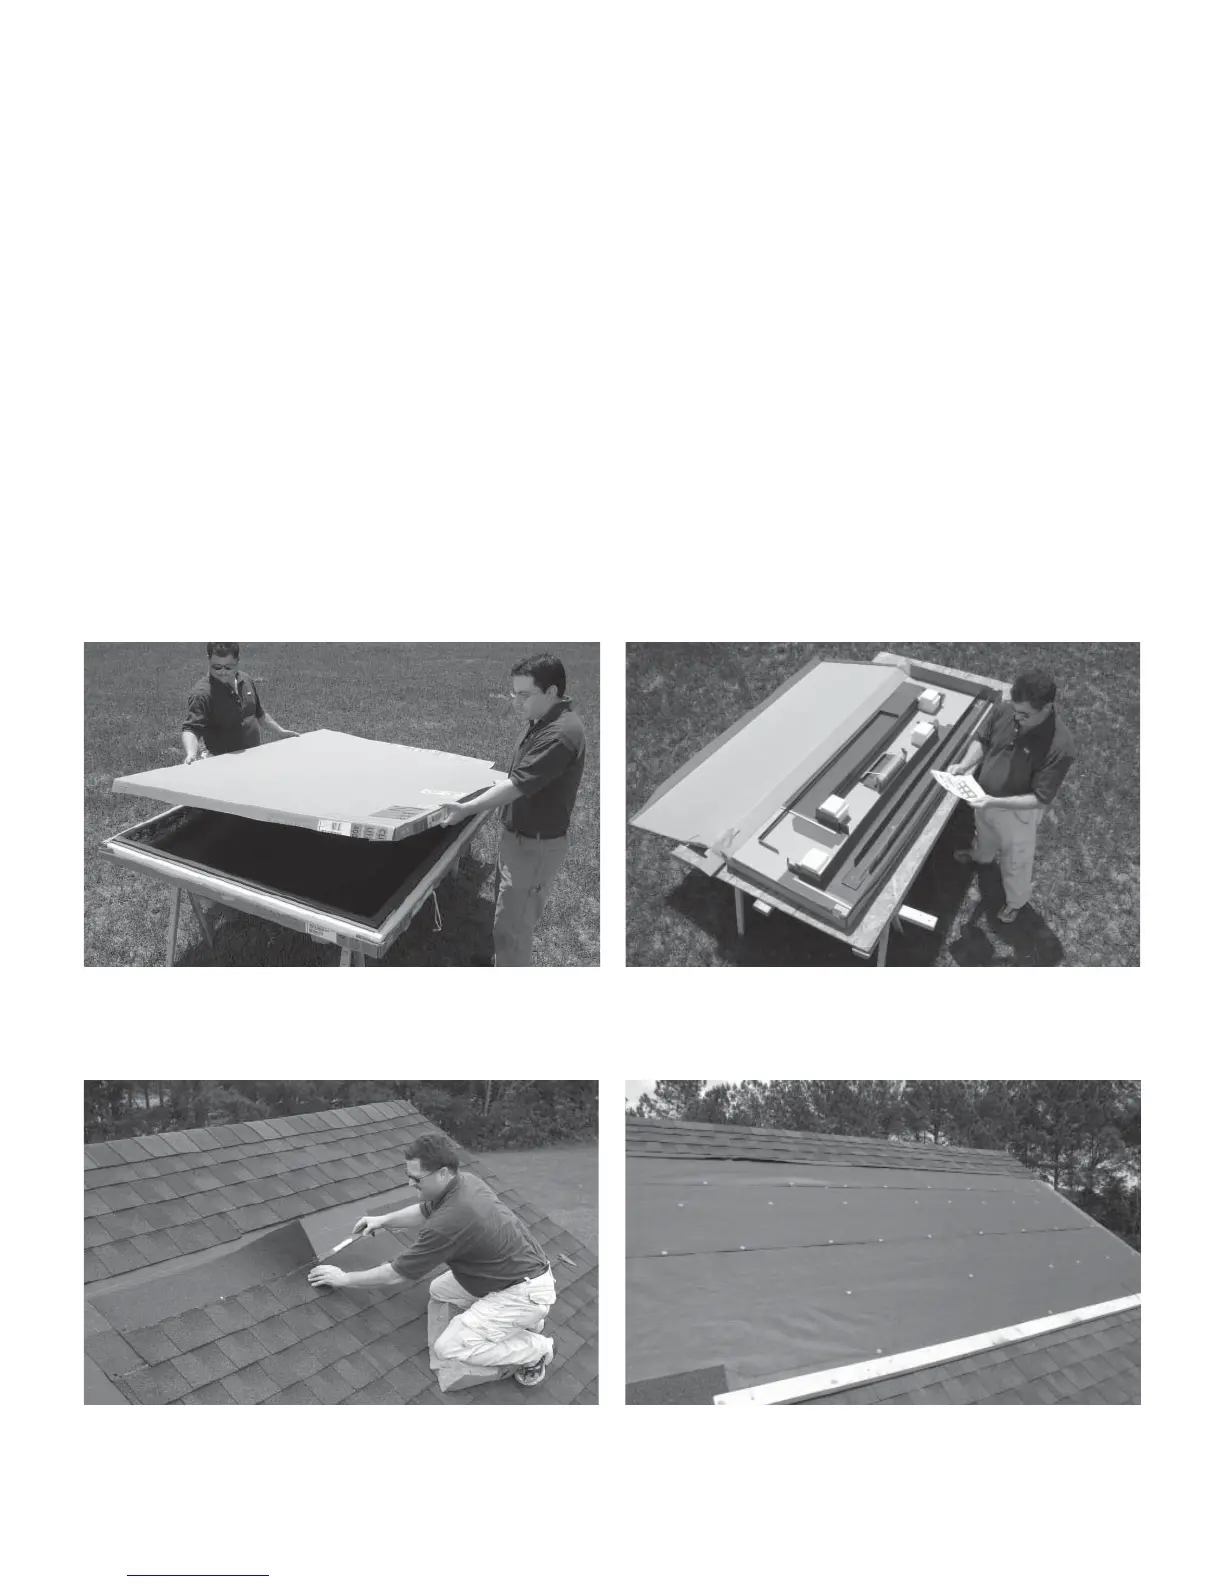
1. Open the packaging for the collectors and fl ashings. Carefully read all provided installation instructions.
2. Prepare the roof for collector mounting. If needed, carefully remove shingles to expose underlayment. Mark o the
location of the collectors and nail a temporary collector support to roof.
 Loading...