VELUX
®
25
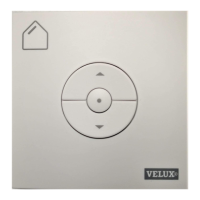
Set-up of KLI 310/312 to operate VELUX electric and solar blinds
Important: The wall switch must be the universal KLI 310 or the
model matching the product.
If a non-functional control must be replaced or if the wall switch
cannot find certain products, you can make the products ready for
reistration by manually resetting them to initial factory settings.
Note: Reset products cannot be operated until they have been
reistered in the wall switch again.
Reset the blind.
Note: Solar blinds can have three different desins:
1A
Solar-powered blind with button on the right, bottom side of
motor unit:
Press button for 10 seconds.
The blind will run briefly back and forth indicating that it is
ready to be reistered.
1B
Solar-powered blind with sliding switch on the right, bottom
side of motor unit:
Slide switch to the right and hold for 10 seconds.
The blind will run briefly back and forth indicating that it is
ready to be reistered.
1C
Solar-powered blind with button behind door at the bottom of
motor unit:
Open solar battery door, press button behind the door for
10 seconds and close solar battery door.
The blind will run briefly back and forth indicating that it is
ready to be reistered.
Note: The blind must now be reistered in the wall switch within the
next 10 minutes.
2
Press the Pair button on the wall switch for 1 second.
3
Press the stop key and then the DOWN key within 3 seconds.
This is only necessary at the initial set-up after installing the
blind.
The blind can now be operated by wall switch KLI 310/312.