Instructions for the installer, maintenance
technician and final user
37
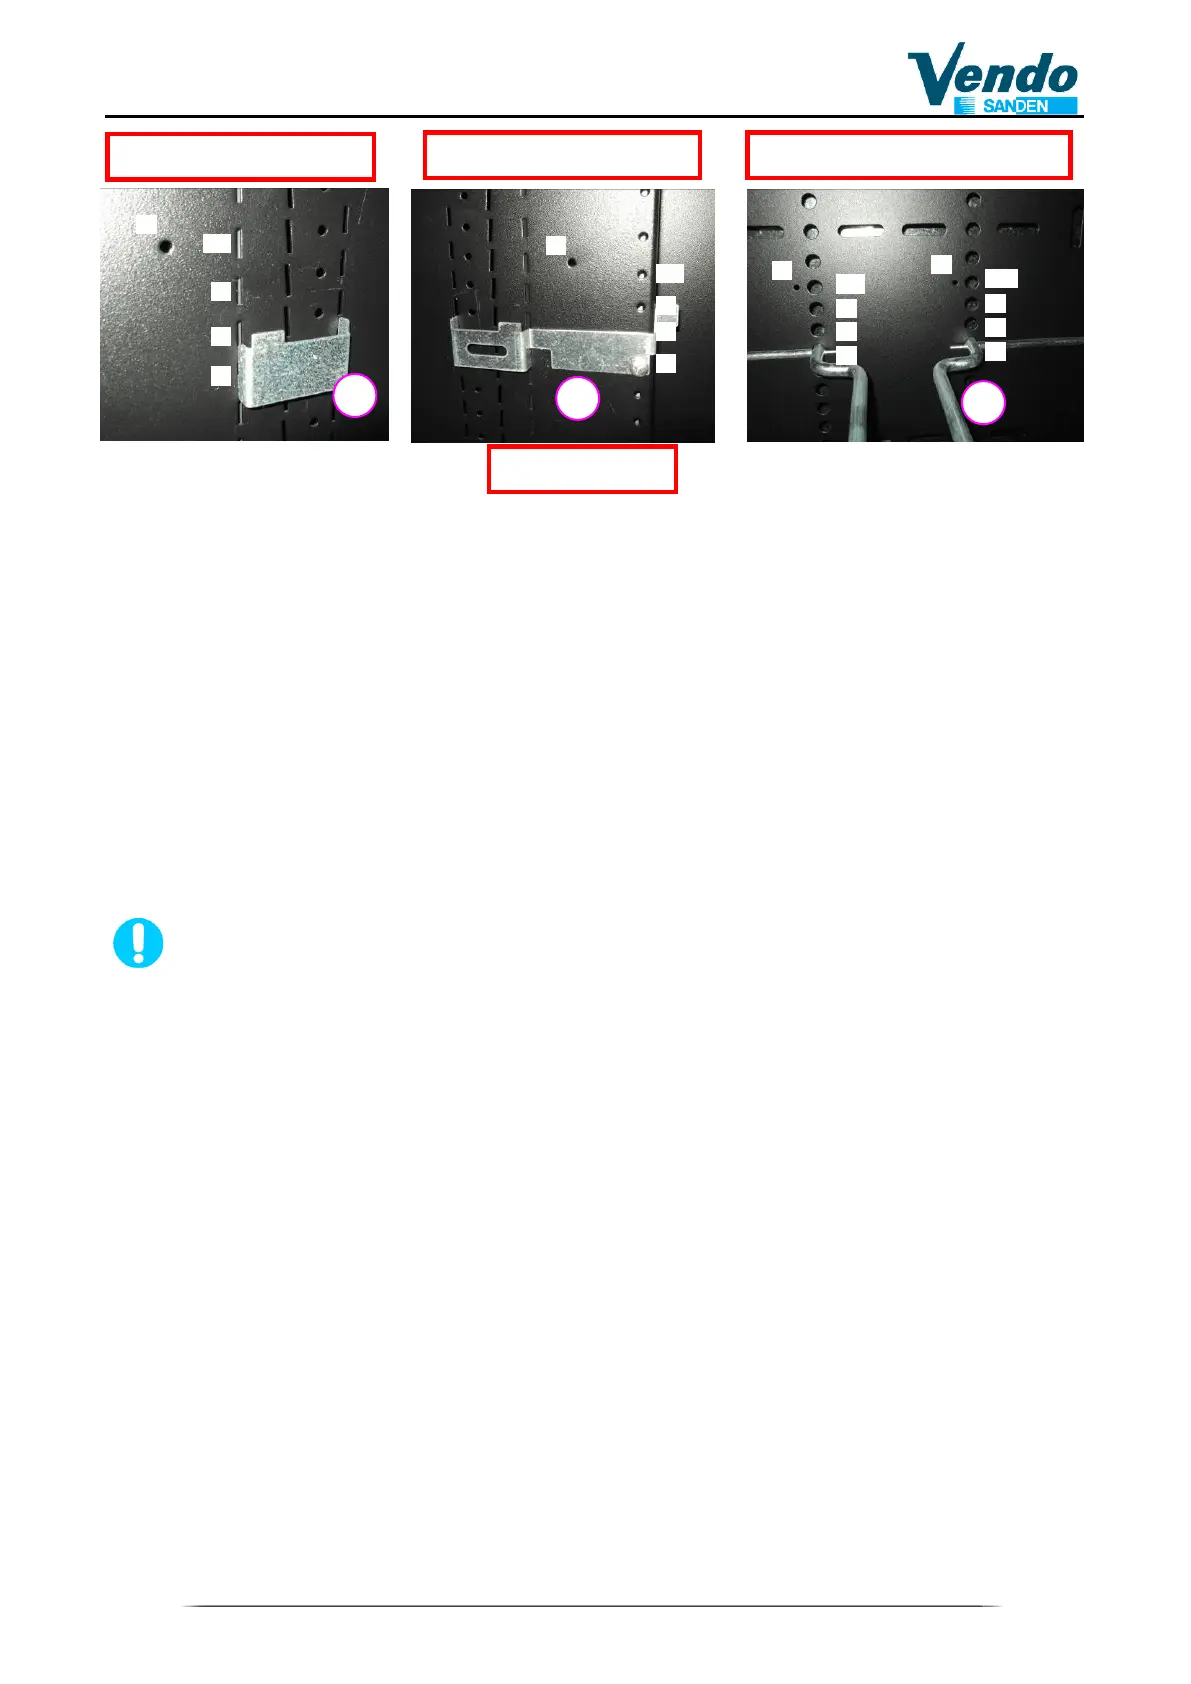
Shelf 1 is fixed. Counting starts from bottom with hole no. 1.
Every 10th position is indicated by a reference Hole (indicated with “R” in the photo).
The shelf assy must be inserted into the same hole position as the shelf supports (See
example: Second shelf, position 7).
Position of shelf assy. in cabinet back panel: Hole no. 7.
Position of front shelf supports RH and LH: Hole no. 7.
5.5 Final Check
1- Load the shelves completely
2- Do several selections, check product delivery
It is possible to send your products to the factory, tests will done for correct adjustment.
USUAL PRODUCTS ARE NORMALLY TESTED IN THE FACTORY, ASK FOR
THE SETTING NUMBER OF THE PRODUCT THAT YOU WISH TO SELL AND
REFER TO THIS NUMBER WHEN ORDERING. WE WILL PRODUCE THE
VENDOR ACCORDING TO YOUR SPECIFICATIONS.
Back panel internal cabinet
 Loading...