Page 46
Installation and Operation Manual - HE275CF
ENGLISH
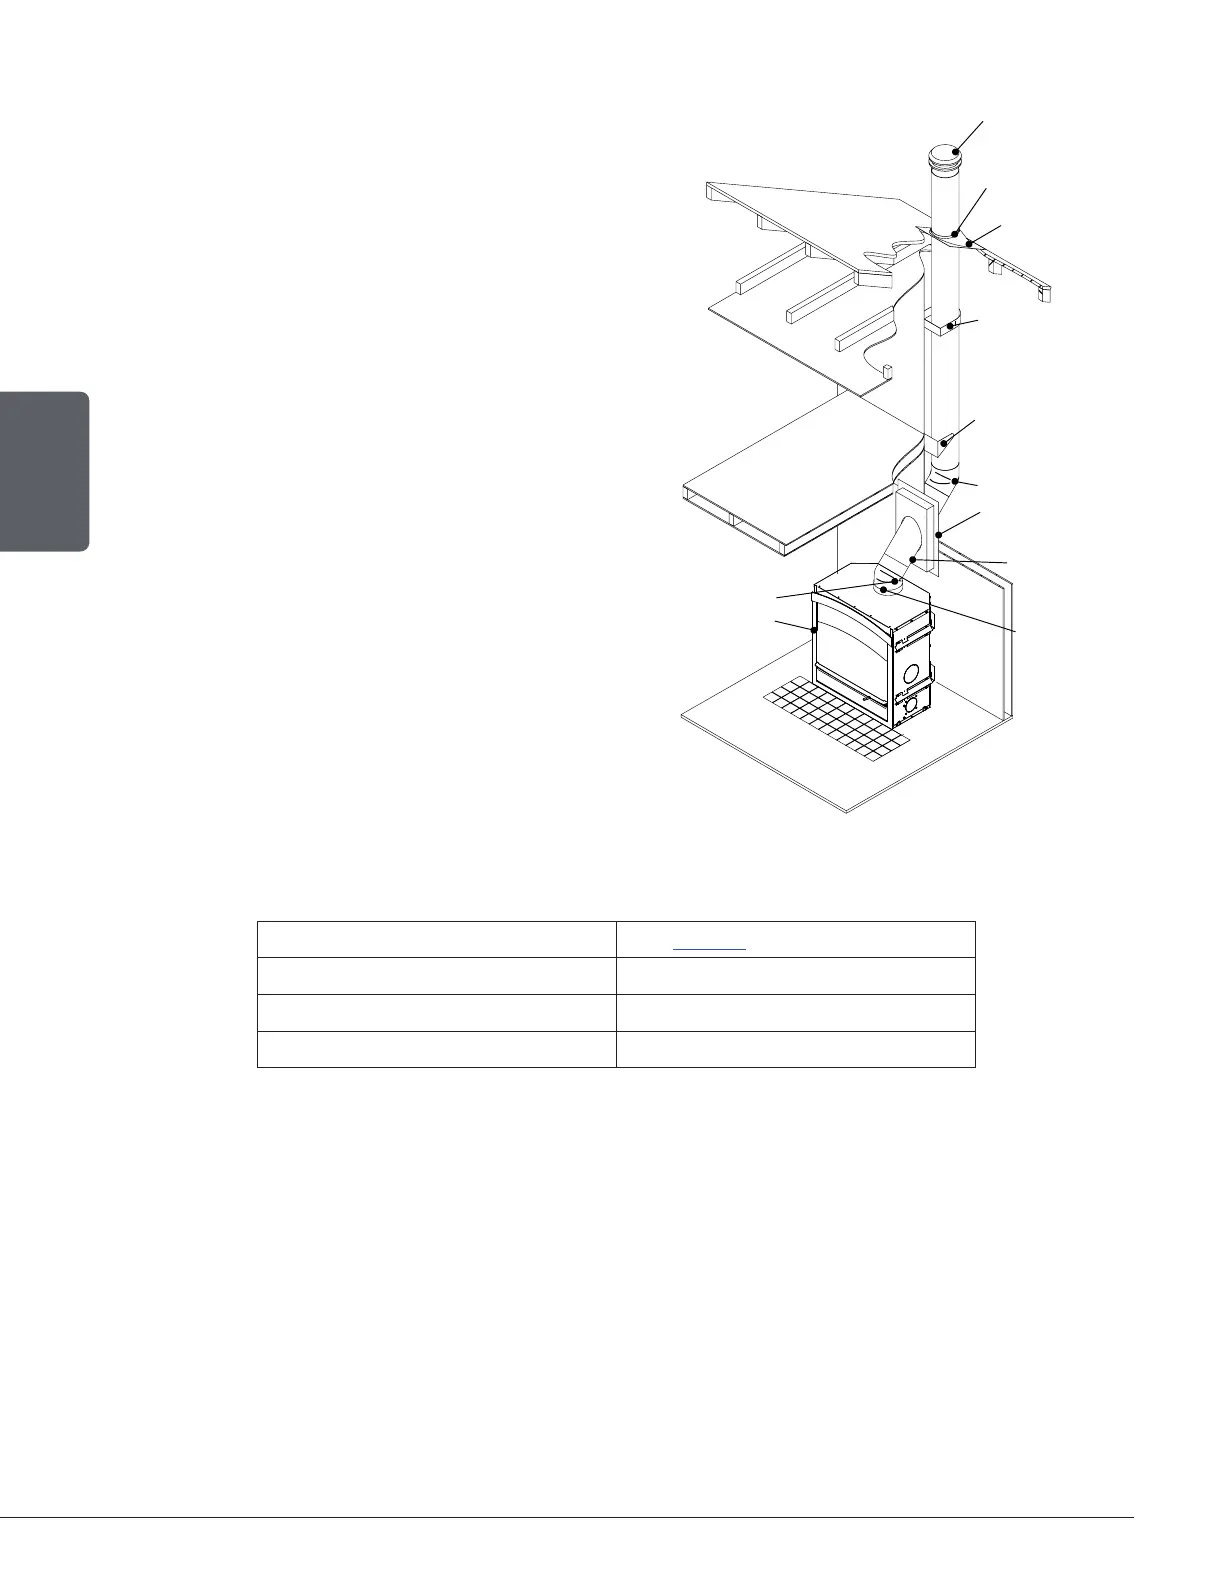
9.3.3 Offset Installation
1. Follow the instructions for a ceiling supported
installation until the first elbow.
2. Install and turn the elbow in the right direction.
Attach to the chimney using three ½" (12 mm)
metal screws.
3. Install the appropriate number of chimney
sections to obtain the necessary deviation.
Secure the chimney sections together with
three ½" (12 mm) screws. If the offset section
has two or more chimney sections, a bracket
must be installed. If the chimney go through a
wall, install a wall thimble.
4. Install another elbow to bring the chimney back
in a vertical position.
5. Continue the installation following the
instructions of the ceiling supported installation.
Table 3 : Minimum system height when using elbows
Chimney model See Table 4
Vertical Installation 15 ft (4,6 m)
Two (2) elbows 15 ft(4,6 m)
Four (4) elbows 17 ft (5,2 m)
9.3.4 Masonry Chimney Installation
The masonry chimney must meet the minimum requirements of the local building code or
equivalent for a safe installation. Contact a building inspector to learn about the requirements
in the area.
Before starting the installation, the masonry chimney should be inspected for cracks, crumbling
mortar, creosote layers, obstructions or other signs of deterioration. If signs of deterioration are
noted, the chimney should be repaired and cleaned before installation.
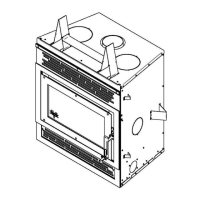
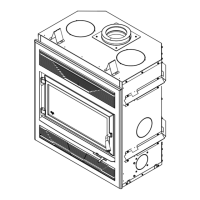
FIREPLACE
ELBOW
INSULATED WALL
RADIATION SHIELD
ELBOW
CHIMNEY SECTION
OFFSET SUPPORT
WALL BAND
STORM COLLAR
FLASHING
RAIN CAP
CHIMNEY ADAPTOR
1ST FLOOR
BASEMENT
ATTIC