Page 25
Installation and Operation Manual - HE275CF
ENGLISH
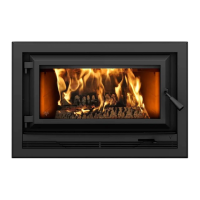
6.3.3 Gasket
The glass gasket is flat, adhesive-backed, woven fibreglass. The gasket must be centred on the
edge of the glass.
1. Follow the steps of the previous section to remove the glass.
2. Remove the old gasket and clean the glass thoroughly.
3. Peel back a section of the paper covering the adhesive and place the
gasket on a table with the adhesive side up.
4. Stick the end of the gasket to the middle of one edge, then press the
edge of the glass down onto the gasket, taking care that it is perfectly
centred on the gasket.
5. Peel off more of the backing and rotate the glass. The gasket must not
be stretched during installation.
6. Cut the gasket to the required length. Pinch the gasket onto the glass
in a U shape, all around the glass.
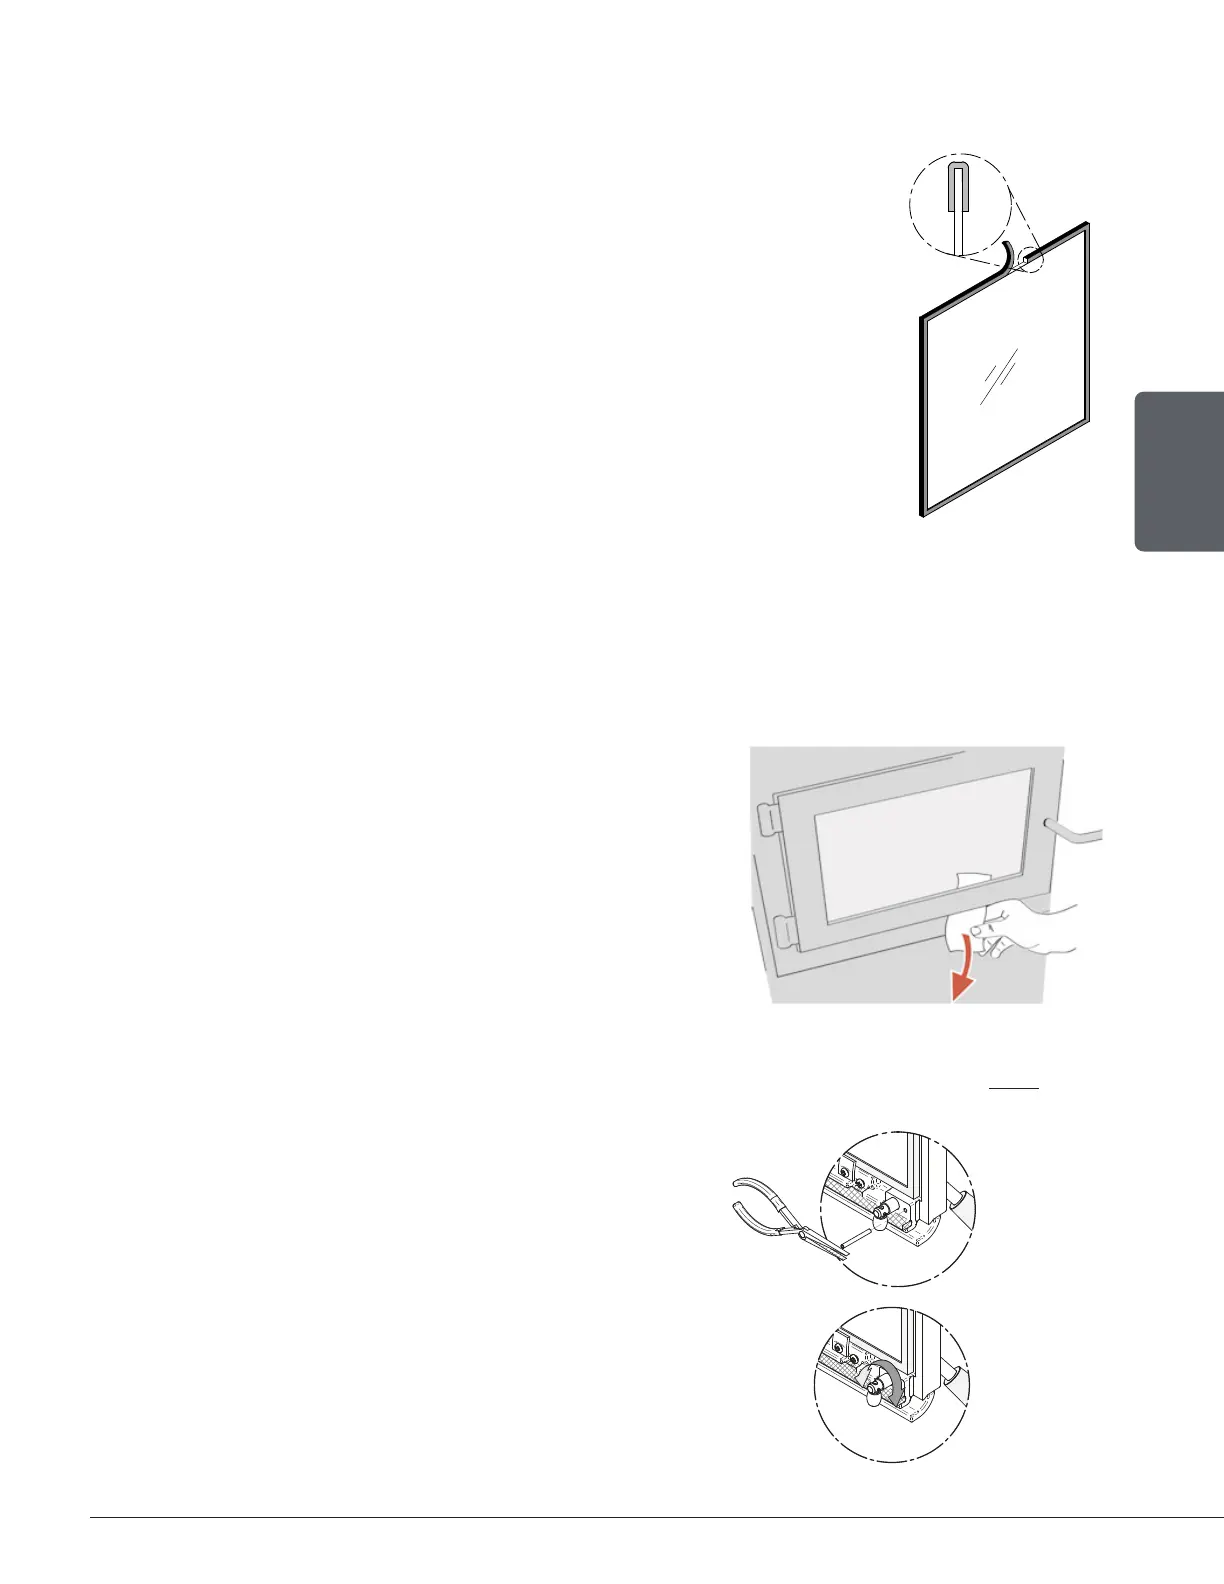
6.4 Door
In order for the fireplace to burn at its best efficiency, the door must provide a perfect seal with
the firebox. Therefore, the gasket should be inspected periodically to check for a good seal. The
tightness of the door seal can be verified by closing and latching the door on a strip of paper.
The test must be performed all around the door. If the paper slips out easily anywhere, either
adjust the door or replace the gasket.
At the end of each heating season it is recommended
to add a high temperature graphite paste on the
threads of the door handle. This paste wil protect the
threads from rust and prevent dust accumulation that
can prevent the handle from rotating freely.
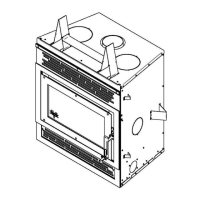
6.4.1 Adjustment
The door seal may be improved with a simple latch mechanism adjustment on the door:
1. Remove the split pin by pulling and turning
it using pliers.
2. Turn the handle one counterclockwise turn
to increase pressure.