SECTION D
SERVICE & MAINTENANCE
VPI VENTRAC 3000 D-7
BELT REPLACEMENT
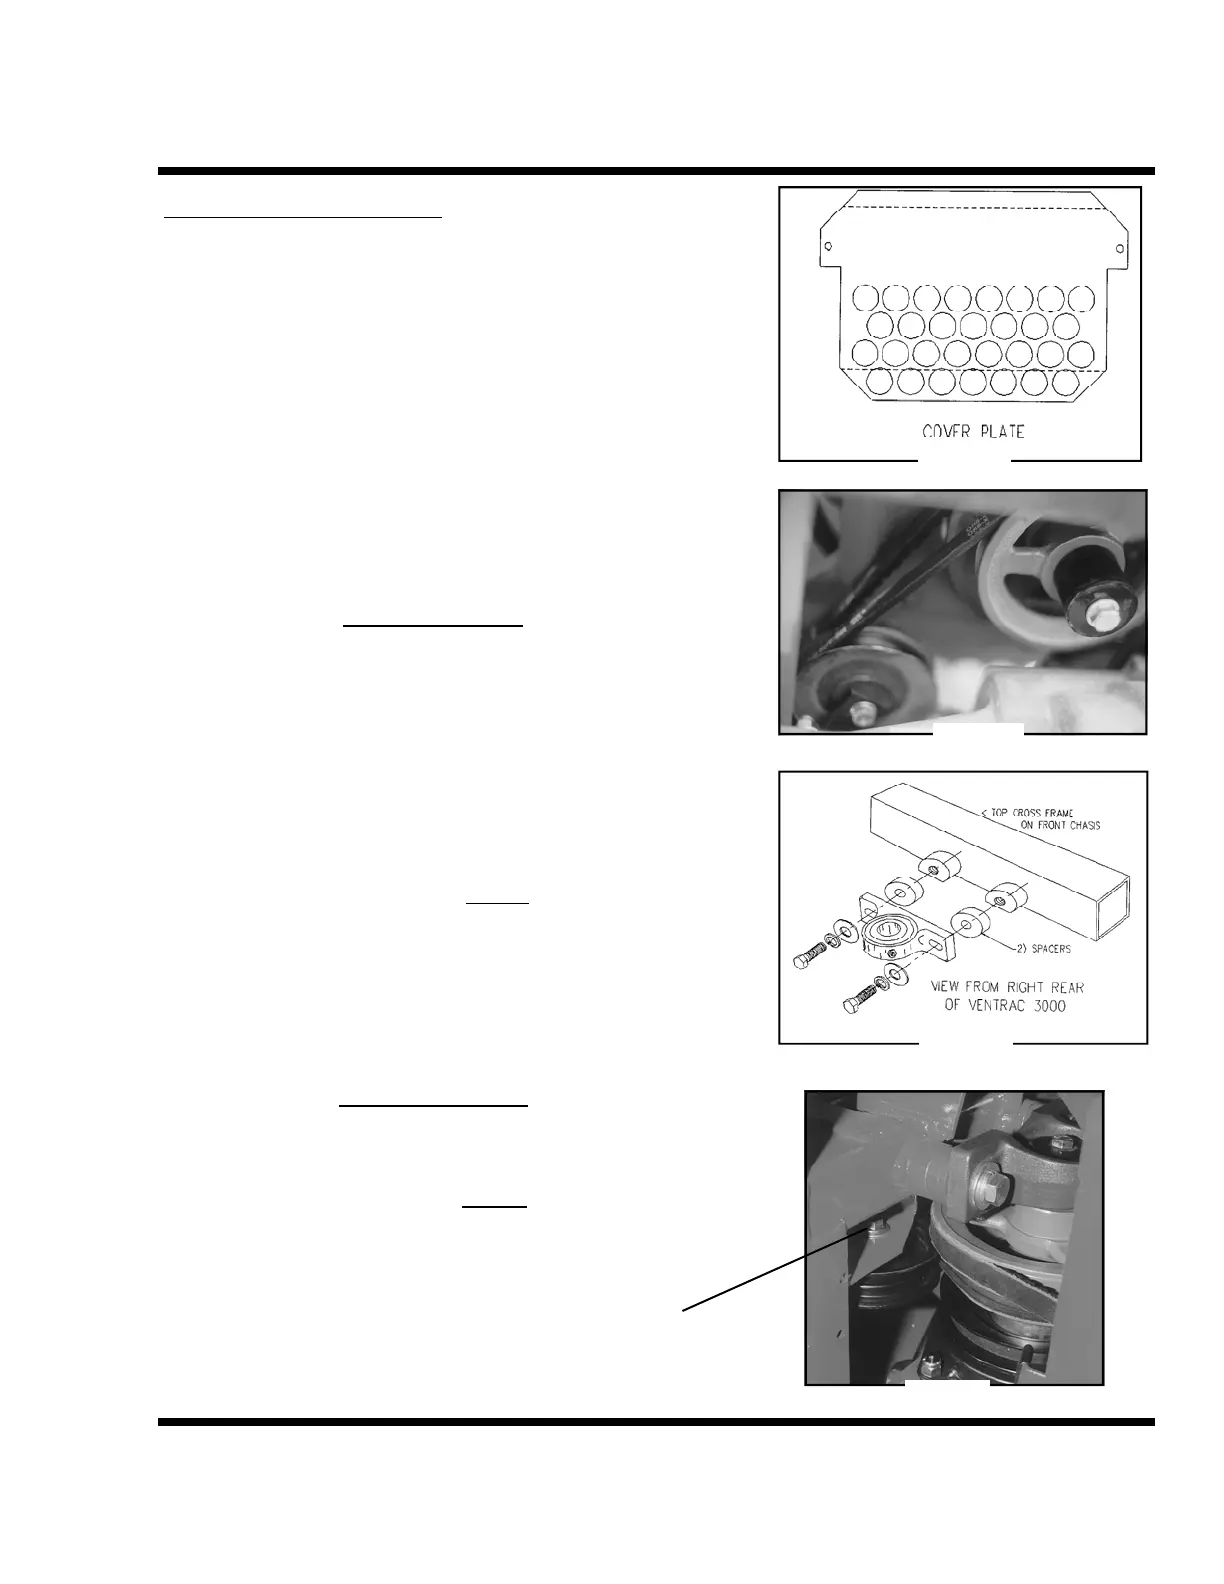
Remove cover plate over the rear chassis to access fan
and belt area (Figure 13) and center pulley cover on rear
frame. Release both spring prongs on each of the two- (2)
spring loaded idlers. The two springs are on the inside of
the rear frame on the left side. Remove belts from idler
engagement. Also disconnect shift cable from the
transaxle lever.
1) Rear Transaxle Belt
To replace the rear transaxle belt, access it from the rear –
under the engine. Dislodge it from the engine pulley
(Figure 14). Push or pull it up between the transaxle and
the engine. Remove it from around the cooling fan pulley.
Replace the new belt by reversing these steps and tension
the idler.
2) Primary Drive Belt
To change the Primary Drive Belt access it from the rear -
under the engine. First remove the rear transaxle belt from
the engine pulley and let it lay down on the transaxle case
out of the way. Dislodge the primary belt from the engine
pulley and move it up between the engine and the
transaxle.
Second remove the two ½” bolts and the two spacers from
the top center shaft pillow block bearing (Figure 15).
This makes clearance for belts to be removed or installed
over the center shaft assembly. Do not
remove bearing
from shaft.
Third dislodge the front part of the belt from the center
shaft pulley and move it up through the pillow block
spacer clearance. Install the new belt with these same
steps in reverse order and tension the idler.
3) Front transaxle Belt
First remove the two ½” bolts and the two spacers from
the top center shaft pillow block bearing (Figure 15).
This makes clearance for belts to be removed or installed
over the center shaft assembly. Do not
remove bearing
from shaft.
Remove the adjustable flat belt idler on the front transaxle
belt located just below the crossover frame section
(Figure 16).
Figure 13
Figure 15
Figure 16
Figure 14