ast and convenient Powered eSATA inter
in to use the
drive there are a
ew important things to learn about your new product.
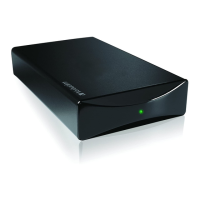
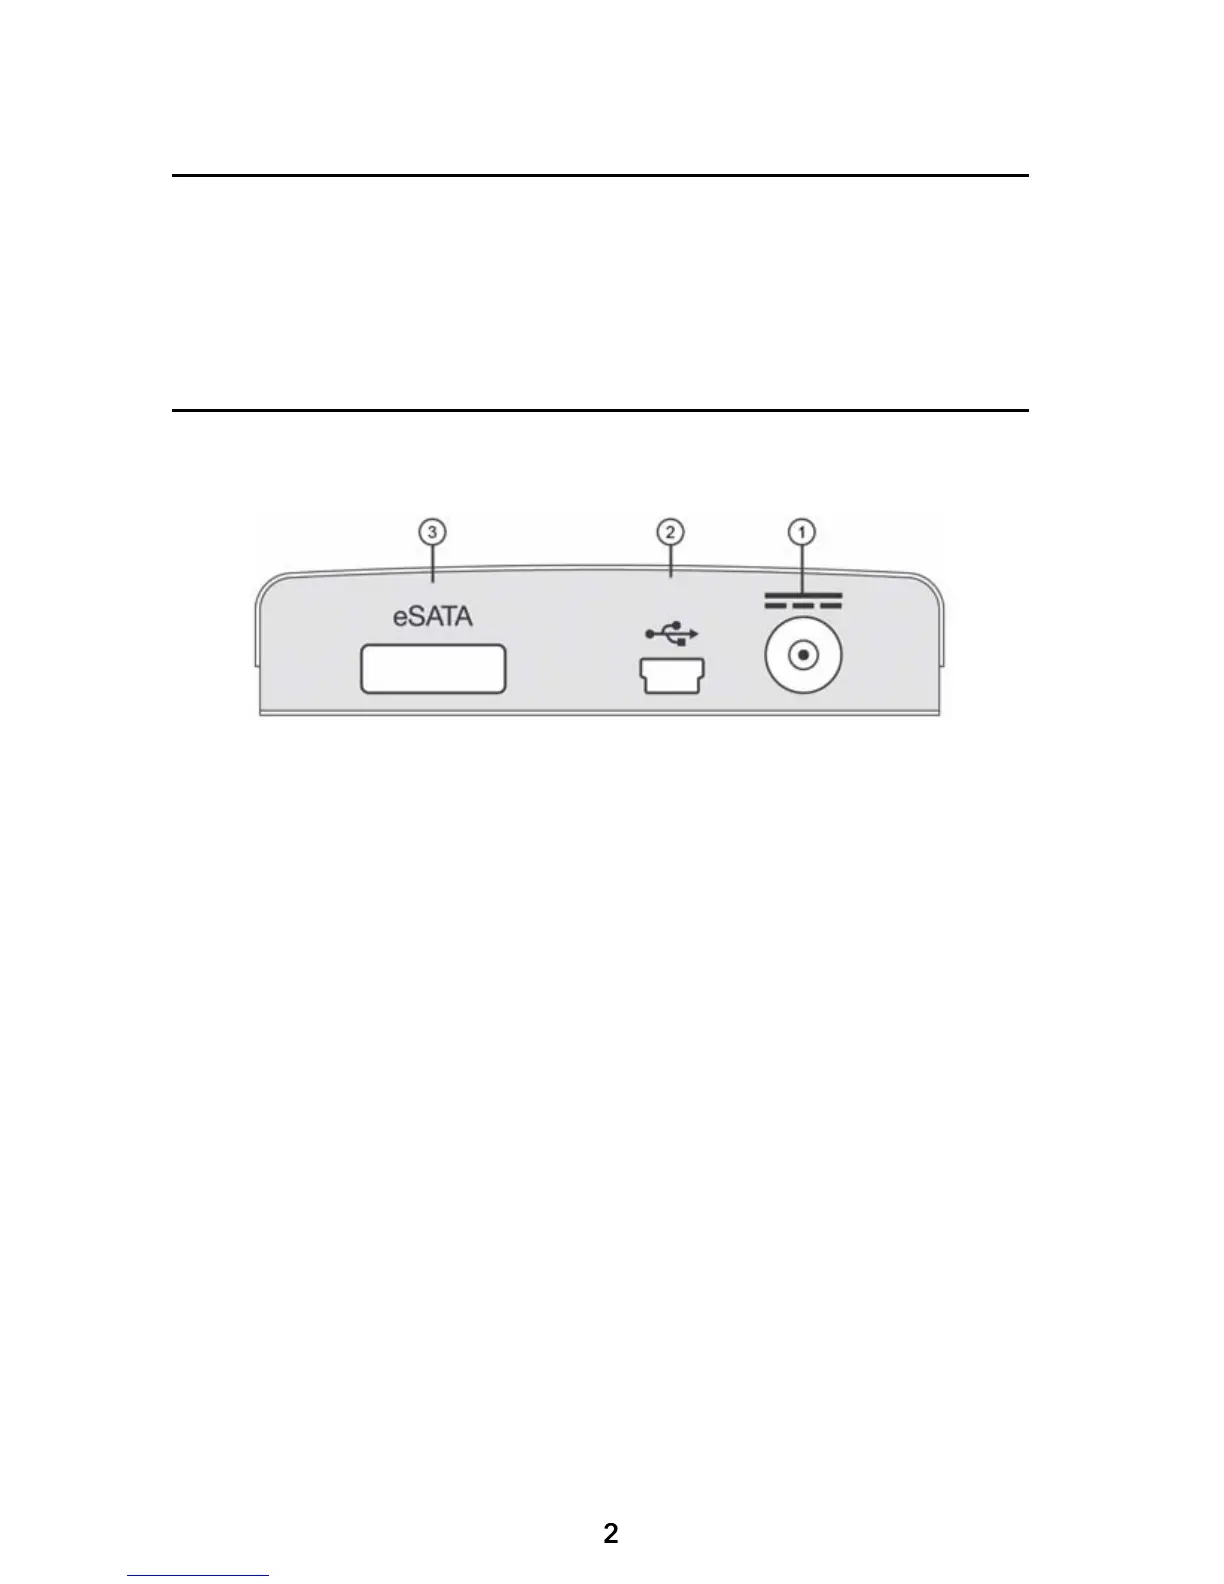
Connectors and Indicators
First familiarize yourself with the physical features of the unit
cient power to spin up the hard drive using the USB cable
alone, then you may optionally apply additional power
your computer. In this case connect the supplied Auxiliary
DC Power Ca
is
Auxiliary Power DC Input jack. Furthermore, i
your computer’s eSATA
port is a standard (non-powered) eSATA inter
rive over eSATA.
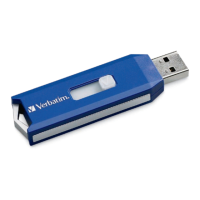
2. USB Connector. Use this connector to attach the drive to your computer
via U
se this connector to attach the drive to
SATA (read further below),
ou will need to connect both the eSATA cable and
the Auxiliar
 Loading...