3
vertilux.com
© 2018. Vertilux, Ltd. All Rights Reserved. Last revised: October 2018.
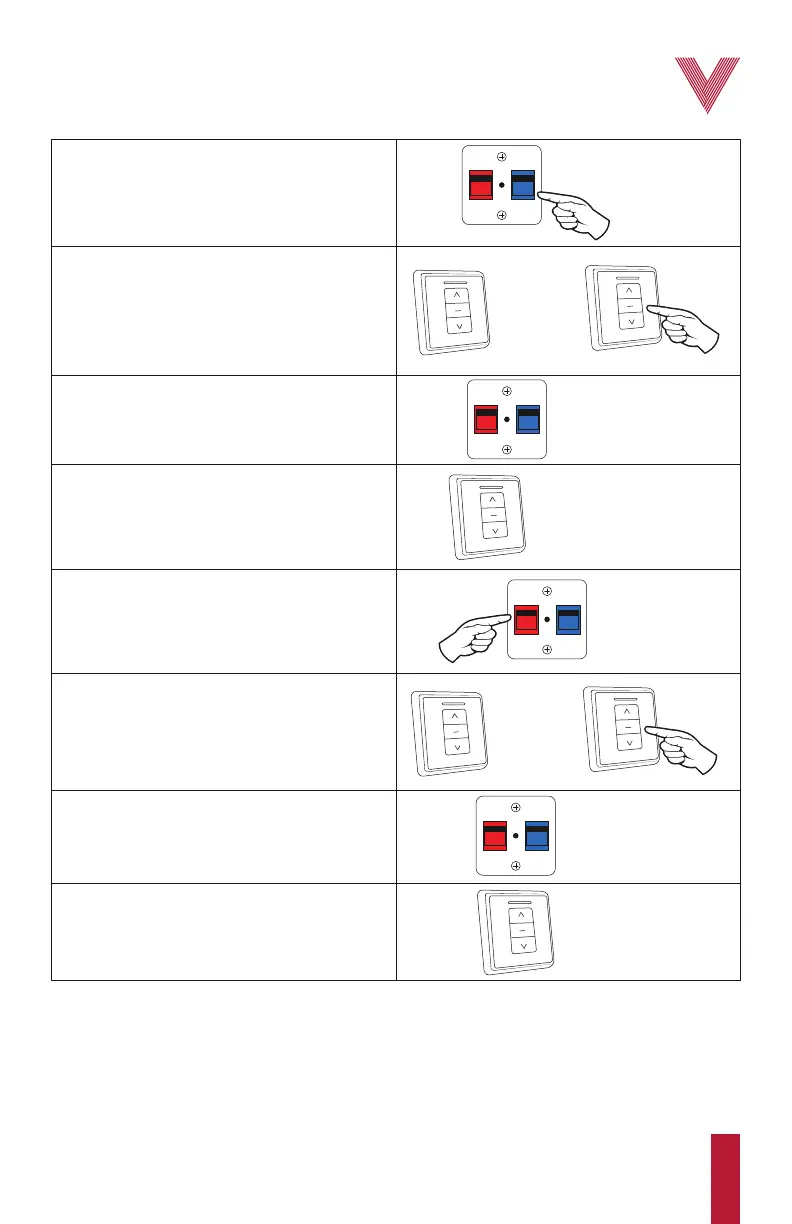
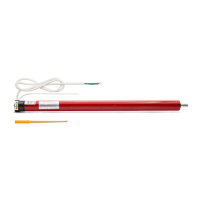
1. Press and hold the blue button until you reach
step 3.
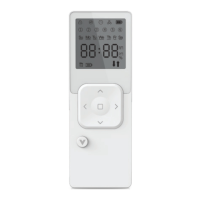
2. On the wall control press either direction button.
If the button you pressed does not start the motor,
try the opposite direction button. Let the motor
move and press the stop button when the panels
reach the first desired limit. Remember which
direction button you selected in this step.
3. You can now release the blue button.
4. On the wall control, press the opposite direction
button of the one selected in step 2, this will
bring the panels to the initial position in the
middle of the track where they were. The first
limit has now been set.
BLUE
BUTTON
BLUE
BUTTON
RED
BUTTON
STOP
BUTTON
5. Press and hold the red button until you reach
step 7.
6. On the wall control, press the opposite direction
button of the one selected in step 2. Let the
motor move and press the stop button when the
panels reach the second desired limit.
OPPOSITE DIRECTION
BUTTON
DIRECTION
BUTTON
STOP
BUTTON
OPPOSITE
DIRECTION
BUTTON
RED
BUTTON
DIRECTION
BUTTON
7. You can now release the red button.
8. On the wall control, press the same direction
button as the one selected in step 2. Both motor
limits have been adjusted.
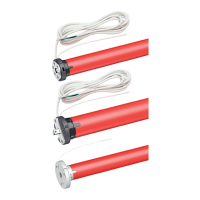
IMPORTANT: Secure the motor settings by covering the limit setting buttons with their cover.
Adjusting the motor limits