Do you have a question about the VEVOR EV-A01-US009A and is the answer not in the manual?
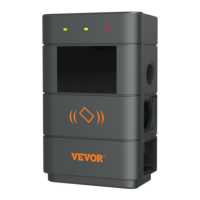
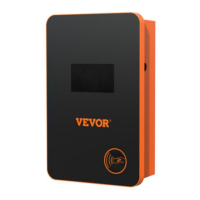
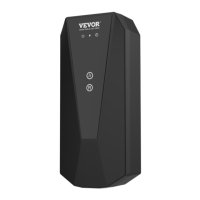
Overview of EV-A01-US series AC charging pile, highlighting key features and IP66 rating.
Details specifications including type, voltage, power, current, protection, indicator lights, and operating conditions.
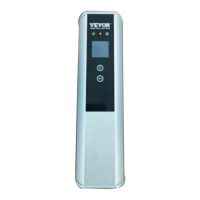
Guide for operating the EV charger using its touch screen interface, specifically for models EV-A01-US011A/B.
Shows the initial standby screen with options for APP or RFID start-up.
Guides through entering the password via the on-screen keyboard interface.
Presents the main interface for selecting various charging functions after password confirmation.
Detailed explanations for setting charging current, reservation, password, mode, and viewing status.
Instructions on how to set the charging current using the touch screen interface, adjusting up or down.
Instructions for setting the reservation charging time between 0 and 12 hours for automatic charging.
Steps to start or stop charging using password authentication for secure operation.
Procedure to configure the charging mode between Plug and Play or RFID card charging.
Procedure to change the device password for accessing function settings securely.
Interface to view real-time charging voltage, current, power, and quantity.
Instructions for downloading the Tuya smart APP and binding the charging device.
Steps for registering, logging in, and pairing the charging device with the mobile app.
Guide for models without touch display, using LED indicators and RFID cards for charging operations.
Troubleshooting for black display or unresponsive screens, including LED indicator status.
Troubleshooting for controller boot failure and end lock gun problems, covering common causes.
List of general purpose accessories and wall mount installation parts included with the product.
Detailed steps for wall mounting the charging pile, including plate preparation, drilling, and securing.
| Model | EV-A01-US009A |
|---|---|
| Output Current | 10A |
| Charging Mode | Automatic |
| Cooling System | Fan Cooling |
| Input Voltage | 100-240V AC, 50/60Hz |
| Output Voltage | 12V/24V |
| Battery Type | Lead-Acid, Lithium-ion |
| Protection Features | Short-circuit |
| Display | LCD |
| Operating Temperature | -20°C to 50°C |