tank tread kit • 2
Inventor’s Guide insert
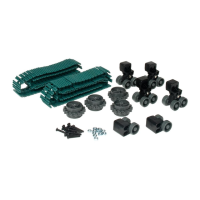
accessories
motion accessories
tank tread kit, continued
Assembly Instructions
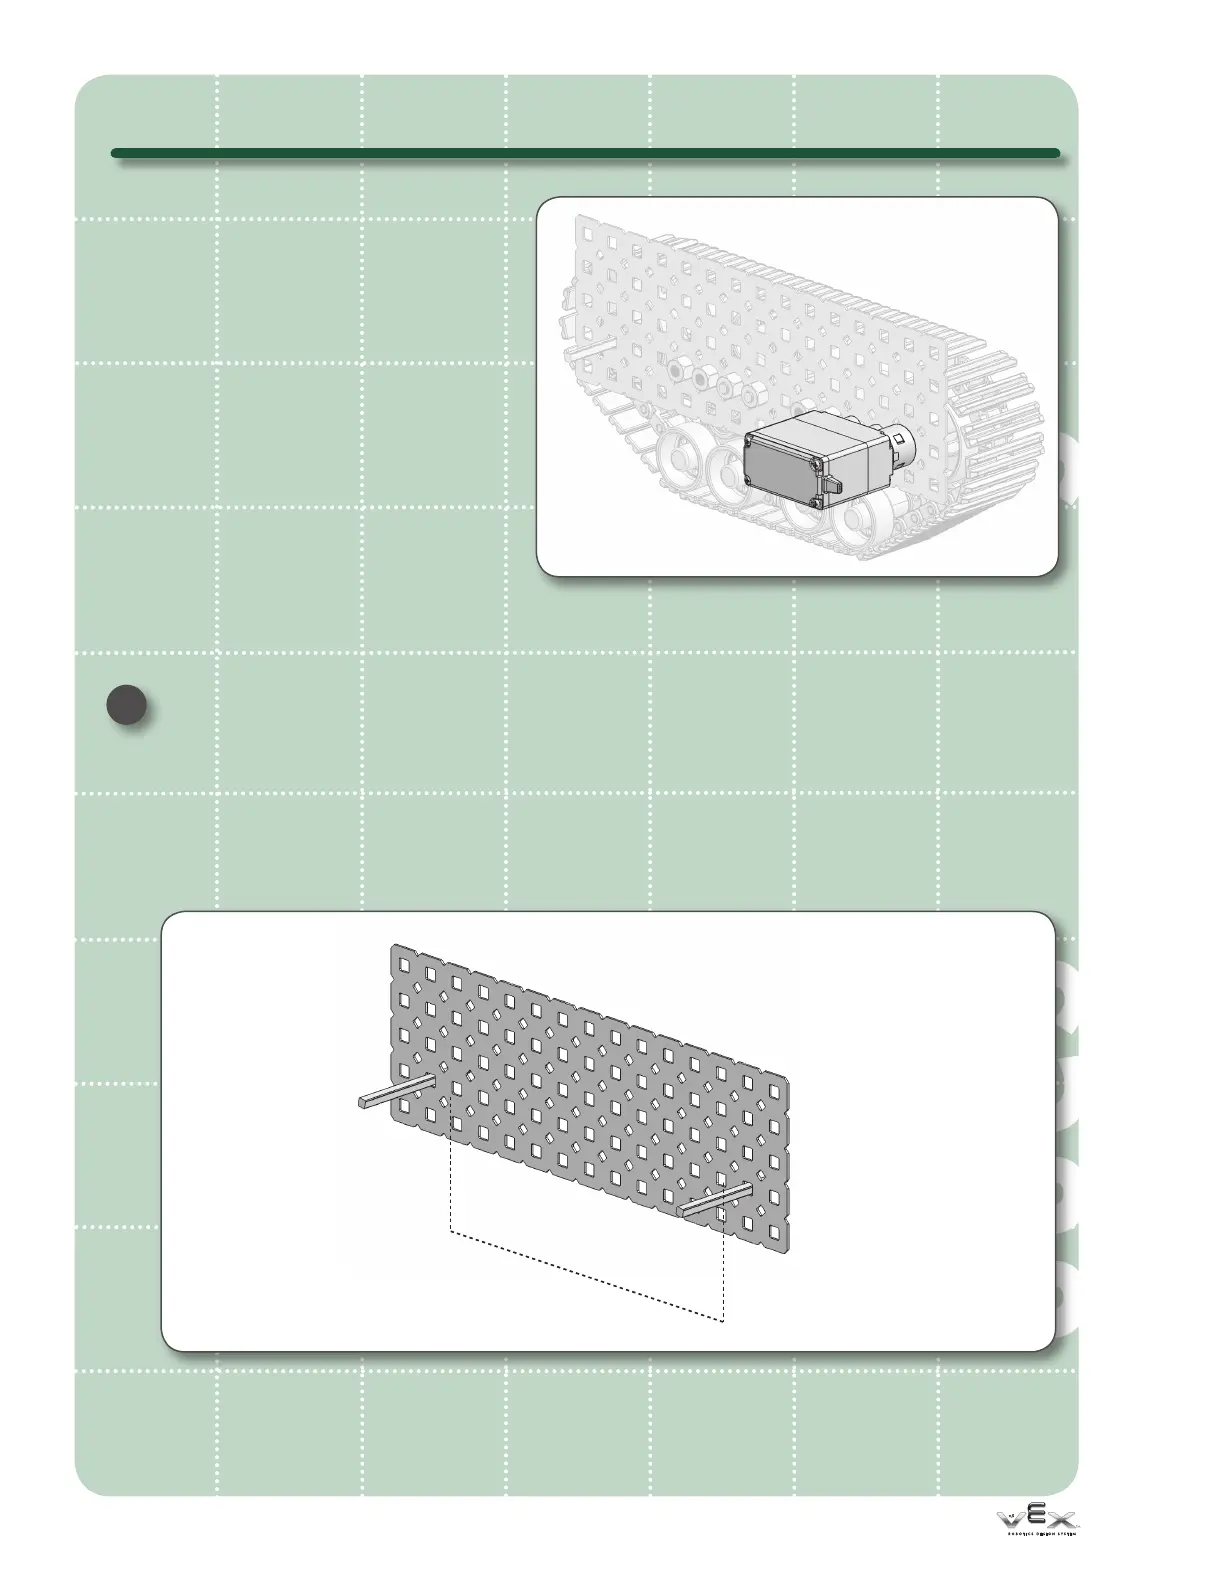
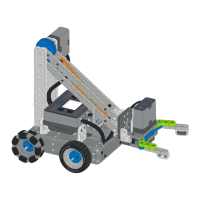
1 Build Your Support Structure
Start by assembling the chassis of your robot and the support
structure on which you intend to mount the tank tread. (Note: the
structure shown in these instructions is only for reference.) The
mounting structure should include two axles spaced out such that
there are 11 open holes in between them. One of these axles will be
connected to a motor, which will drive the whole assembly.
As you learned in the Vex Inventor’s Guide, a
robot’s structure and motion subsystems are
usually interdependent and often have to be built
together. In this case, you’ll need to have some
pre-existing structure to which you can connect
the tank track components. In particular, you’ll
need a chassis rail or other structural component,
two axles for the tank tracks’ drive wheels, and a
motor to power one of those axles. Remember to
mount the motor securely using two 6-32 screws,
or you’ll have problems down to the road!
Note: for more information on motors and motion
systems, see the Motion chapter in your Vex
Inventor’s Guide.
NOTE: The following
assembly instructions show
how to build tank tracks for
one side of your robot. The
same directions should also
be followed to build the
other side.