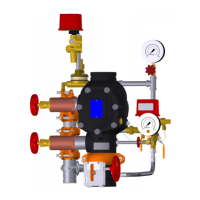
I-751.Europe / European Alarm Check Valve Stations / Installation, Maintenance, and Testing Manual
REMOVING AND REPLACING THE CLAPPER
SEAL (ALL SIZES)
NOTICE
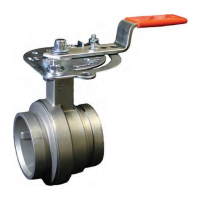
• The clapper assembly for an 8-inch/DN200 valve is shown in the
photos featured in this section.
1.
Perform steps 1 – 6 of Section VI, Required Internal Inspection.
2. Remove the self-sealing screw from the clapper seal.
3. Remove the seal retaining ring. Save the seal retaining ring for
re-installation.
CAUTION
• DO NOT pry the seal washer out of the clapper seal from the
inner hole (for the 8-inch/DN200 valve size only).
Failure to follow this instruction could damage the seal washer,
resulting in improper clapper sealing and valve leakage.
4. For the 8-inch/DN200 Size Only: Pry the edge of the old seal
washer from inside the clapper seal, as shown above.
5. For the 8-inch/DN200 Size Only: Remove and discard the old
seal washer.
6. Pry the old clapper seal out of the clapper. For the 8-inch/DN200
size, verify that the seal ring is removed with the clapper seal.
Discard the old clapper seal and replace it with a new, Victaulic-
supplied clapper seal assembly. Proceed to step 6a for the 8-inch/
DN200 size or step 7 for all other sizes.
I-751.Europe_22REV_G

 Loading...