3
5698 072 - 02
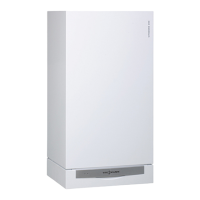
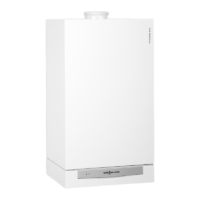
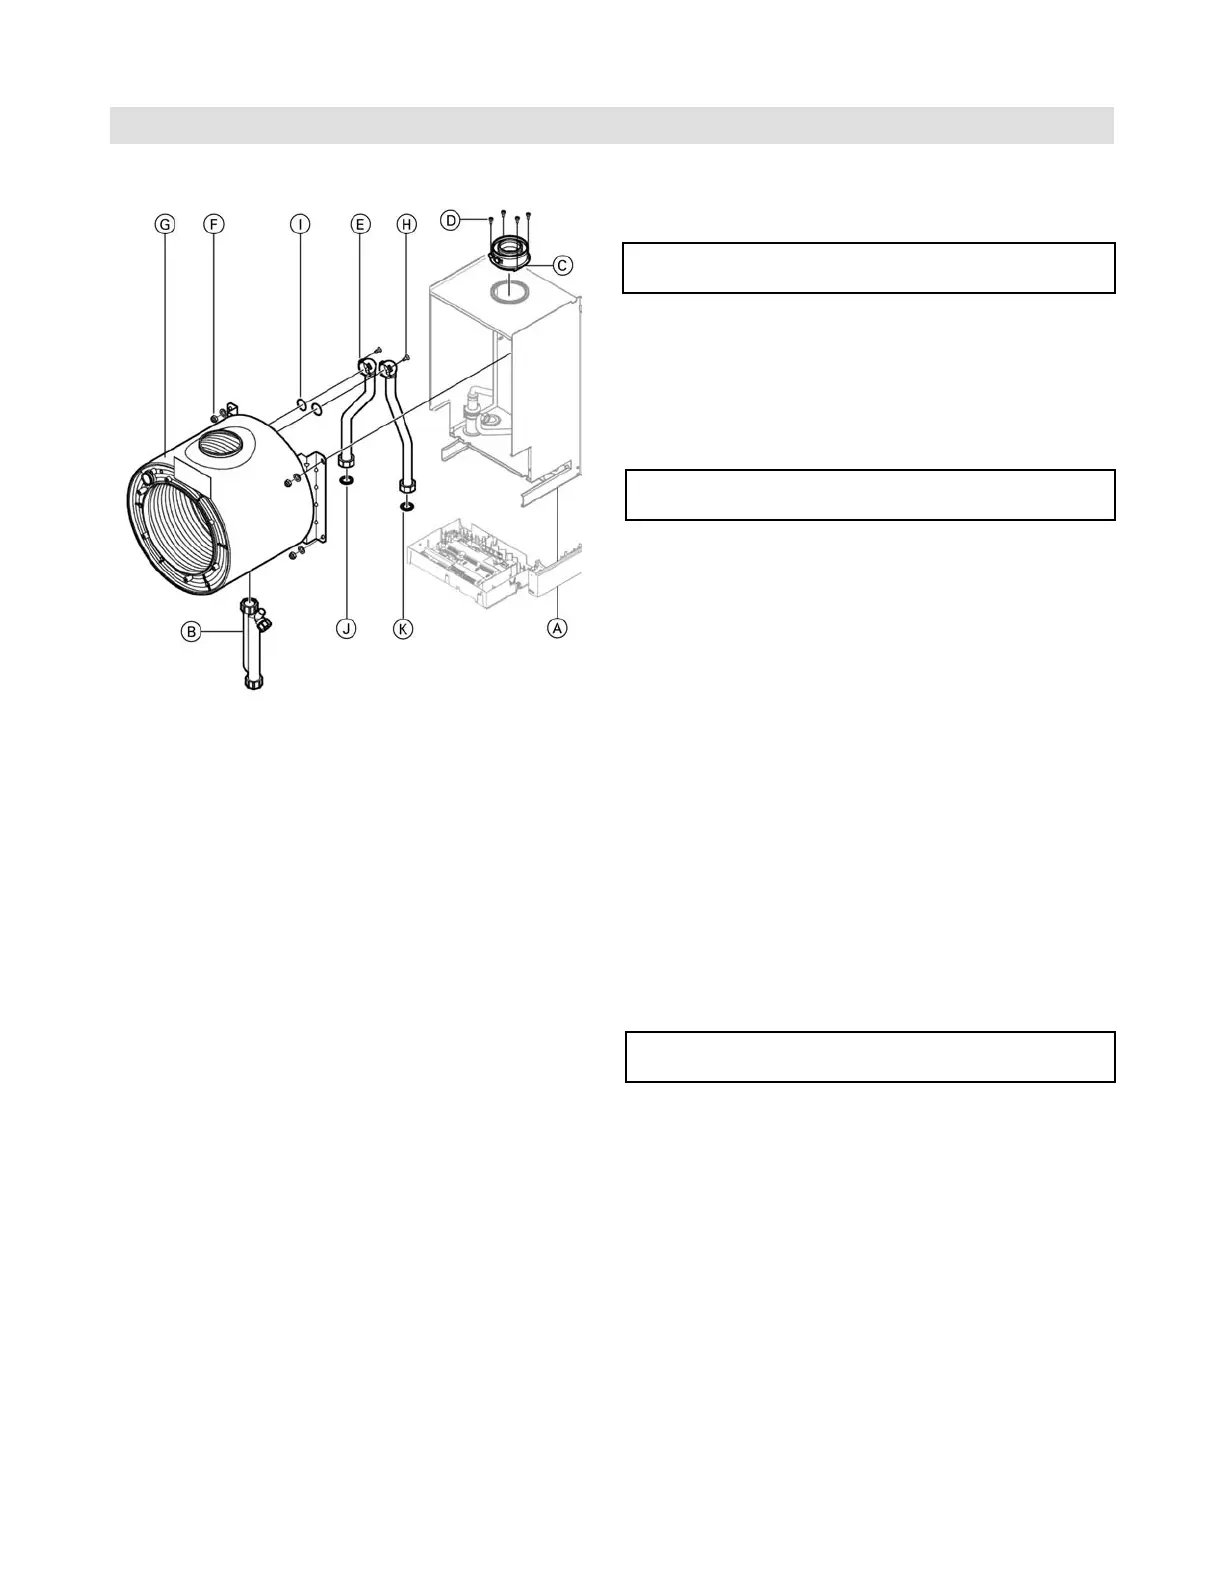
Heat Exchanger Assembly Installation
Replacing Heat Exchanger/Return Pipe
1. Drain water from the heat exchanger
through the sediment faucet drain valve.
Residual water may leak out during disassembly.
IMPORTANT
2. Remove supply pipe (see Replacing Supply Pipe).
3. Remove the two Phillips screws A under the control
console and slide out. Disconnect all wiring
connectors, remove console and set aside.
IMPORTANT
The control console must be removed to protect it from
accidental water spillage.
4. Loosen by hand and remove the condensate hose B.
5. Disconnect the flue gas temperature sensor plug inside
the boiler from the vent pipe adaptor C.
6. Remove the four Allen screws (4 mm) D and
disconnect the vent pipe adaptor C from the heat
exchanger.
7. Loosen compression fittings on the bottom of both
return pipes J above the shut off valves.
8. Remove the four 13 mm Hex nuts F and remove heat
exchanger G from the boiler.
9. Remove the Torx screws (T-40) H at the top of the
heating return pipes J and remove with O-rings I
and K.
IMPORTANT
Use new gaskets and O-rings on all connections.
10. Replace parts as required and reassemble the heat
exchanger as per steps 9 through 2 respectively and
torque fasteners per legend.
Legend
Tighten the following fasteners on assembly:
A 8.9 lb.in. (1 Nm)
D 8.9 lb.in. (1 Nm)
J 74 lb.ft. (100 Nm)
F 70.8 lb.in. (8 Nm)
H 70.8 lb.in. (8 Nm)