7
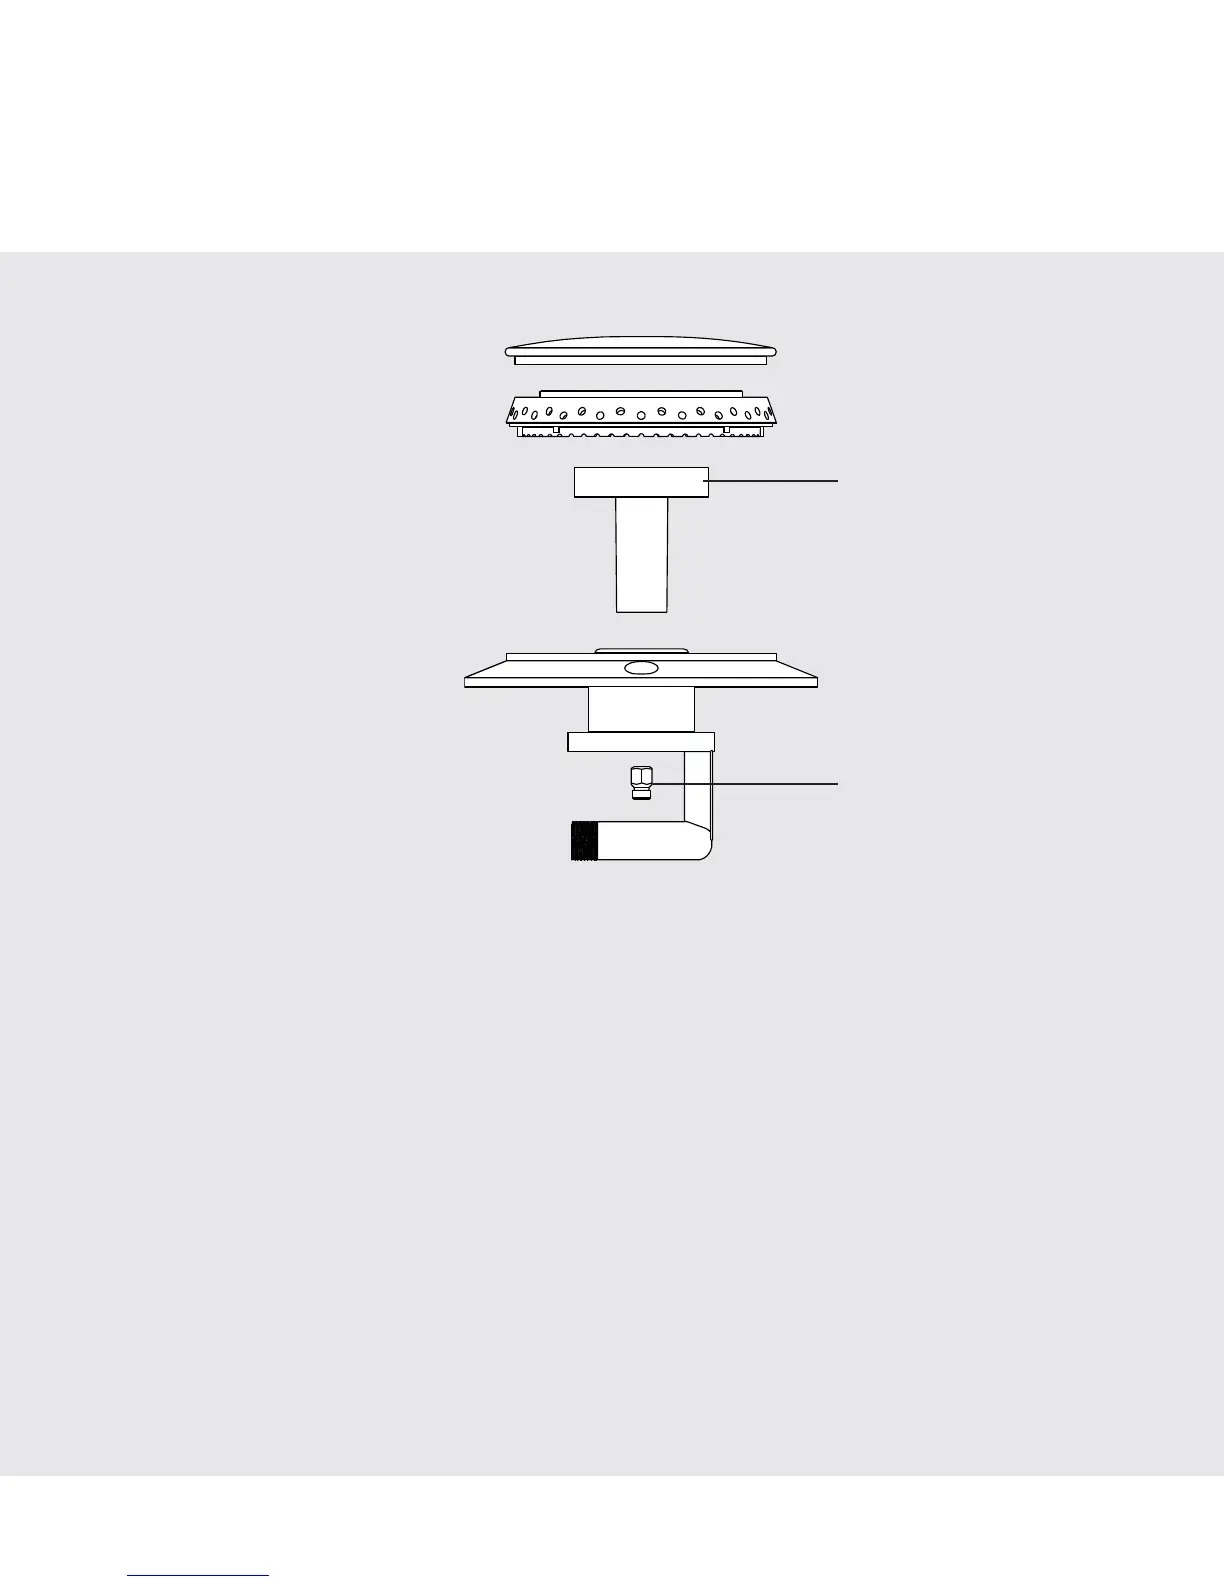
Surface Burner Conversion
Sealed
Type 1
Item #1
Item #2
Locate bag labeled Sealed Burner Orifice Type 1.
Remove the venturi (Item #1) by turning counterclockwise.
Use a 11/32” (9 mm) socket or nut driver to remove orifice (Item #2) and replace it with orifice
from bag labeled Sealed Burner Orifice Type 1.
Tech Tip: Tape can be applied to the inside of a socket to assist in retrieval of the surface
burner orifices. This can prevent the orifices from falling into the range during removal.
Replace the venturi (Item #1) and hand tighten.
Repeat steps until all top burners have been converted.
Reverse procedure as needed to reassemble.
IMPORTANT: For proper placement of burner head, rotate until burner head seats into groove.
For models with an arrow on the burner head, position arrow toward igniter.