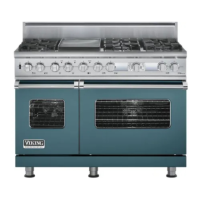
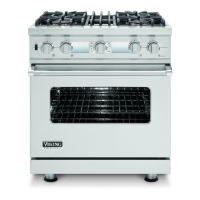
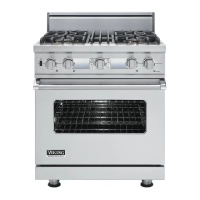
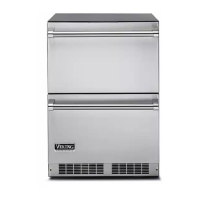
16
CONVECTION DEHYDRATION
This oven is designed not only to cook, but also
to dehydrate fruits and vegetables.
• Prepare the food as recommended.
• Arrange the food on drying racks. (Not
included with oven; Contact a local store
handling specialty cooking utensils.)
• Set the appropriate “low” temperature and
turn the Oven Function selector to CONV
BAKE.
CONVECTION DEFROSTING
• Place the frozen food on a baking sheet.
• Set Temperature Control “OFF”.
• Turn Oven Function selector to CONV BAKE.
IMPORTANT;
Do not turn the Temperature Control on. turning
the convection fan on will accelerate the natural
defrosting of the food without heat.
WARNING:
To avoid sickness and food waste, do not allow
defrosted food to remain in the oven for more
than two hours.
CLEANING AND MAINTENANCE
Any piece of equipment works better and lasts
longer when maintained properly and kept clean.
Cooking equipment is no exception. Your range
must be kept clean and maintained properly.
OPEN SURFACE BURNER (IF APPLICABLE).
Wipe up spill-overs as soon as possible after they
occur and before they get a chance to burn in
and cook solid. In the event of a spill-over, follow
these steps:
1. Allow the burner and grate to cool to a safe
temperature level.
2. Lift off the open burner grates.
3. If the spill is contained in the bowl of the
grate support, just remove the bowl and
clean in warm soapy water.
4. Lift the grate support off.
5. Wash parts in hot, soapy water and rinse
clean.
6. If the spill has gone lower than the grate
supports, draw out the drip pan and wash
with hot, soapy water.
If ports on the burner are clogged, clean with s
straight pin. Do not enlarge or distort the ports.
Do not use a toothpick to clean the ports. When
replacing burner caps, carefully align the tabs
underneath the cap with the outside edge of
burner. Make sure the tabs are not aligned with
the igniter and the burner cap is level.
SEALED SURFACE BURNERS (IF APPLICABLE)
Wipe up spill-overs as soon as possible after they
occur and before they get a chance to burn in and
cook solid. In the event of a spill-over, follow
these steps:
1. Allow the burner and grate to cool to a safe
temperature level.
2. Lift off the burner grates.
3. Remove the burner cap and clean per
instructions below.
4. Wipe up any spills which remain on the
sealed top surface.
5. Wash grates and burner caps in hot, soapy
water and rinse clean.
6. Replace burner cap and grate after drying
thoroughly.
If ports on the burner are clogged, clean with s
straight pin. Do not enlarge or distort the ports.
Do not use a toothpick to clean the ports. When
replacing burner caps, carefully align the tabs
underneath the cap with the outside edge of
BURNER CAPS
The surface burner caps should be routinely
removed and cleaned. Always clean the burner
caps after a spill over. Keeping the burner caps
clean will prevent improper ignition and uneven
flames. To clean, pull burner cap straight up from
the burner base. Wipe off surface burner caps
with warm, soapy water and a soft cloth after
each use. Use a non-abrasive cleanser such as
Bon Ami™ and a soft brush or soft scotch brite™
pad for cooked on foods. Dry thoroughly after
cleaning. For best cleaning and to avoid possible
rustin
g, do not clean in dishwasher or self-
cleaning oven.
SEAL BURNER ALUMINUM BASE (IF
APPLICABLE)
The aluminum base should be wiped regularly
with hot soapy water at the end of each cooling
period. DO NOT use steel wool, abrasive cloths,
cleanser, or powders. To remove encrusted
materials, soak the area with a hot towel to loosen
the material, then use a wooden nylon spatula.
DO NOT use a metal knife, spatula, or any other
metal tool to scrape the aluminum base. NOTE:
For stubborn stains, use a non abrasive cleanser
such as Bon Ami™ and a soft brush or soft
Scotch Brite™ pad.
 Loading...