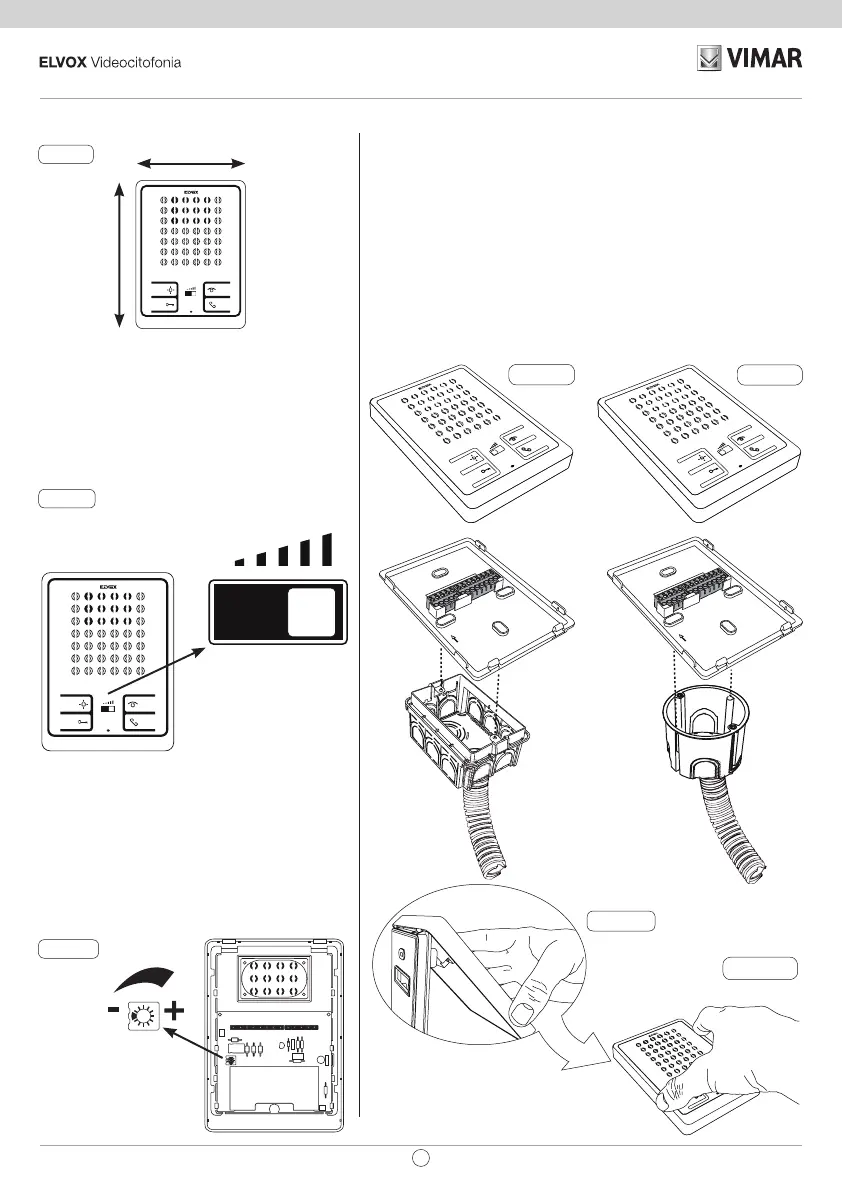
Installation
Wall mounting procedure:
• Install the interphone away from sources of light and heat.
• Fix the interphone base to the rectangular or round ush-mount back
box using the screws provided (Fig. 6a, 6b), or x to the wall using two
wall plugs.
• We recommend installing the interphone at a height of 1.40 m from the
oor to the lower edge.
• Make the connections to the terminal block (see wiring diagrams).
• Close the interphone by hooking the top edge of the cover over the
base and then applying light pressure at the bottom until it clicks into
place (Fig. 7a, 7b).
• To reopen the interphone, remove the cover by gripping with the n-
gers at the bottom and levering away from the base.
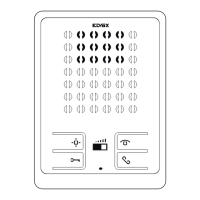
Dimensions:
102 mm
142 mm
Depth:
23 mm
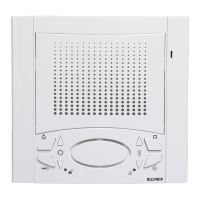
Controls
Ringtone volume control/mute
Selector “E” allows the ringtone volume to be set to
three levels or muted.
The “Ringtone muted” position (rst position on left)
is also indicated by a red mark on the slider.
Fig. 3
Fig. 6A
Fig. 6B
Fig. 7A
Fig. 5
Fig. 7B
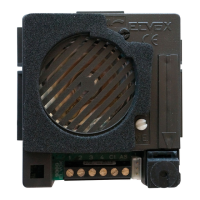
Conversation volume control (from
panel to interphone)
The circuitboard inside the interphone features a
trimmer that can be used to set the conversation
volume on the interphone loudspeaker at the time
of installation.
Fig. 4
Minimum volume
Maximum volume
Medium volume
Ringtone muted
EN
5
6900