events according to the resistance it measures as
shown in the table below.
E.O.L or Arming Key Resistance
Figure 3.7b – EXP-33 Expander Module Wiring
Notes for EXP-33 Expander module wiring:
Wired zone
∗
terminals can be connected to a normally closed contact of a detector, switch (for example a Tamper switch
of any device), or a pushbutton, via a 2.2 K
Ω resistor. The 12V terminal can be used to supply 12V to low power
detectors with up to 10mA standby current drain as DA-5; PL-1; Next_PIR; Vi-Motion; Vi-Pet.
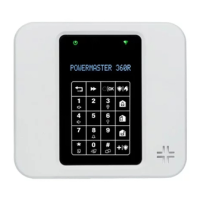
The Speech Box is a wired remote speaker and microphone device for indoor use. It provides two-way voice
communication between the user and the central station using the control panel.
Caution! Do not install or remove the EXP-33 expander module when the control panel is powered by AC power or
battery.
16 D-306917 PowerMaster-33 G2 Installer's Guide

 Loading...