TRUGOLF
10 11
VISTA 10/12
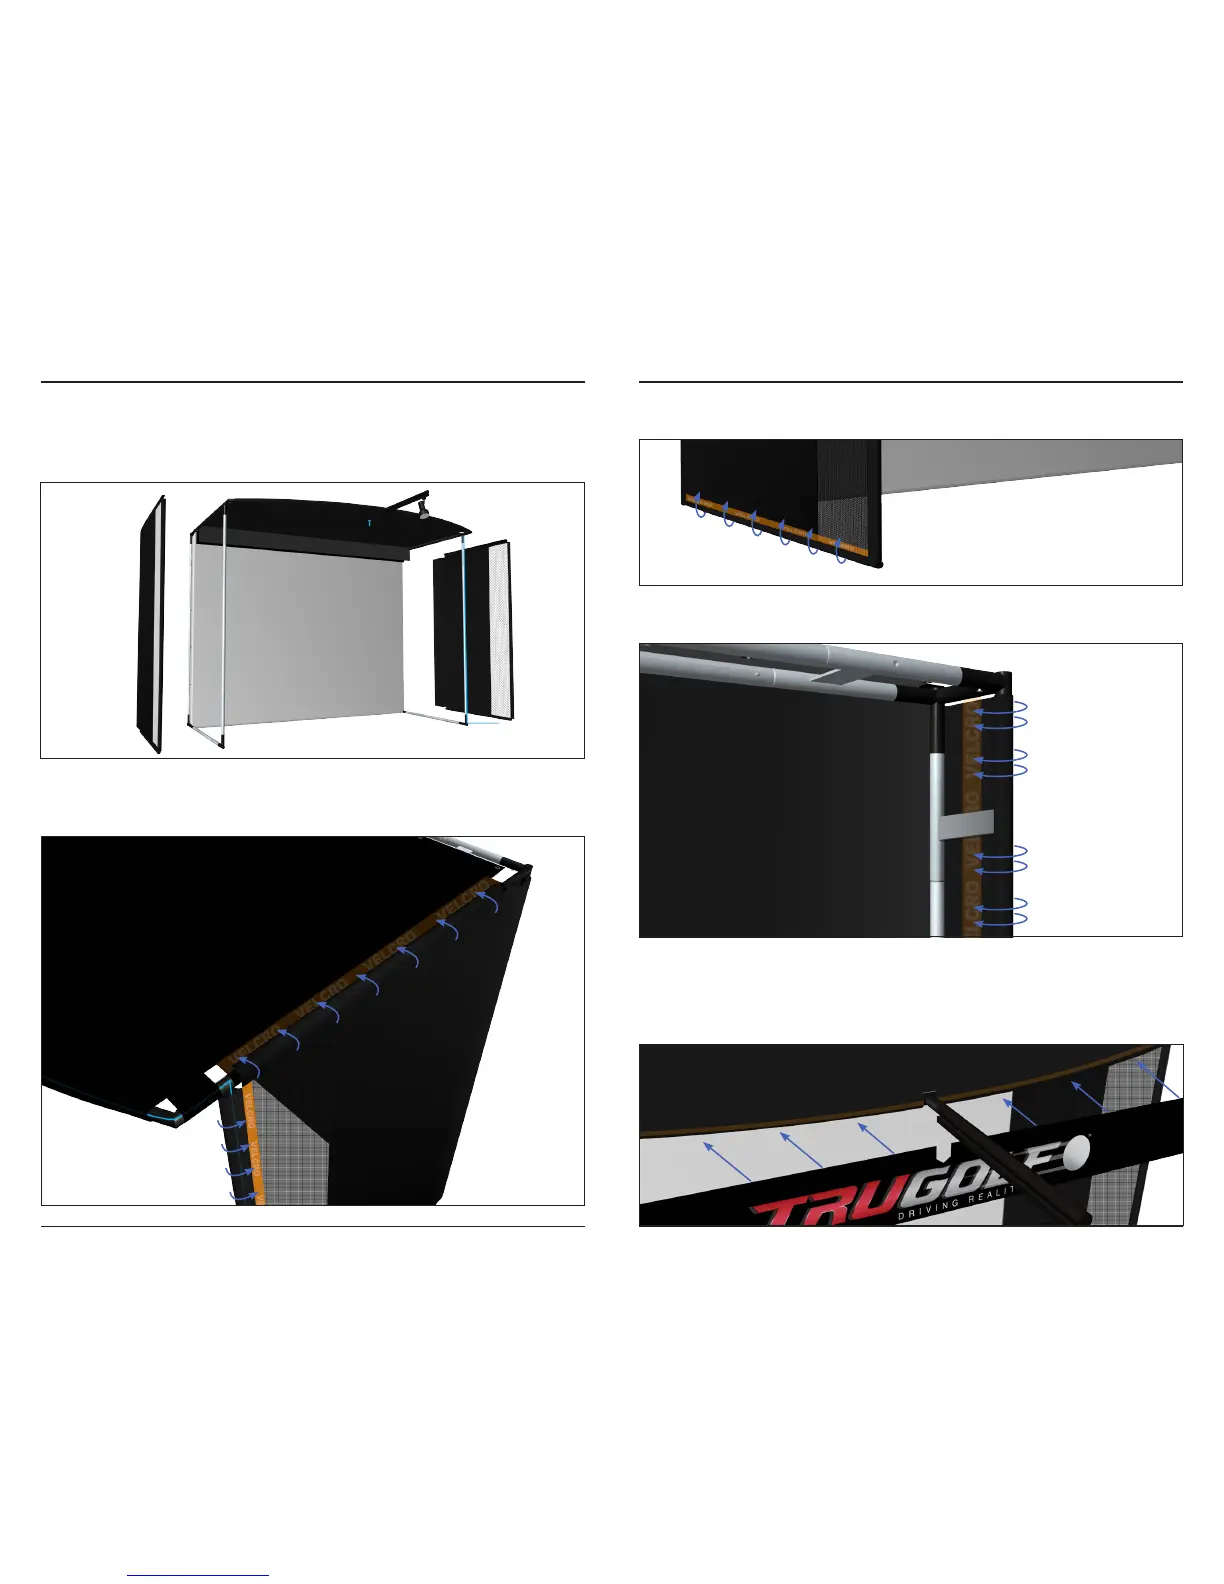
STEP 2 | SIDE WALLS
Attach the SIDE WALLS to the frame.
Connect the SIDE WALLS by rst attaching the Velcro on the top edge to the
Velcro that runs along the side of the top.
Second, attach the front edges by stretching the fabric around the frame
and attaching the fabric back onto itself using the Velcro. Wrap any cables to
the frame at this time.
Next, attach the bottom edges using the same technique, stretch the fabric
around the frame and attaching the fabric back onto itself using the Velcro.
Lastly, attach the back edges by stretching the fabric around the frame and
attaching the fabric back onto itself using the Velcro.
STEP 3 | AWNING
Attach the TRUGOLF BANNER to the top front edge of the simulator using
the integrated Velcro. Start at the middle of the banner, attaching it around
the LIGHT BAR [Q], then move towards the sides.