Do you have a question about the Voxelab Aquila C2 and is the answer not in the manual?
Caution regarding sharp edges on the printer's profile structure.
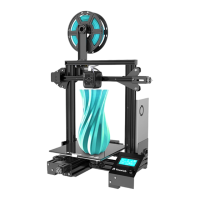
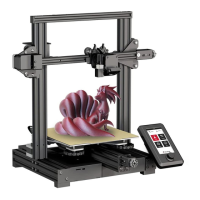
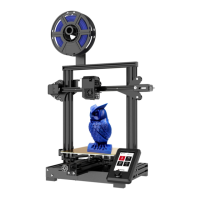
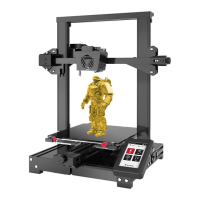
Visual guide and list of key printer components and their locations.
Detailed specifications including print size, technology, and material compatibility.
Listing of smaller parts, fasteners, and tools provided.
Install Z-axis components, screw rod, and power supply kit.
Install XE-axis, synchronous belt, extruder, and X-axis tensioner.
Install gantry profile, screen kit, spool holder, and profile covers.
Connect labeled cables to motors and limit sensors.
Connect power cord and prepare for startup.
Check build plate stability and perform initial leveling.
Adjust nozzle-to-plate gap using nuts and paper.
Select preheat settings for PLA or ABS materials.
Adjust nozzle temperature manually via the interface.
Hang filament and cut end to angle for proper feeding.
Feed filament through the extruder into the nozzle.
Unload old filament and load new filament.
Prepare printer, slice models, and transfer files.
Initiate print, adjust first layer, and perform Z-axis offset.
Locate and identify mainboard ports for motors, sensors, and peripherals.
Maintain adhesion and prevent warping.
Ensure proper belt tension for print accuracy.
Adjust Z-axis compensation and platform stability.
Resolve firmware upgrade problems and TF card file recognition issues.
Address model warping, adhesion, accuracy, and offset problems.
Troubleshoot filament extrusion, oozing, and noise during operation.
Understand warranty coverage, period, and exclusions.
| Build Volume | 220 x 220 x 250 mm |
|---|---|
| Layer Resolution | 0.1 - 0.4 mm |
| Filament Diameter | 1.75 mm |
| Nozzle Diameter | 0.4 mm |
| Connectivity | TF card, USB |
| Supported Materials | PLA, ABS, PETG |
| Technology | FDM (Fused Deposition Modeling) |
| Bed Temperature | ≤ 100°C |
| Nozzle Temperature | ≤ 250°C |
| Display | LCD screen |
| Power Supply | 24V, 360W |