2
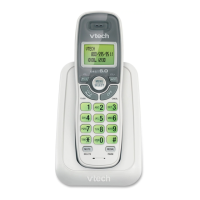
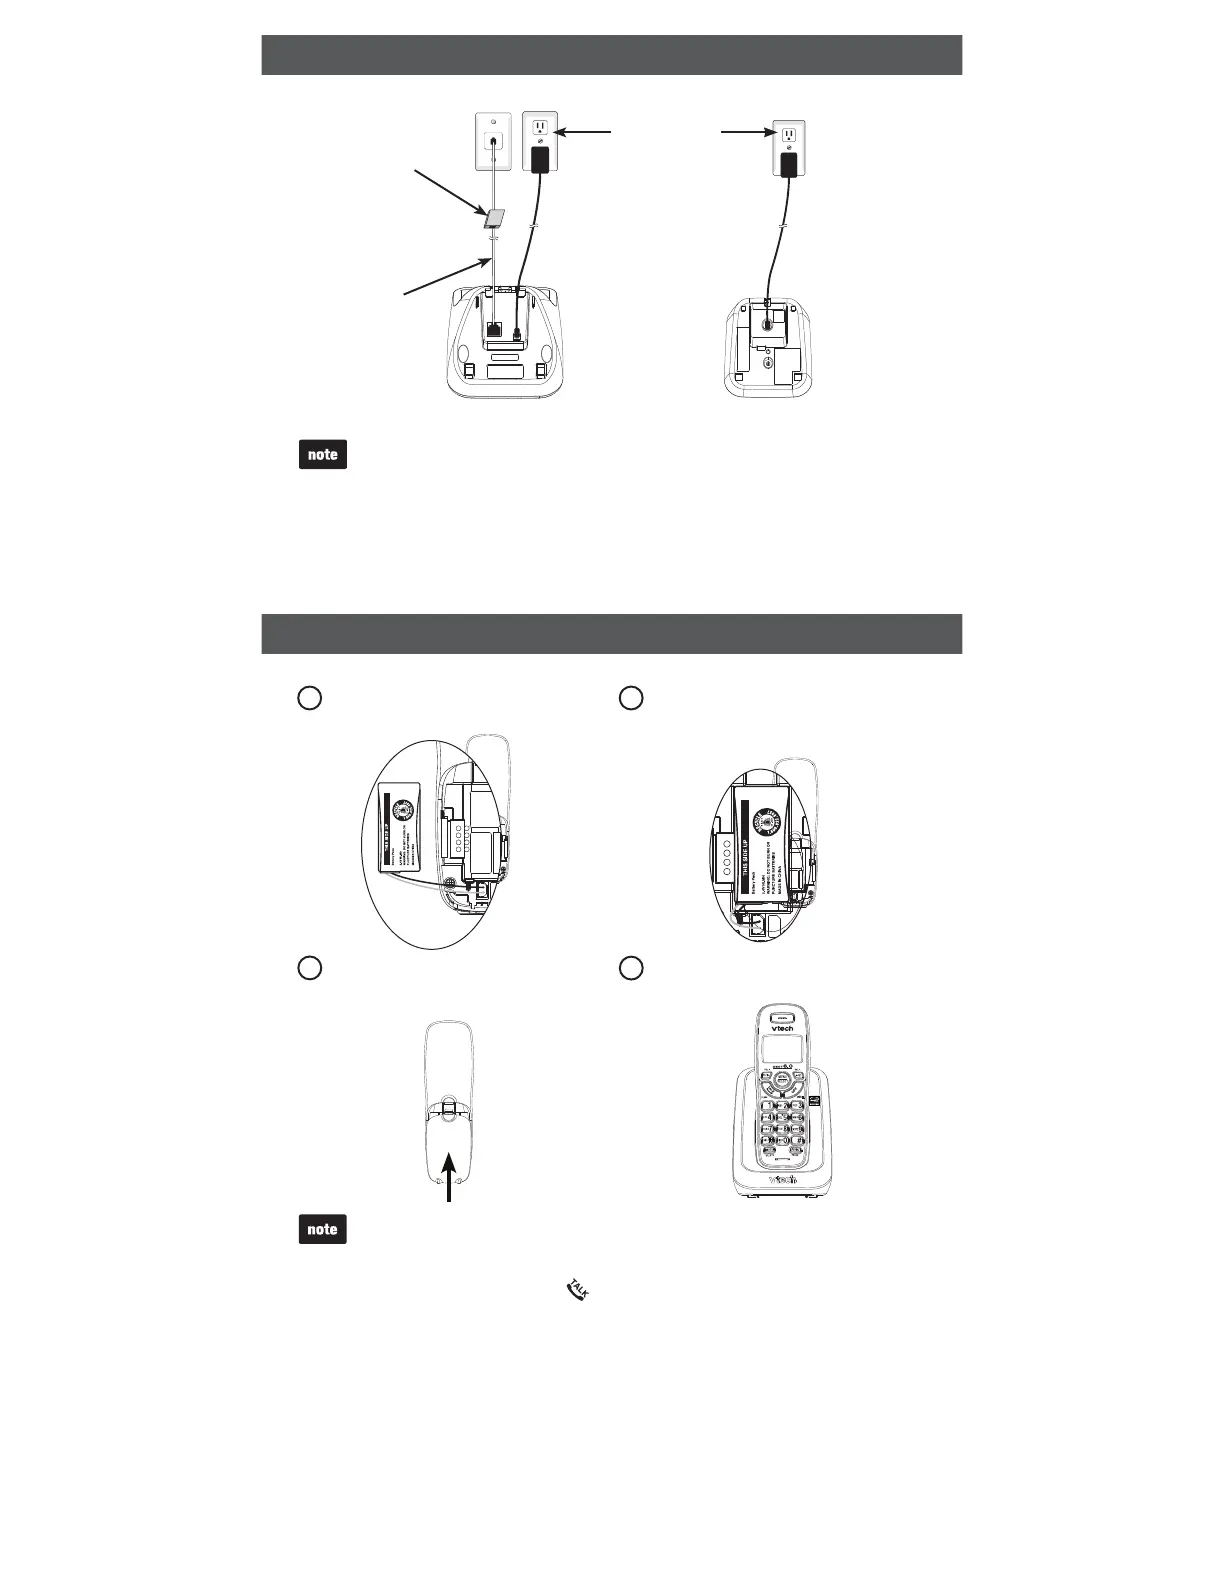
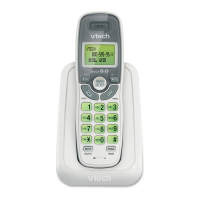
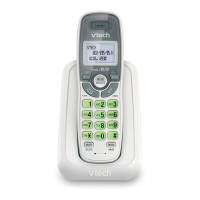
Install the telephone base and charger as shown below.
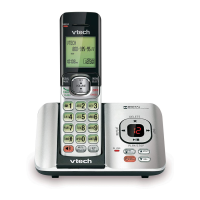
Telephone base
Telephone
line cord
Electrical outlet
(not controlled
by a wall switch)
A DSL filter (not
included) is
required if you have
DSL high-speed
Internet service
Charger
Telephone base and charger installation
Use only the power adapters and batteries supplied with this product. To
order a replacement, visit our website at www.vtechphones.com or
call 1 (800) 595-9511. In Canada, go to www.vtechcanada.com or call
1 (800) 267-7377.
The power adapters are intended to be correctly oriented in a vertical or floor
mount position. The prongs are not designed to hold the plug in place if it is
plugged into a ceiling, under-the-table or cabinet outlet.
If you subscribe to telephone service from a cable company or a VoIP service
provider, contact your cable/VoIP service provider for more information.
•
•
•
Install the battery as shown below.
If the handset will not be used for a long period of time, disconnect and
remove the battery to prevent any possible leakage.
2
CANCEL
3
Slide the battery compartment
cover towards the center of the
handset until it clicks into place.
Place the handset in the telephone
base or charger to charge.
4
1
Plug the battery connector
securely into the socket.
Place the battery with the label
THIS SIDE UP facing up and
the wires inside the battery
compartment.
IMPORTANT:
Check for a dial tone by pressing
. If you hear a dial tone, the installation
is successful.
If you do not hear a dial tone:
Make sure the installation procedures described above are properly done.
If you subscribe to telephone service from a cable company or a VoIP service
provider, contact your cable/VoIP service provider for more information.
•
•
Battery installation