Do you have a question about the VTech Drill & Learn Workbench and is the answer not in the manual?
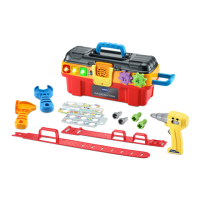
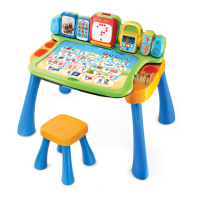
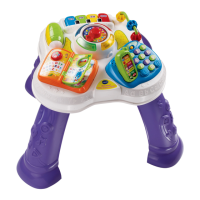
An overview of the workbench's interactive features, including buttons, selectors, and power tools.
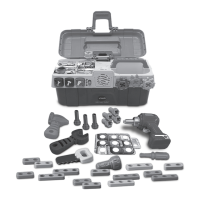
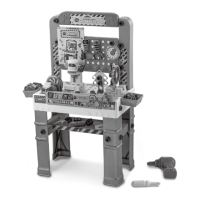
Lists the main parts of the workbench, such as the top, panels, legs, and trays.
Details the included power tools like the drill, saw, sander, and other accessories.
Lists all screws, nuts, bolts, and building pieces required for assembly and play.
Provides a guide for applying various decorative and functional labels to the workbench.
Instructions to discard all packaging materials for child safety.
Step-by-step guide on how to unlock and remove packaging locks.
Emphasizes adult assembly due to small parts and child safety.
Warns against standing or sitting on the workbench for child safety.
Highlights adult supervision for battery installation and keeping batteries away from children.
A detailed procedure for replacing batteries in the electronic panel.
Key notes on battery polarity, mixing types, and proper disposal.
Guidance on safely handling and charging rechargeable batteries with adult supervision.
Visual instructions for correctly applying all provided labels to the toy.
Connect leg supports to the main structure using the provided screws and nuts.
Securely snap the center tray into the assembled leg supports.
Install the gear and electronic panel, securing it with real screws.
Use real screws to firmly attach the vise to the workbench top.
Fasten the workbench base to the top using gray toy screws.
Use real screws to affix the project guide holder to the back panel.
Secure the back panel to the panel supports with gray toy screws.
Attach the top section of the back panel to the supports using gray toy screws.
Place and secure the panel supports into the workbench top.
Attach the storage trays to the designated slots on the workbench.
Mount the clock and arrange tools on pegs or slots.
Connect the drill press top component to its base.
Connect the circular saw top component to its base.
Connect the sander top component to its base.
Steps to exit demo mode and start normal interactive play.
How to use the drill press with a building piece to simulate making holes.
How to use the circular saw to cut building pieces.
How to use the sander to smooth building pieces.
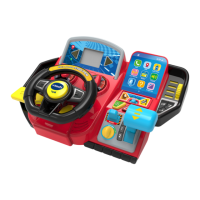
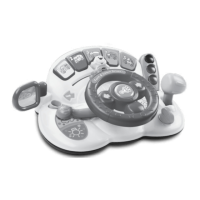
How to turn on the unit, adjust volume, select modes, and use controls.
How the power tool zone enables learning through sounds and songs.
Explains tool buttons, ruler, and gear interactions for learning.
Information about the unit's auto-shutoff to conserve battery life.
Engage with songs and learn facts by interacting with the workbench features.
Explore various learning elements like tools, numbers, and colors freely.
Answer questions about the toy's features and concepts.
Guidelines for cleaning the unit and proper storage methods.
Contact details for customer service and troubleshooting assistance.
Initial steps to resolve common malfunctions or non-operation.
Additional steps to fix persistent issues, including battery replacement.
Warning regarding modifications that could void operating authority.
Information on the device's compliance with FCC rules and managing interference.
Formal statement confirming the device meets FCC Part 15 regulations.
| Recommended Age | 2 - 5 years |
|---|---|
| Batteries Required | Yes |
| Battery Type | AA |
| Number of Batteries | 2 |
| Batteries Included | Yes |
| Assembly Required | Yes |
| Material Type | Plastic |
| Color | Multicolor |
| Manufacturer | VTech |
| Includes | Workbench, tools |
| Educational Focus | Fine motor skills |
| Features | Interactive |