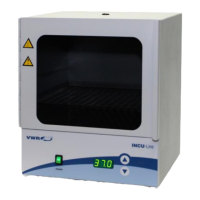
verifying power to the shaker.
b. Press the standby button to move the unit from standby mode.
The temperature, speed and time displays will illuminate. Each
display indicates the previously used settings.
2. Setting temperature:
a. Press the up/down arrows below the temperature display until you
reach the desired temperature. When you release the button, the
display will blink off and then on indicating the new set temperature
has been accepted. The lights above to the temperature display will
alternate between the actual and set temperature showing both
values, until five (5) audible beeps sound indicating set temperature
has been reached.
b. Press the on/off button to start the heating/cooling function. The
indicator light below the temperature display will illuminate to
indicate the heating/cooling function is in use.
c. Set-point temperature adjustments can be made without interrupting
heating or cooling by using the up/down arrows below the temperature
display. After the change has been made and you release the button,
the display will blink off and then on indicating the new set
temperature has been accepted.
d. To stop heating or cooling, press the on/off button below the
temperature display. The temperature indicator light will turn off.
STANDARD MODE COOLING RATE SELECTION
If your application calls for more than one incubation temperature and
the second temperature is lower, you can select the rate at which your
samples cool down to the next temperature.
a. Make sure that the system is in Standard mode (“Std” program) and
place the system in “Standby”.
b. Press and hold the “Temperature On Off” button.
c. While holding the “Temperature On Off” button, press and release
the “Standby” button.
d. Use the “Temperature Up” or “Temperature Down” buttons to scroll
through all available ramp rates.
r1: No ramp (temperature will decrease as fast as possible)
r2: 3.5 Degrees C/minute
r3: 1.8 Degrees C/minute
r4: 0.9 Degrees C/minute
* Rates are estimated using a 20°C ambient. Actual rates are conditions
permitting.
d. Press and release the “Standby” button to
save the cooling ramp rate. All temperature
transitions from a higher-to-lower tempera-
ture in Standard mode will use the selected
ramp rate. The temperature ramp rate in Standard Mode is inde-
pendent of any ramp rates in program mode.
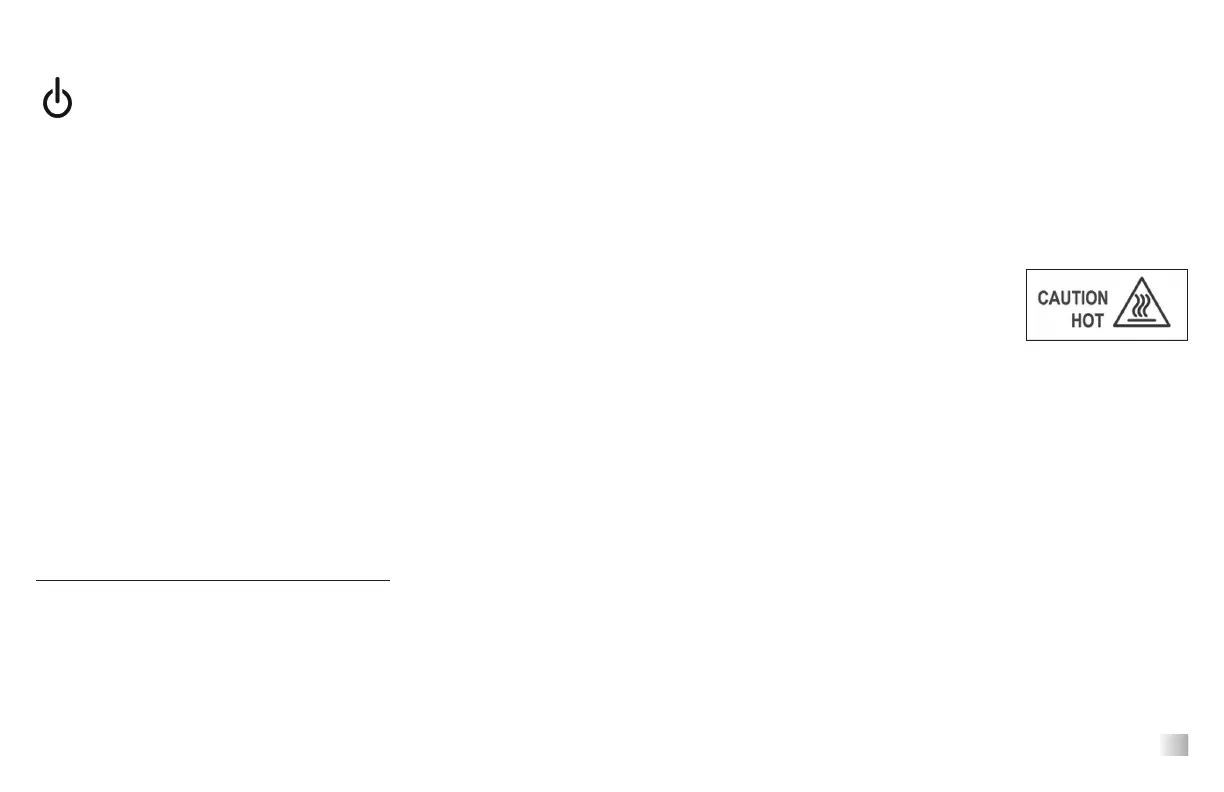
Caution hot indicator:
The caution hot indicator light warns that the temperature is above 40°C
(104°F). The light will illuminate and remain on when the temperature
reaches approximately 40°C (104°F). When the heat is turned off, the
caution hot indicator light will stay on until the temperature falls below
40°C (104°F).
3. Setting speed:
a. Press the up/down arrows on the “Select” button below the pro-
gram display until you reach the desired speed. When you release the
button, the display will blink off and then on indicating the new set
speed has been accepted.
b. Press the ”Start” button to begin the shaking function. The indica-
tor light below the program display will illuminate to indicate
the shaking function is in use and will flash until the set speed
6