MICROFLUSH Toilet Manual 10 March 2005
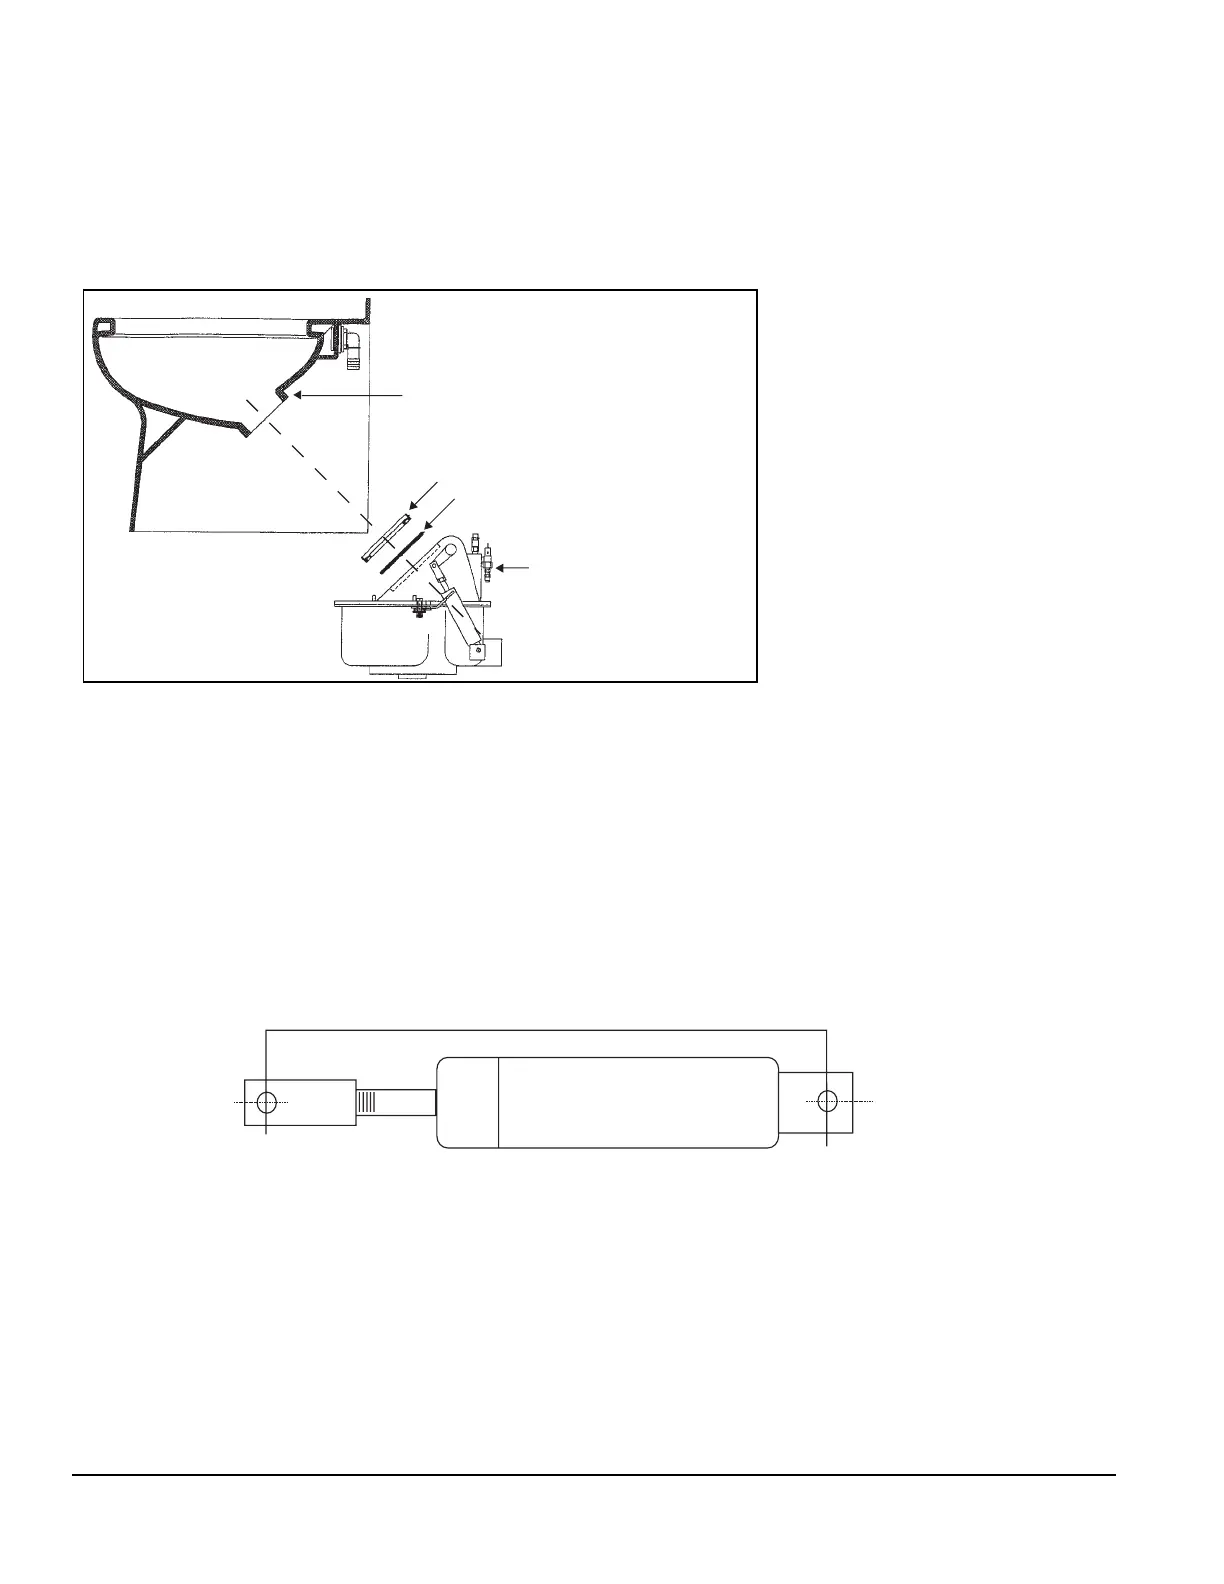
7-1/4" Fully Extended
Air Cylinder
NOT TO SCALE
File: AirCyl
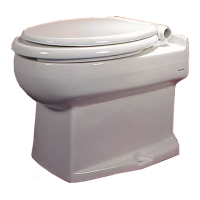
AIR CYLINDER ADJUSTMENT
1. Remove Hopper (see Hopper Replacement on page 9).
2. Remove the clevis pin retaining ring. Rmove the clevis pin.
3. Inspect the crank arm, clevis and clevis pin for wear. Replace if required.
4. Hold the crank arm in the UP position (flapper closed).
5. Fully extend the air cylinder and note the position of the holes in the crank arm and the clevis.
The clevis hole should extend half its diameter pas the crank arm hole.
6. Adjust as necessary by loosening the locknut and extend or retract the clevis as required.
7. Re-install Hopper.
HOPPER REPLACEMENT
CAUTION: Read this entire procedure before beginning work!
1. Remove toilet from floor. Place toilet upside down on a sheet of cardboard or other padded material.
2. Remove two (2) screws from either side of hopper and lift hopper from sealing adaptor.
3. Remove o-ring between hopper and seal adaptor. Check that o-ring is not damaged, replace if necessary.
4. Re-assemble in reverse order.
CHINA HOPPER HORN
SEALING ADAPTOR (Glued to China Horn)
QUAD RING, P/N 27022
HOPPER
Note: The air cylinder on the hopper sub-assembly should be cleaned, lubricated and checked for adjustment
whenever the toilet assembly is removed for servicing.
TO CHANGE FLAPPER GASKET:
1. Turn water and air off.
2. Reach behind flapper to grasp gasket tails.
3. Pull tails out of slots to remove old gasket.
4. Installation is the reverse of removal.
5. Tails must be pulled all the way through to ensure smooth surface.