18
CLEANING THE INLET VALVE • NETTOYAGE DE LA SOUPAPE DE ENTRÉE • LIMPIEZA DE LA VÁLVULA DE ENTRADA
Cleaning or servicing the inlet valve may be required if the unit has
priming problems. Priming problems may be prevented by properly
cleaning the sprayer and following the long-term storage steps.
YOU WILL NEED
• 8 mm (5/16”) hex wrench
• Needle nose pliers
• Warm, soapy water if using latex material
• Mineral spirits for oil based material
• Household oil (such as 10W30 motor oil or vegetable oil for example)
1. Perform the Pressure Relief Procedure, found in the main instruction manual, to
ensure the pump is shut o and depressurized. Remove the tank lid.
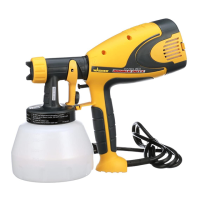
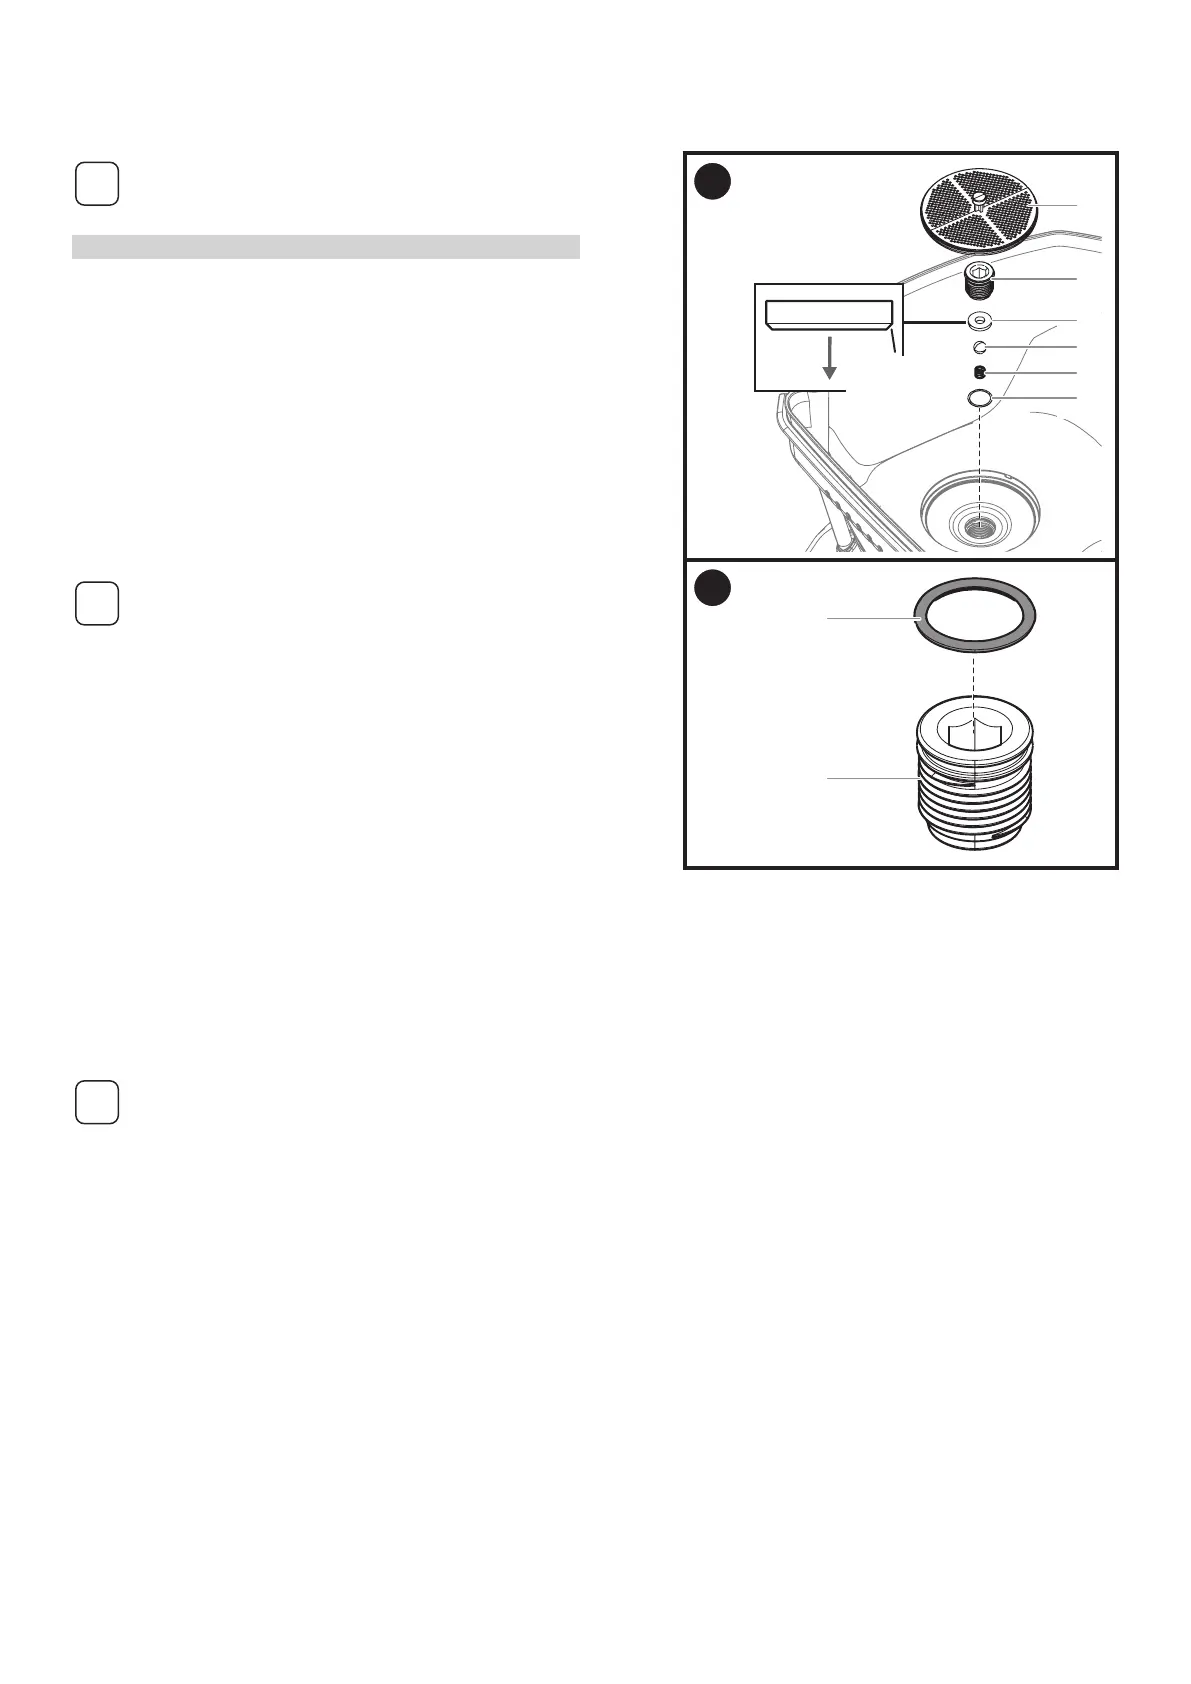
Remove the inlet lter (1).
Using the lid as a tray for the parts, insert an 8 mm (5/16”) hex wrench into the hex
opening (2) and unscrew the inlet valve tting (2) from the sprayer.
You may need to use a ball point pen, tweezers, screwdriver, O-ring pick, and/or
needle nose pliers to remove the inlet valve seat (3), inlet valve ball (4), spring (5),
and O-ring (6). A spare spring (5) is included with your sprayer.
Suggestion for removal of the inlet valve assembly
After removing the inlet lter (1) insert an 8 mm (5/16”) hex wrench
into the hex opening (2) and unscrew the inlet valve tting (2) from the
sprayer.
Snap the lid back onto the sprayer, turn it upside down, and tap the
bottom of the sprayer a few times to loosen the inlet seat (3), ball (4),
and spring (5).
With the sprayer still upside down carefully remove the lid. Be careful
not to lose any of the removed parts unless you plan to replace them
instead of clean them.
Flip the sprayer right-side up again and remove the O-ring (6) with an
O-ring pick or tweezers.
Inspect and clean the inlet valve housing area where the inlet valve assembly was
removed with the appropriate cleaning solution.
2. Lubricate the O-ring (7) with penetrating oil (WD40) and install onto the inlet tting
(8). Lubricate the O-ring (7) once more after it is installed on the inlet tting.
3. Replace all parts back into the inlet valve housing in the reverse order of how they
were removed.
Note the correct orientation of the inlet valve seat (3). The taper should be
facing downward upon reinstallation.
Replace inlet valve tting (2) by screwing it into the sprayer. Tighten securely with a
8mm (5/16”) hex wrench. Torque to 50-57 in. lbs (5.5 - 6.5 N.m). Do not overtighten
the inlet valve tting.
Replace inlet lter (1).
If priming problems persist, you may need to replace the inlet valve
assembly. Call Product Support (1-800-328-8251) to order a new inlet
valve assembly.
1
TAPER
DÉCROISSANCE
CONO
2
7
8