6a
6b
7
8
9
EN
7
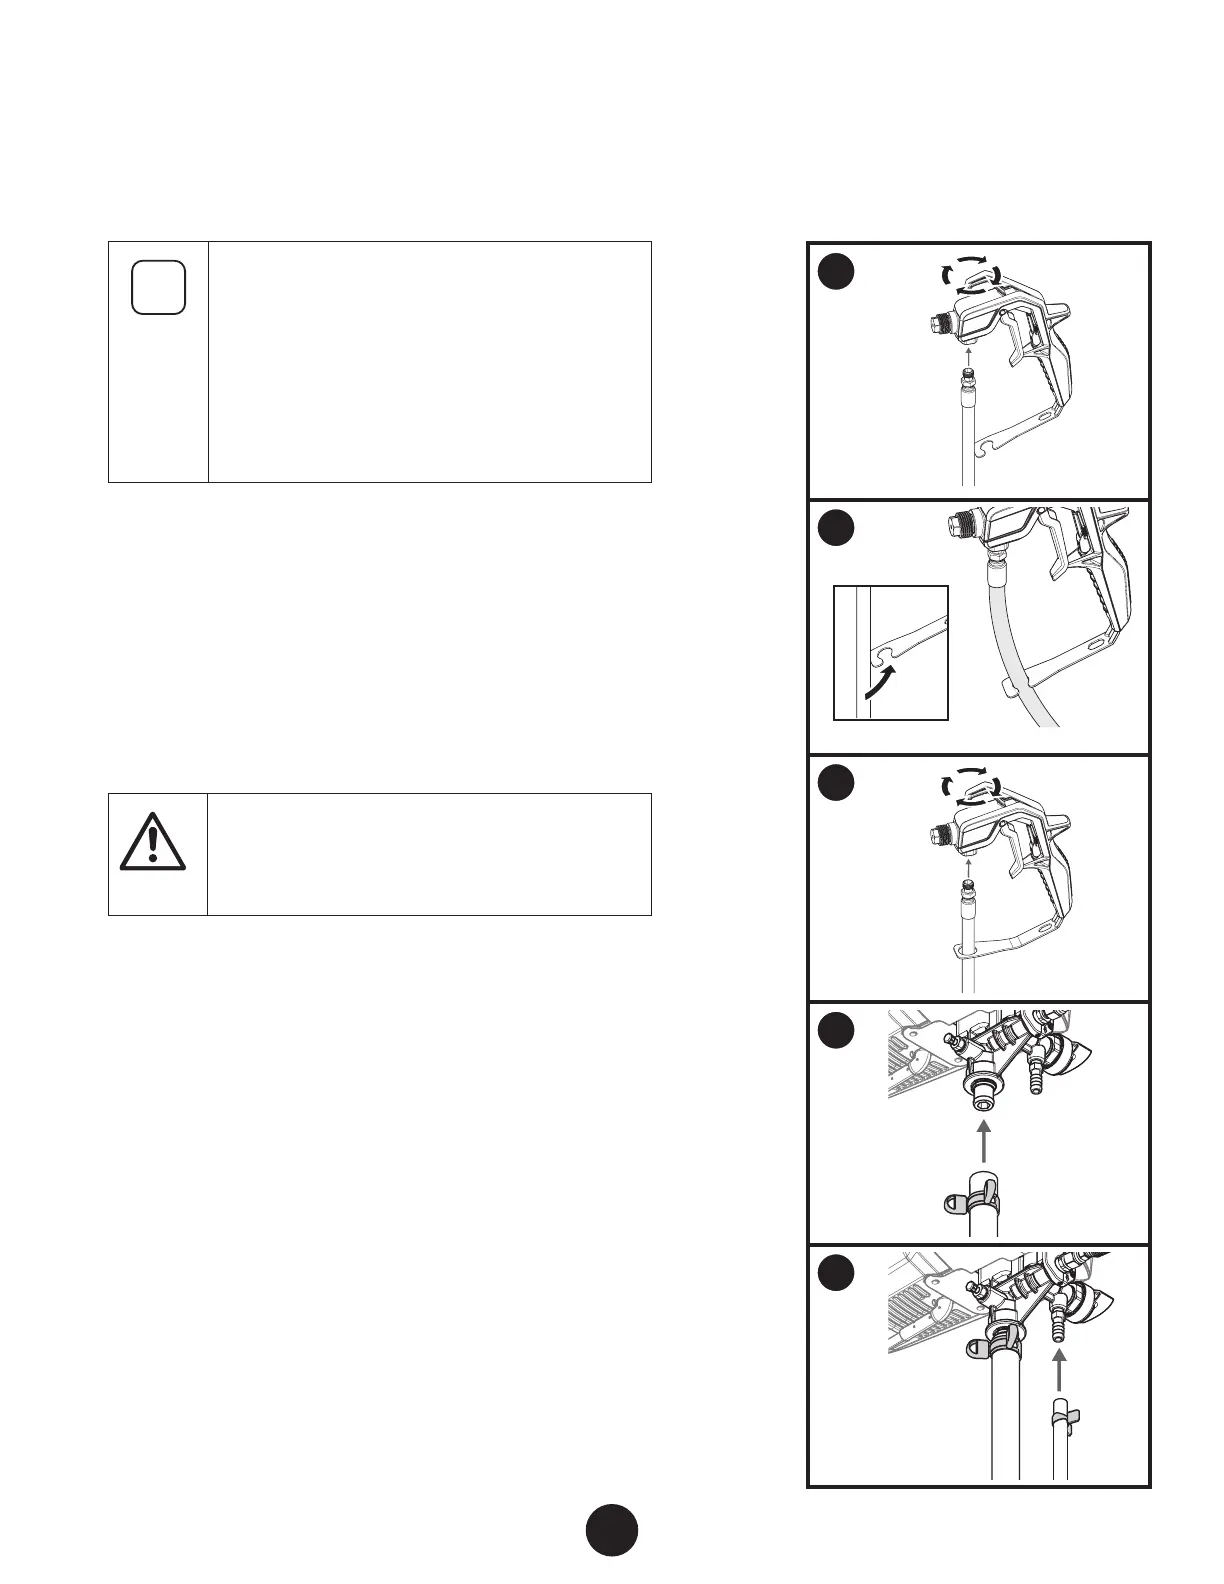
ASSEMBLY CONTINUED
The spray gun included with the sprayer will have
one of two types of hose restraint:
1) the “C” type where the hose is clamped, or
2) the circular type where the hose gets threaded
through a hole in the restraint.
When attaching the hose to the spray gun, follow
the appropriate steps to properly secure the spray
hose.
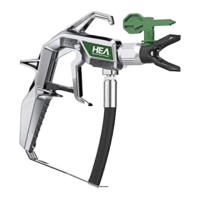
6. “C” type:
a. Spin the gun onto the male tting on the other end of the
spray hose. Turning the gun instead of the hose will make
it easier to align the threads. Tighten the hose end with a
wrench.
b. Press the hose into the opening in the restraint at the bottom
of the gun handle. The hose will ex slightly to t through
the smaller opening and then “pop” into place with no strain
remaining on the hose.
tention
Do not kink the hose when attaching it to the gun
or when placing it into the restraint.
7. Circular type:
Thread the end of the hose through the hole in the restraint
and into the bottom of the spray gun body as shown. Spin
the gun onto the male tting of the spray hose.
8. Slide the suction tube onto the inlet valve. Secure with the
suction tube clamp.
9. Press the return tube onto the return tube tting. Squeeze
hose clamp over the return tube tting to secure the return
tube.