54
W 950 Flexio/ W 975 Flexio
Varnish paints and glazes
54
W 950 Flexio/ W 975 Flexio
EN
•
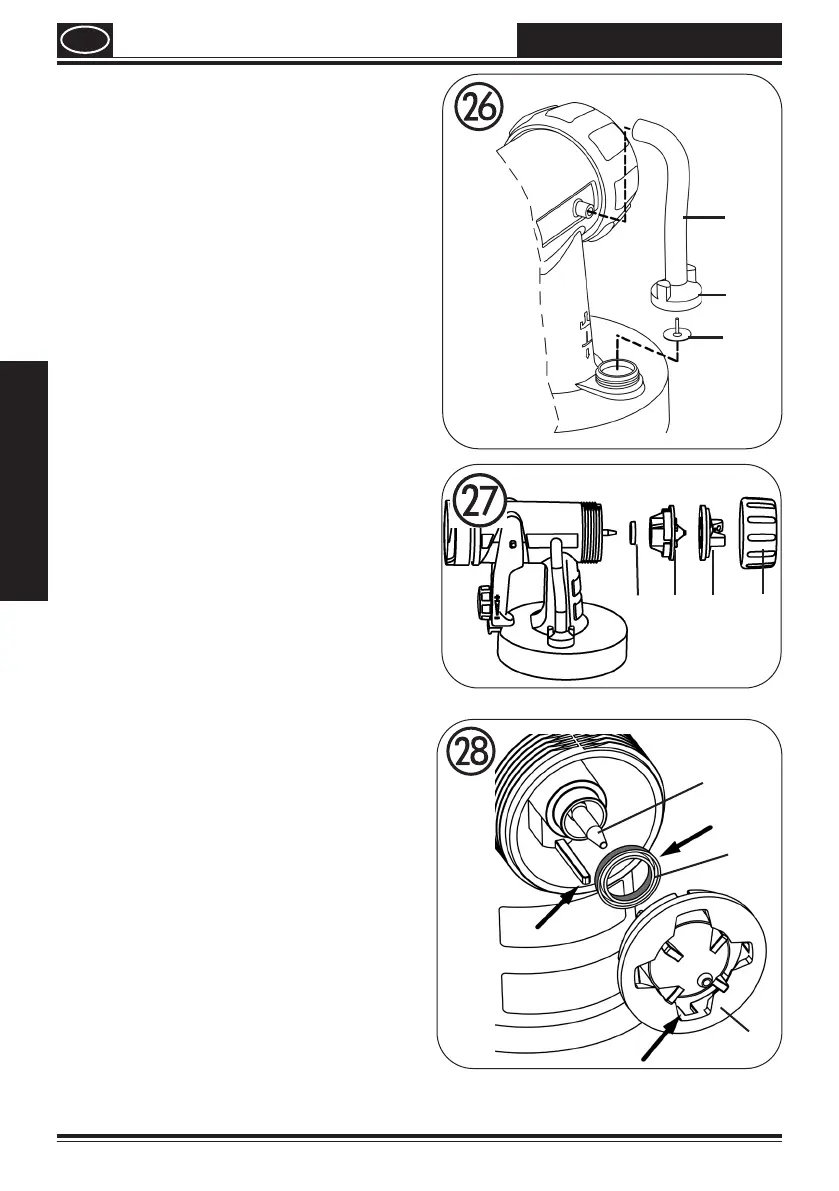
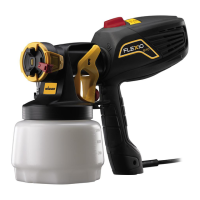
Pull the ventilating hose (Fig. 26, 1) at the
top from the gun body. Screw o the valve
cover (2). Remove the diaphragm (3). Clean
all the parts carefully.
•
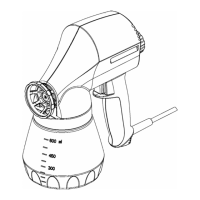
Unscrew the union nut (Fig. 27, 1) and
remove the air cap (2) and nozzle (3). Clean
the air cap, nozzle seal (4) and nozzle with a
brush and solvent or water.
•
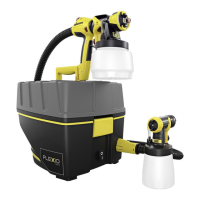
Clean the spray attachment and the
exterior of the container with a cloth that
has been soaked in water or a solvent.
•
Assemble the parts again (see “Assembly”).
Assembly
The unit may only be operated with an integer
diaphragm (Fig. 26, 3).
•
Place the diaphragm (Fig. 26 ,3) with the
pin facing upwards on the bottom section
of the valve. Also see the marking on the
gun body.
•
Place on the valve cover (Fig. 26 ,2) and
screw it closed.
•
Place the ventilating hose (Fig. 26, 1) on the
valve cover and on the nipple at the gun
body.
•
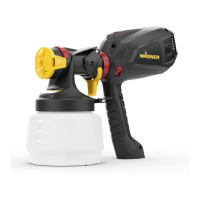
Push the nozzle seal (g. 28, 4) over the
needle (5); the groove (slot) should point
towards you.
•
Put the nozzle (Fig. 28 ,3) onto the gun
body and nd the correct position by
turning it.
•
Put the air cap (Fig. 27, 2) onto the nozzle
and tighten it using the union nut (1).
1
2
3
1
2
3
4
4
3
5