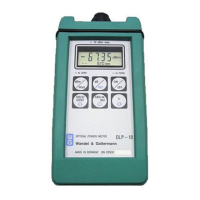
Service
Manual
OLS-81-
10
3
Mechanical DesignIAssembly Instructions
3.1
Instrument Codes
You will find the series number on the front panel.
3.2
Assembly Instructions
Note:
It is essential to familiarize yourself with the notes in Chapter
2
before starting any
assembly or disassembly work.
Disassembly
1
Remove black rubber ring <C>.
2
Remove the upper section
<A>
of the shockproof casing.
3
Remove battery compartment cover.
4
Remove the
OLS
from the lower section
<B>
of the shockproof casing.
5
Remove the
4
screws at the rear of the instrument
(2
in the battery compartment).
6
Remove the upper section of the casing.
Fig.
3-1
Front view of the OLS
3.3
Jumper Assignment (From Series E)
I
BR3
1
open
1
closed
I
Jumper
BR2
for
OLS-8
closed
BR4
for
OLS-10
open
open closed
Artisan Technology Group - Quality Instrumentation ... Guaranteed | (888) 88-SOURCE | www.artisantg.com

 Loading...