©2020 Warn Industries, Inc.WARN® and the WARN logo are trademarks of Warn Industries Inc. 5 107333A0
INSTALLATION INSTRUCTIONS
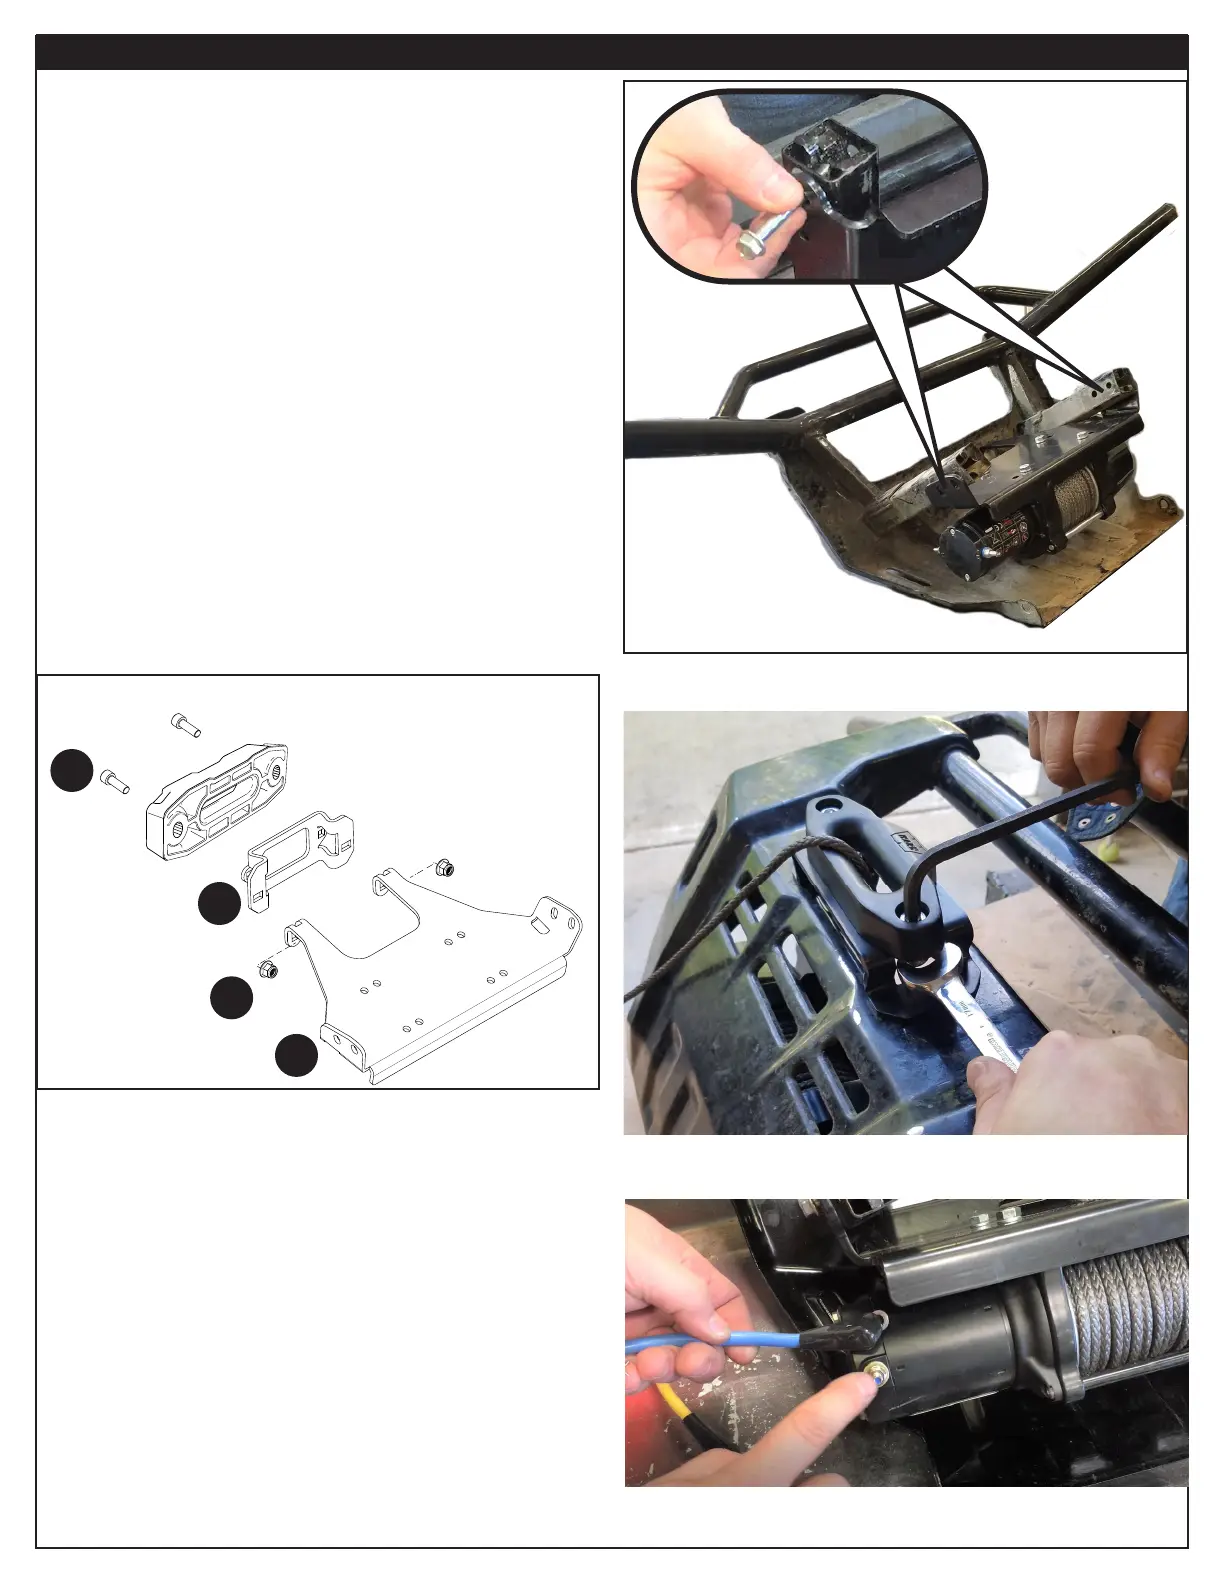
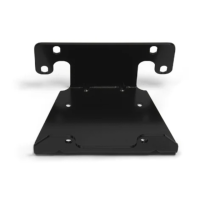
3. Place winch on mount, with clutch knob on passenger
side. Align winch feet with proper mounting holes.
Refer to exploded view on page 3.
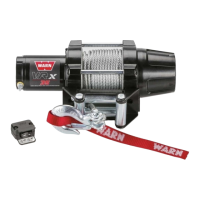
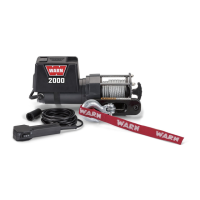
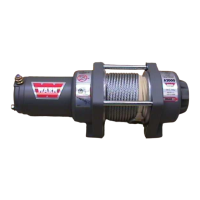
4. Complete attaching winch to mounting bracket. Refer
to winch kit installation instructions and use winch kit
hardware.
5. Use the long factory brush guard mounting bolts to
loosely align winch/winch mount assembly to brush
guard. NOTE: These bolts will be removed once the
fairlead is installed and tightened.
6. With winch in freespool (disengage clutch), feed winch
rope through brush guard’s fairlead opening, the fairlead
adapter bracket (if needed - see NOTE) and fairlead.
NOTE: The fairlead adapter bracket will be used only
with 2500 and 3500 winches.
7. Secure winch/winch mount assembly to brush guard
by installing fairlead and adapter bracket (if needed)
hardware:
- For hawse fairlead use hardware B1 and B3
- For roller fairlead use hardware B2 and B3
8. Torque fairlead hardware to specications on page 3.
9. Remove the long factory brush guard mounting bolts,
used for alignment.
10. Locate the yellow and blue cables. Install a terminal
boot to each end and fasten ends of cables to the
coordinating terminals on the winch terminals. Refer to
winch installation instructions.
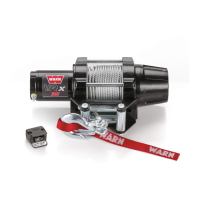
Example of hawse fairlead,
for 2500/3500 winch install.
B1
A2
A1
B3
Figure4
Figure5
Figure6