. When charging is completed, disconnect the external adaptor from power source and unplu
the jack from the Charging Base.
. If the Charging Base is mounted on the wall for charging, hold and lift the front body of cleane
to release it from the two extended hooks on Charging Base at first. Then, lift up the cleane
rom the upper hook of Charging Base.
. If the Charging Base is not mounted on wall for charging, first lift the extended hooks from th
cleaner and then slide off the wider hook from the cleaner Hanging Slot.
OTE: Leave the cleaner for 10 to 15 minutes before using it after charge or recharge of batteries
ormally, the cleaner can be operated for 30-40 minutes after fully charged.
et Up for Operation
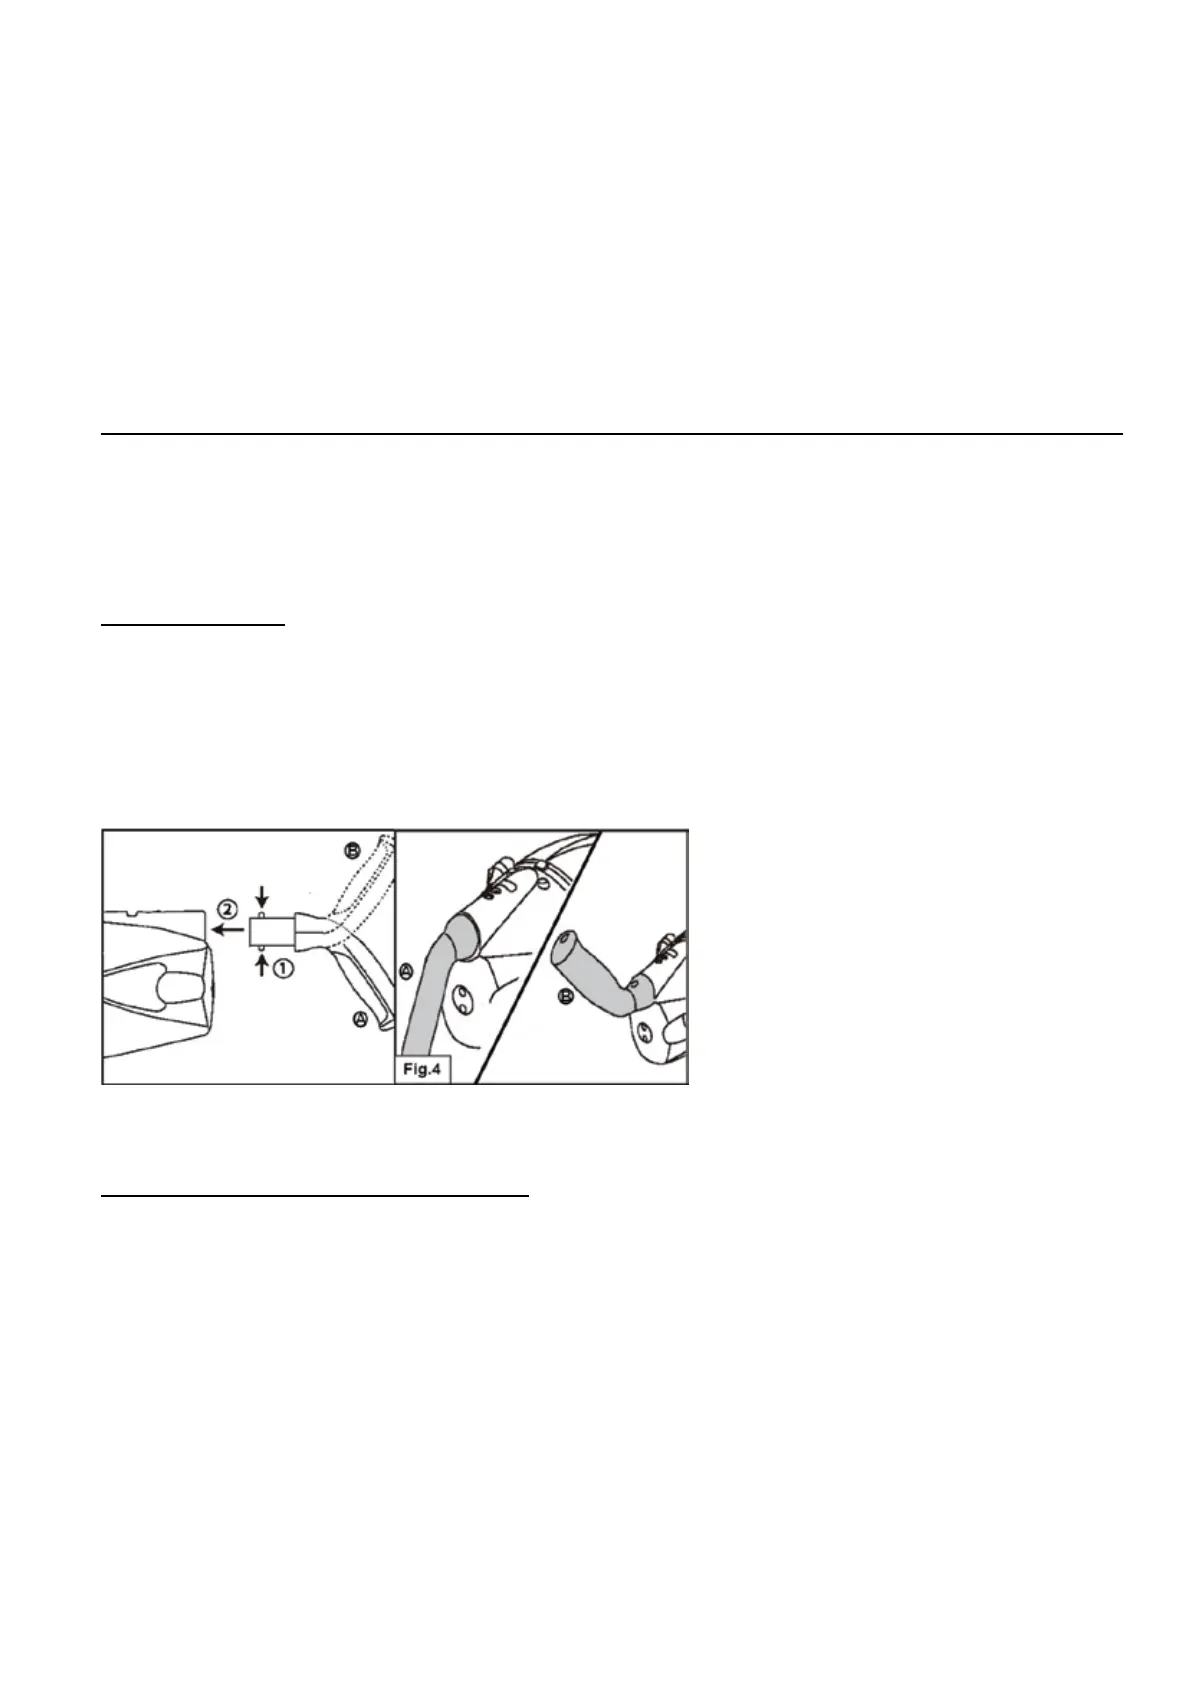
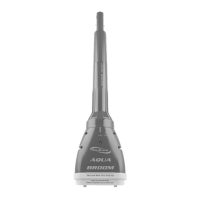
andle assembly
andle can be attached to the cleaner in 2 different directions. You can select the handle positio
hat you find easier to hold the cleaner when cleaning the pool / spa wall and bottom.
nsert the handle into the cleaner as shown until the side pin on the handle is secured in th
andle Locking Hole on the cleaner. Fig.4
o release the handle, press down the side pin and pull out the handle.
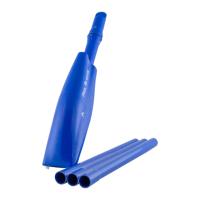
elescopic pole (not included) assembly
nsert the end (with one side pin) of the Pole Connector into the cleaner as shown until its single
ide pin is secured in the Handle Locking Hole of the cleaner. Slide and align the side holes of
he telescopic pole with the side pins of the Pole Connector.