11
Need help or have any questions? Call us at 1-714-963-0329 or send us an Email at service@globalhobby.net
❑ Carefully push the leading edge of the aileron up against
the trailing edge of the wing.
❑ With the tip of the aileron 1/8" in from the tip of the wing
(so it doesn't hit the wing tip fence when it's installed later),
and with no gaps in the hinge line, hinge the aileron to the wing
using a strip of clear plastic tape (not included).
☞
Apply the tape to the top of the parts and double-check
that the wider portion of the aileron is toward the wing tip.
❑ Repeat the previous procedures to hinge the second
aileron to the other half of the wing.
❑ Kwik Bond 5 Minute Epoxy
❑ Wire Cutters
❑ Excel Modeling Knife
❑ Ruler
❑ Pencil
❑ (1) 380 Direct Drive Motor
❑ (1) Fiberglass Motor Plate
❑ (3) Plywood Motor Rails (2 Long & 1 Short)
❑ (2) Nylon Zip-Ties
❑ 220 Grit Sandpaper w/Sanding Block
❑ Paper Towels
❑ Rubbing Alcohol
❑ NHP Epoxy Mixing Sticks
❑ NHP Epoxy Mixing Cups
YOU'LL NEED THE FOLLOWING PARTS FROM THE KIT:
YOU'LL NEED THE FOLLOWING TOOLS AND SUPPLIES:
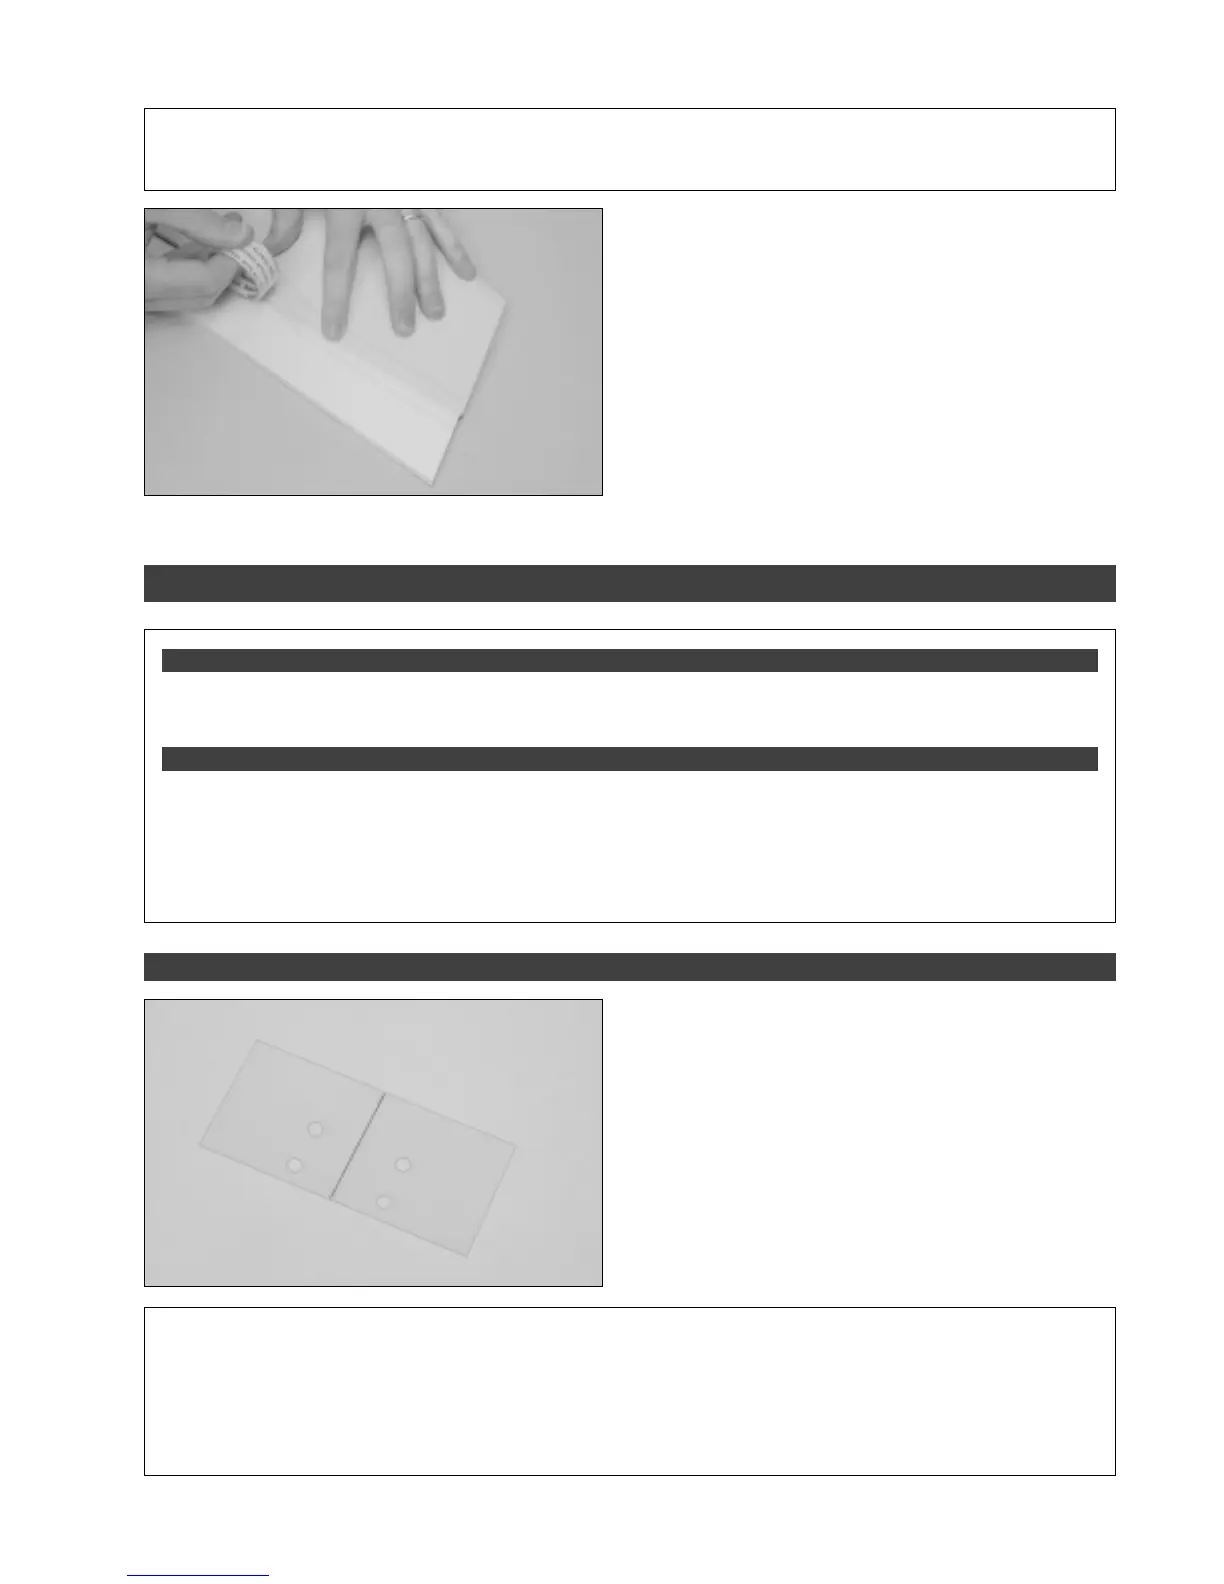
❑ Using a ruler and a pencil, draw a vertical centerline on
one side of the fiberglass motor plate, as shown.
✦✦
✦✦
✦
IMPORTANT
✦✦
✦✦
✦
In the next procedure, you will glue the three plywood motor rails onto the fiberglass motor plate.
These rails will cradle the motor and give a solid base to secure the motor to. These instructions show the motor rails
spaced to fit the stock 380 direct drive motor. If you are using a different motor and/or power system, you will need to
space the rails to fit your particular application. When you glue the two side rails into place, they will partially cover the
predrilled holes in the motor plate. This is okay and is normal. If you need to space the rails out further to suit your
application, they may completely cover the predrilled holes in the motor plate. If this is the case, you will need to redrill
new holes in the motor plate.
SECTION 6: MOTOR INSTALLATION
STEP 1: INSTALLING THE MOTOR PLATE
✦✦
✦✦
✦
IMPORTANT
✦✦
✦✦
✦
If you are planning on using a more powerful power system than we recommend, the airplane is
obviously going to fly much faster than intended. We suggest cutting the cord of both ailerons 3/16" shorter to make the
airplane less sensitive at higher speeds. This is not necessary if you're using the stock power system or a gear box.
 Loading...