13
Need help or have any questions? Call us at 1-714-963-0329 or send us an Email at service@globalhobby.net
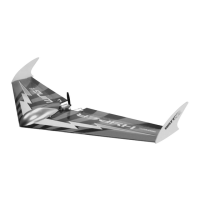
❑ With the motor in position, carefully pull the two zip-ties
tight to secure the motor firmly in place.
❑ Using wire cutters, cut away the excess zip-tie material,
making sure to leave enough extra so that you can remove
and reinstall them to solder the ESC motor leads onto the
motor later.
❑ # 0 Phillips Head Screwdriver
❑ Magnum Z-Bend Pliers
❑ Wire Cutters
❑ Needle Nose Pliers
❑ Excel Modeling Knife
❑ (1) Double-Sided Foam Tape
❑ (1) Velcro
®
Mounting Material
❑ (2) M1.5 x 150mm Threaded Wires
❑ (2) Nylon Control Horns
❑ (2) Nylon Control Horn Backplates
❑ (2) Nylon Clevises
❑ Scissors
❑ Ruler
❑ Pencil
❑ K&S 30 Watt Soldering Iron
❑ Solder
YOU'LL NEED THE FOLLOWING PARTS FROM THE KIT:
YOU'LL NEED THE FOLLOWING TOOLS AND SUPPLIES:
❑ Connect your radio system and plug one servo into the aileron slot in your receiver and one servo into the elevator slot
in your receiver. Make sure that your radio transmitter is in elevon mode, then center both servos by double-checking that
the aileron and elevator trim levers on your transmitter are centered.
✦✦
✦✦
✦
IMPORTANT
✦✦
✦✦
✦
If your radio transmitter does not feature elevon mixing, you will need to purchase and use an
electronic elevon mixer.
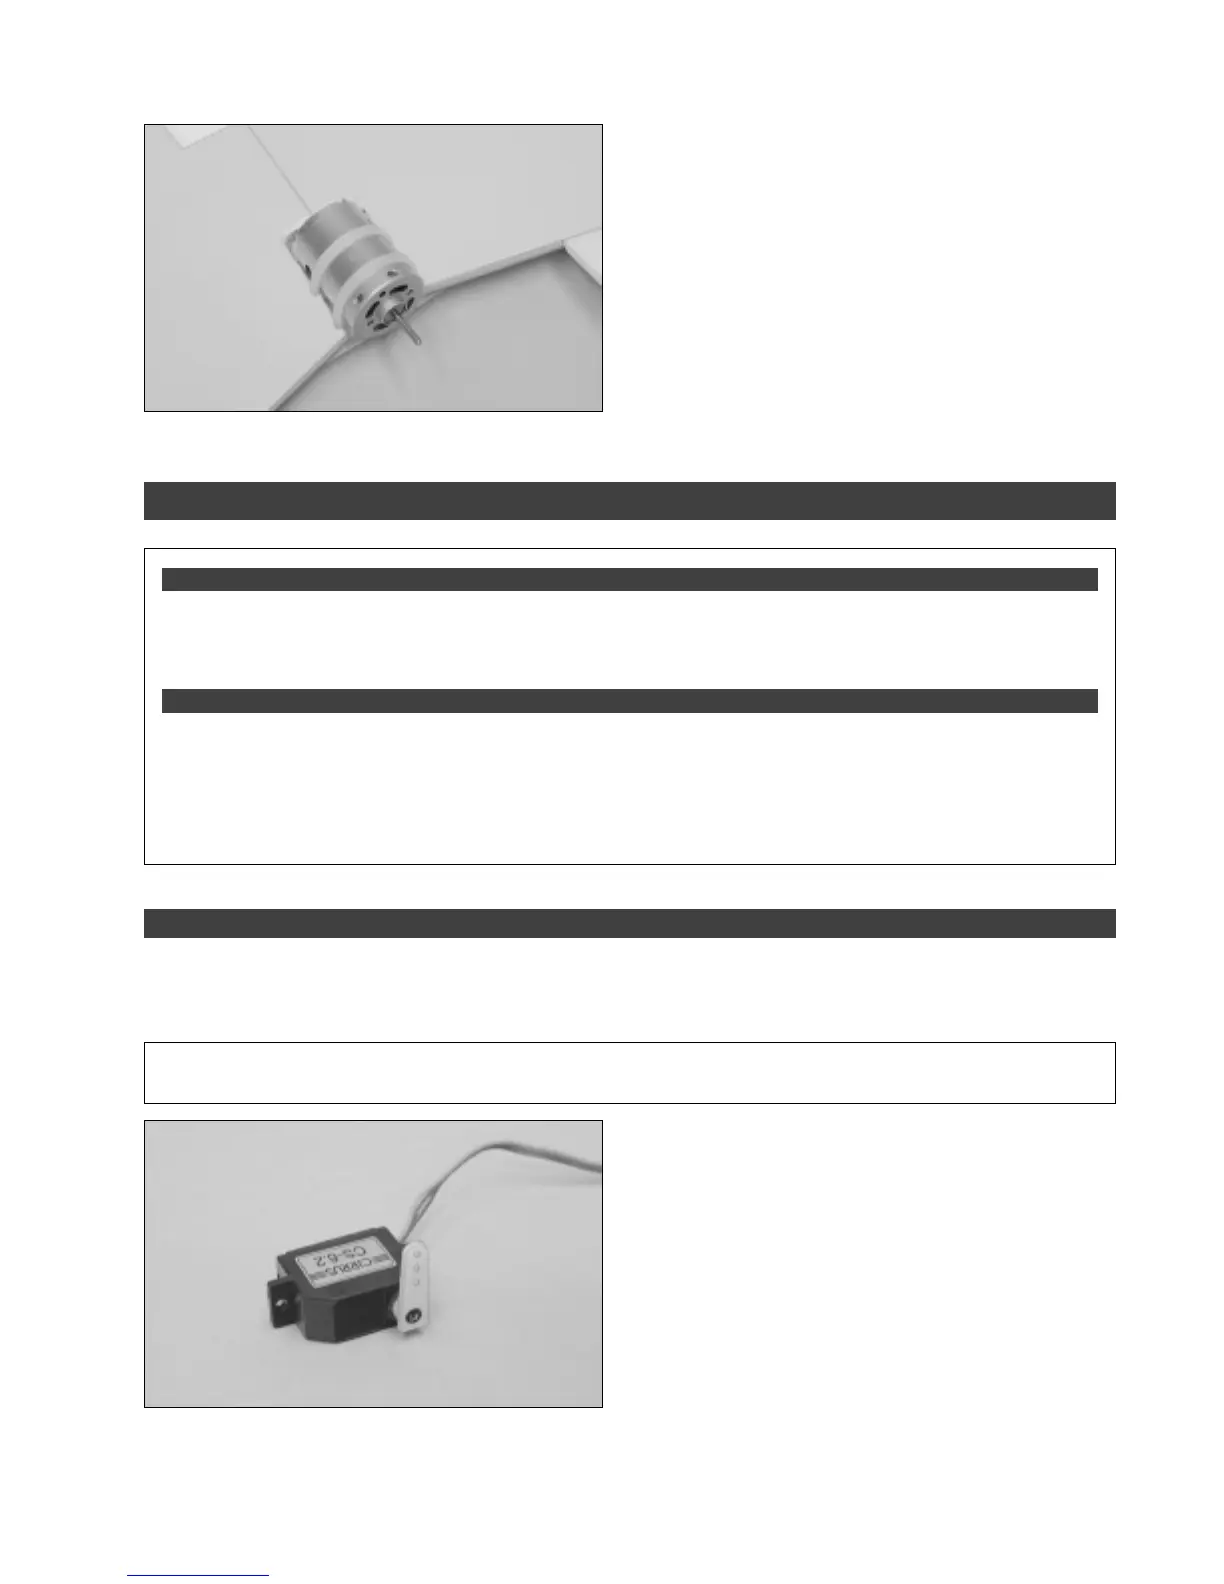
❑ Using a modeling knife, cut away all but one arm from
the largest servo horn included with your servo.
❑ Install the servo horn onto the servo, making sure that
it's centered, as shown.
❑ Install the servo horn retaining screw to secure the servo
horn to the servo.
❑ Repeat the previous procedures to install a servo horn to the second servo. When done, you should have one
right-hand and one left-hand servo.
SECTION 7: CONTROL SYSTEMS INSTALLATION
STEP 1: INSTALLING THE SERVOS
 Loading...