16
Visit our website at http://watt-age.globalhobby.com or for Customer Service at http://globalservices.globalhobby.com
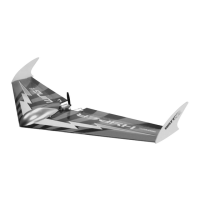
❑ Install your flight battery on the centerline of the molded
radio bay, using the strip of self-adhesive Velcro
®
.
☞
Before removing the flight battery, we suggest allowing
the adhesive on the Velcro
®
to cure for 24 hours. This will
ensure that the Velcro
®
won't pull off of the flight battery or
out of the radio bay when you remove the flight battery.
❑ Kwik Bond 5 Minute Epoxy
❑ # 1 Phillips Head Screwdriver
❑ 1.5mm Hex Wrench
❑ Adjustable Wrench
❑ Excel Modeling Knife
❑ Scissors
❑ Ruler
❑ (2) Wing Tip Fences
❑ (1) Plastic Hatch Cover
❑ (1) Plastic Hand-Launch Fairing
❑ (1) White Plastic Mounting Board (2 Parts)
❑ (2) M2 x 10mm Flange-Head Wood Screws
❑ (1) 5 x 2.5 Nylon Propeller
❑ (1) Propeller Adapter w/Washer, Nut & Grub Screw
❑ Pencil
❑ Masking Tape
❑ 220 Grit Sandpaper w/Sanding Block
❑ Paper Towels
❑ Rubbing Alcohol
❑ NHP Epoxy Mixing Sticks
❑ NHP Epoxy Mixing Cups
YOU'LL NEED THE FOLLOWING PARTS FROM THE KIT:
YOU'LL NEED THE FOLLOWING TOOLS AND SUPPLIES:
❑ Using a pair of scissors, carefully cut out the hatch cover along the molded scribe lines.
❑ Using 220 grit sandpaper with a sanding block, lightly sand the edges of the hatch cover smooth.
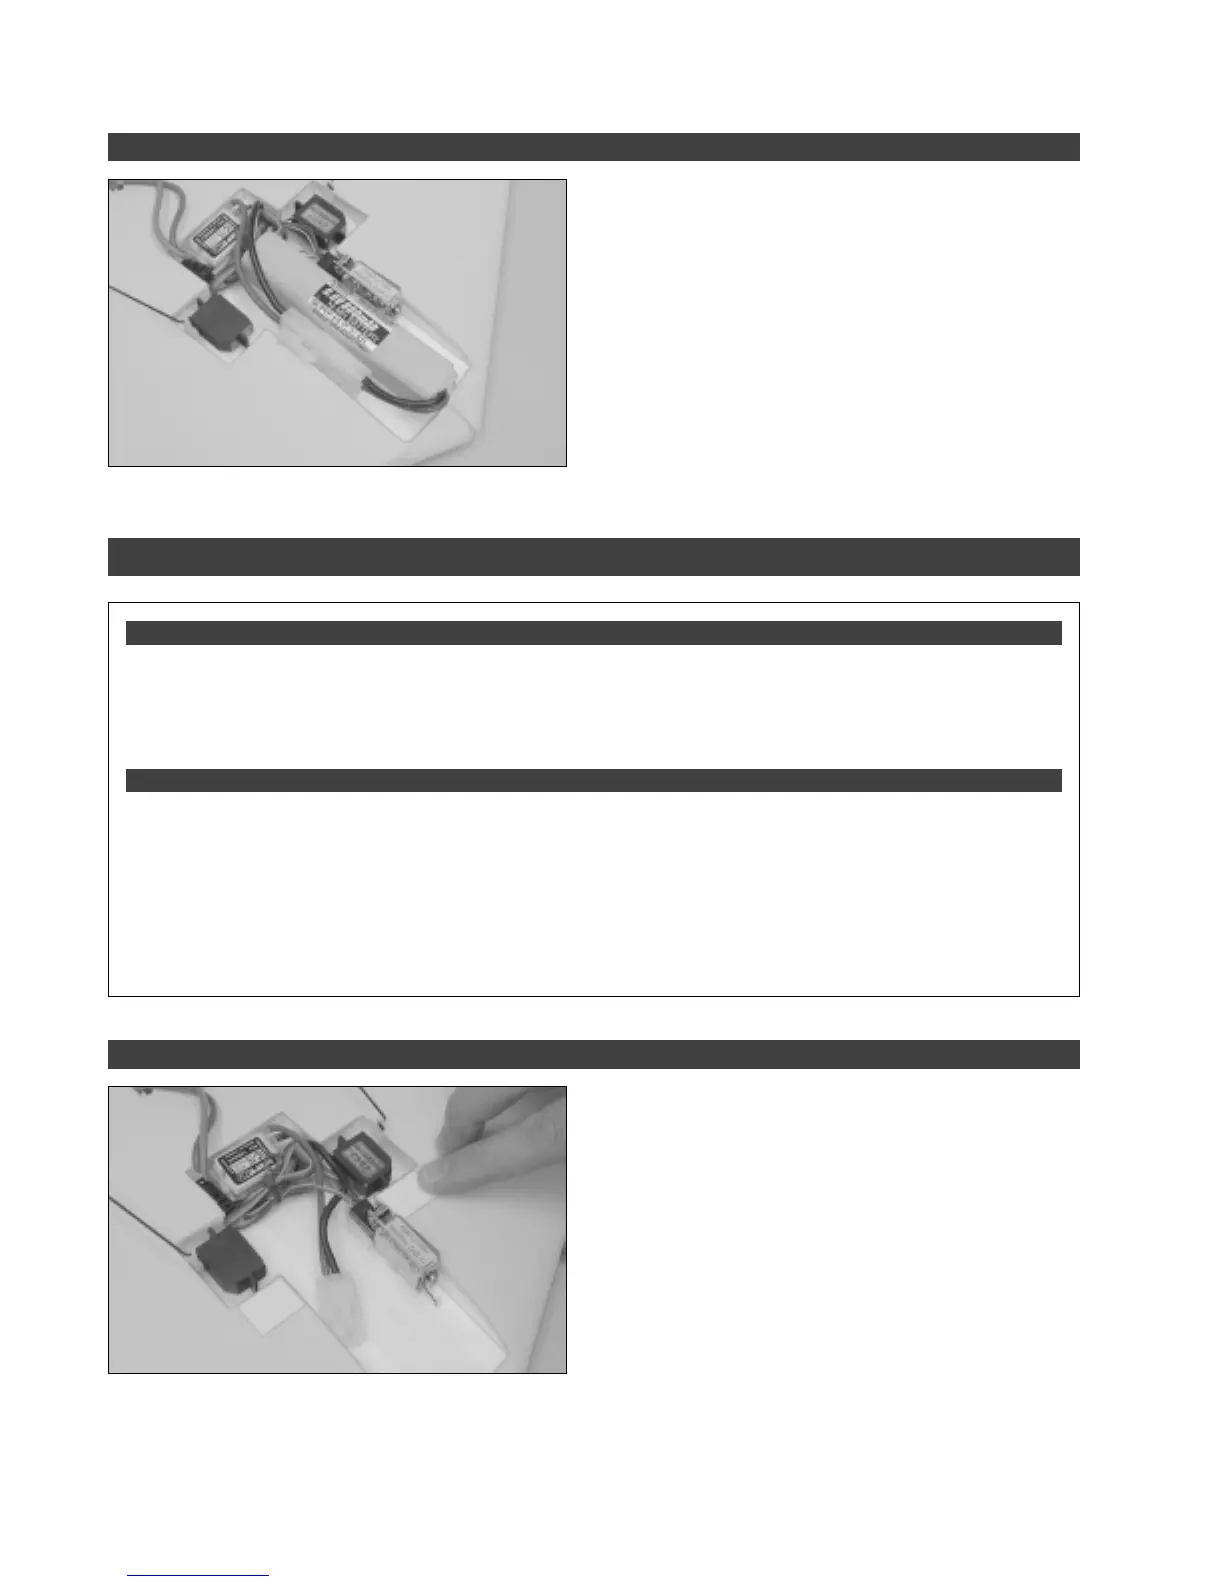
❑ Apply the two pieces of white plastic mounting board to
the top of the wing. One piece should be positioned on each
side of the molded radio bay, directly in front of the molded
servo bay.
STEP 4: INSTALLING THE FLIGHT BATTERY
SECTION 8: FINAL ASSEMBLY
STEP 1: INSTALLING THE HATCH COVER
 Loading...