8
Visit our website at http://watt-age.globalhobby.com or for Customer Service at http://globalservices.globalhobby.com
❑ Kwik Bond 5 Minute Epoxy
❑ Excel Modeling Knife
❑ Scissors
❑ Ruler
❑ Pencil
❑ Masking Tape
❑ (1) Right & Left Wing Panels
❑ (2) Ailerons
❑ (2) Fiberglass Dowels (Long)
❑ (1) Fiberglass Dowel (Short)
❑ (2) White Plastic Reinforcement Tape (Optional)
❑ (1) Self-Adhesive Decal "Skins" Set
❑ 220 Grit Sandpaper w/Sanding Block
❑ Paper Towels
❑ Rubbing Alcohol
❑ NHP Epoxy Mixing Sticks
❑ NHP Epoxy Mixing Cups
❑ Using 220 grit sandpaper with a sanding block, lightly sand the top and bottom and the leading and trailing edge of
both wing panels, to remove any mold flashing.
✦✦
✦✦
✦
IMPORTANT
✦✦
✦✦
✦
Be very careful not to distort or otherwise change the airfoil shape of the leading edge or the tip
and root angles.
YOU'LL NEED THE FOLLOWING PARTS FROM THE KIT:
YOU'LL NEED THE FOLLOWING TOOLS AND SUPPLIES:
❑ Using a clean cloth, or even better, a tack rag, wipe down each wing panel to remove any dust and debris.
❑ Working with one wing panel for now, mix a small quantity of 5 minute epoxy and apply a thin layer to the inside of the
precut channel in the bottom of the wing panel.
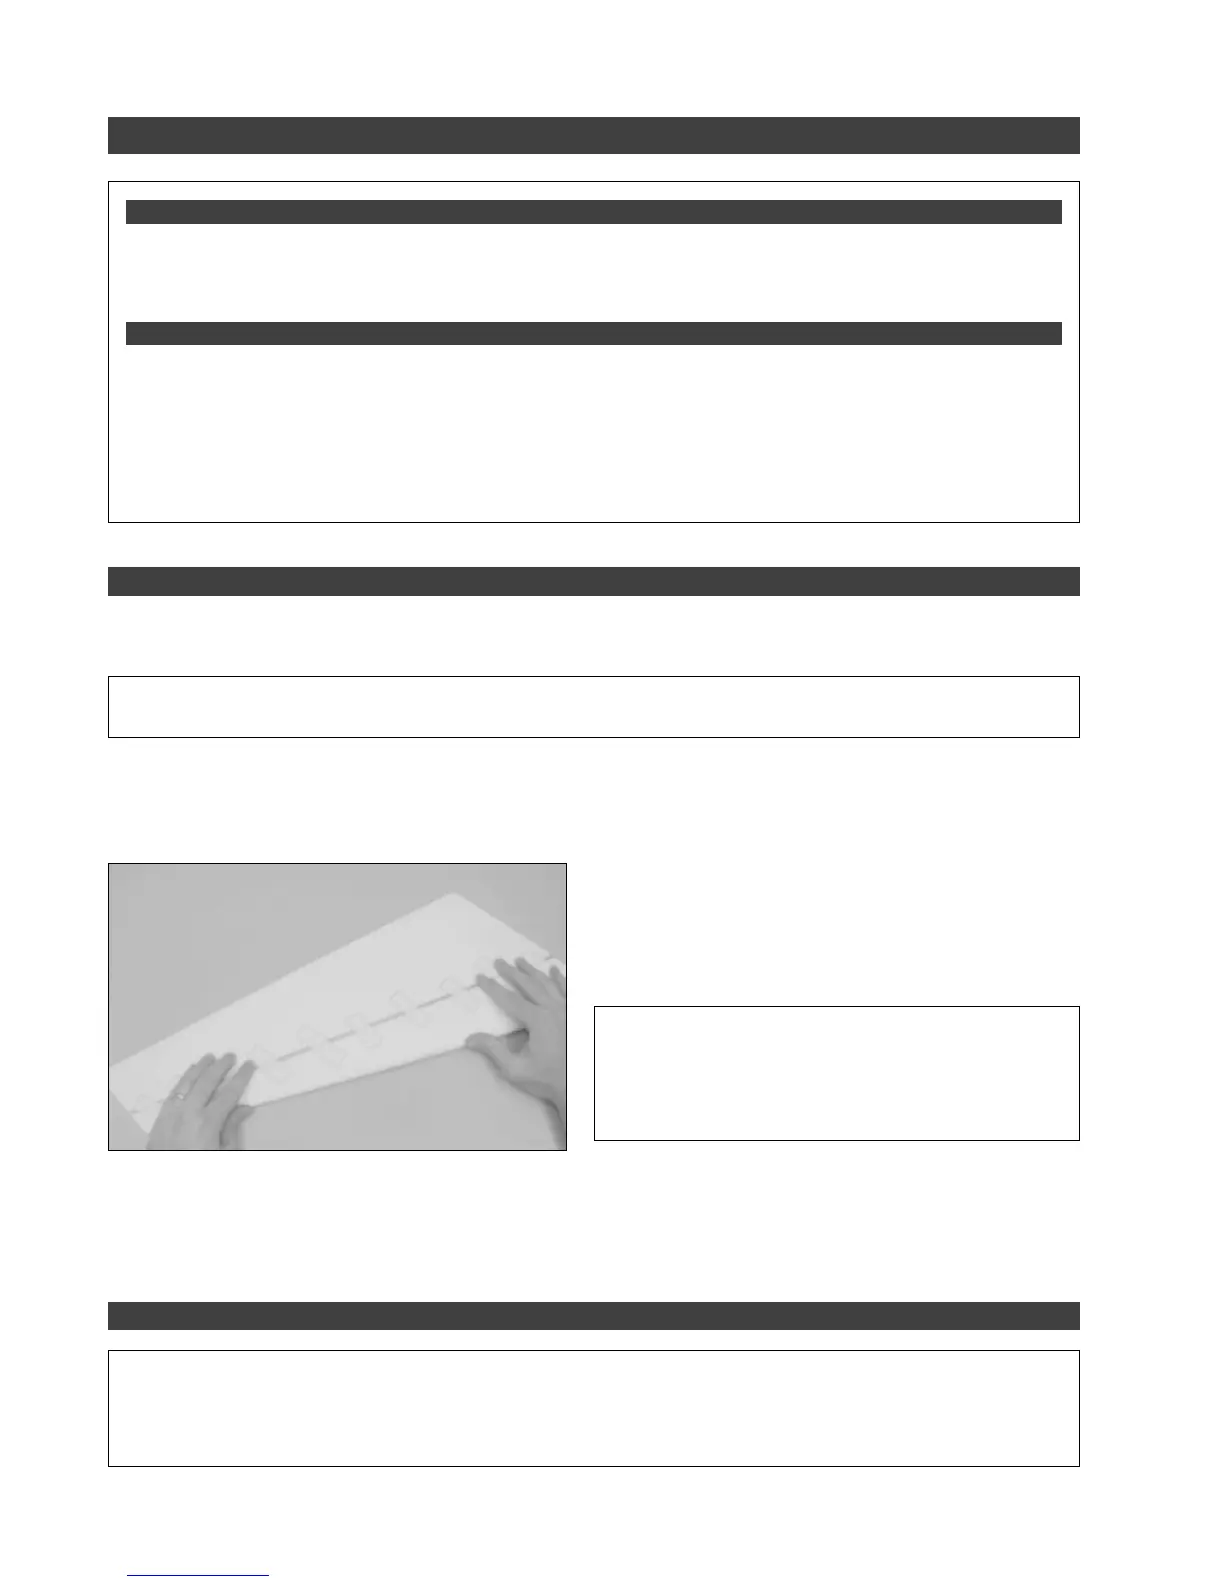
❑ Line up the end of one long fiberglass dowel with the root
end of the wing panel and carefully push the dowel into the
channel. Remove any excess epoxy using a paper towel and
rubbing alcohol, and use pieces of masking tape to hold the
dowel in place until the epoxy sets up.
✦✦
✦✦
✦
IMPORTANT
✦✦
✦✦
✦
When gluing the dowel into place, it's very
important that the dowel be glued securely into the channel
and that the wing panel be perfectly flat during the dry-
ing process. We suggest using books or other weights to
hold the wing panel flat.
❑ After the epoxy fully cures, remove the masking tape from the wing panel and double-check that the wing panel is
perfectly flat. It should not be bowed or twisted.
❑ Repeat the previous procedures to install the second long fiberglass dowel into the bottom of the other wing panel.
✦✦
✦✦
✦
IMPORTANT
✦✦
✦✦
✦
We provide two strips of white plastic reinforcement tape to reinforce the bottom of the leading edge on
your Hyper Wing 400 EP. Using this reinforcement tape is optional. We suggest using the reinforcement tape if you are
going to be landing your Hyper Wing 400 EP on rough surfaces or if you aren't a very proficient flyer. If you are going to
be landing on soft grass, we don't suggest applying the reinforcement tape. It will just add unnecessary weight.
SECTION 5: JOINING THE WING PANELS
STEP 1: INSTALLING THE LONG FIBERGLASS DOWELS
STEP 2: APPLYING THE WING REINFORCEMENT TAPE
 Loading...