Step C: Now that you have connected your CT-1 to the faucet you need to purge the air from
the system. Turn on the cold water. Pull out the diverter control button and water will run
through the CT-1. (See gure C). Note: You may hear some noise as air is being purged
from the CT-1 and the rst few glasses of water through the unit may be dark color due
to carbon nes. Run water through your unit until it is clear of carbon nes.
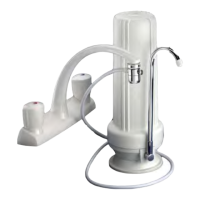
Your CT-1 is now ready to provide you with fresh, clean drinking water.
FILTER CHANGE
Watts Premier recommends changing the filter
element at least every 6 months or 1350 gallons
(5100 liters).
Use Watts Premier’s replacement cartridges
only. Other lters may look the same, but only lters
by Watts are manfactured to t your CT-1 lter
unit in order to ensure proper reduction of water
contaminants.
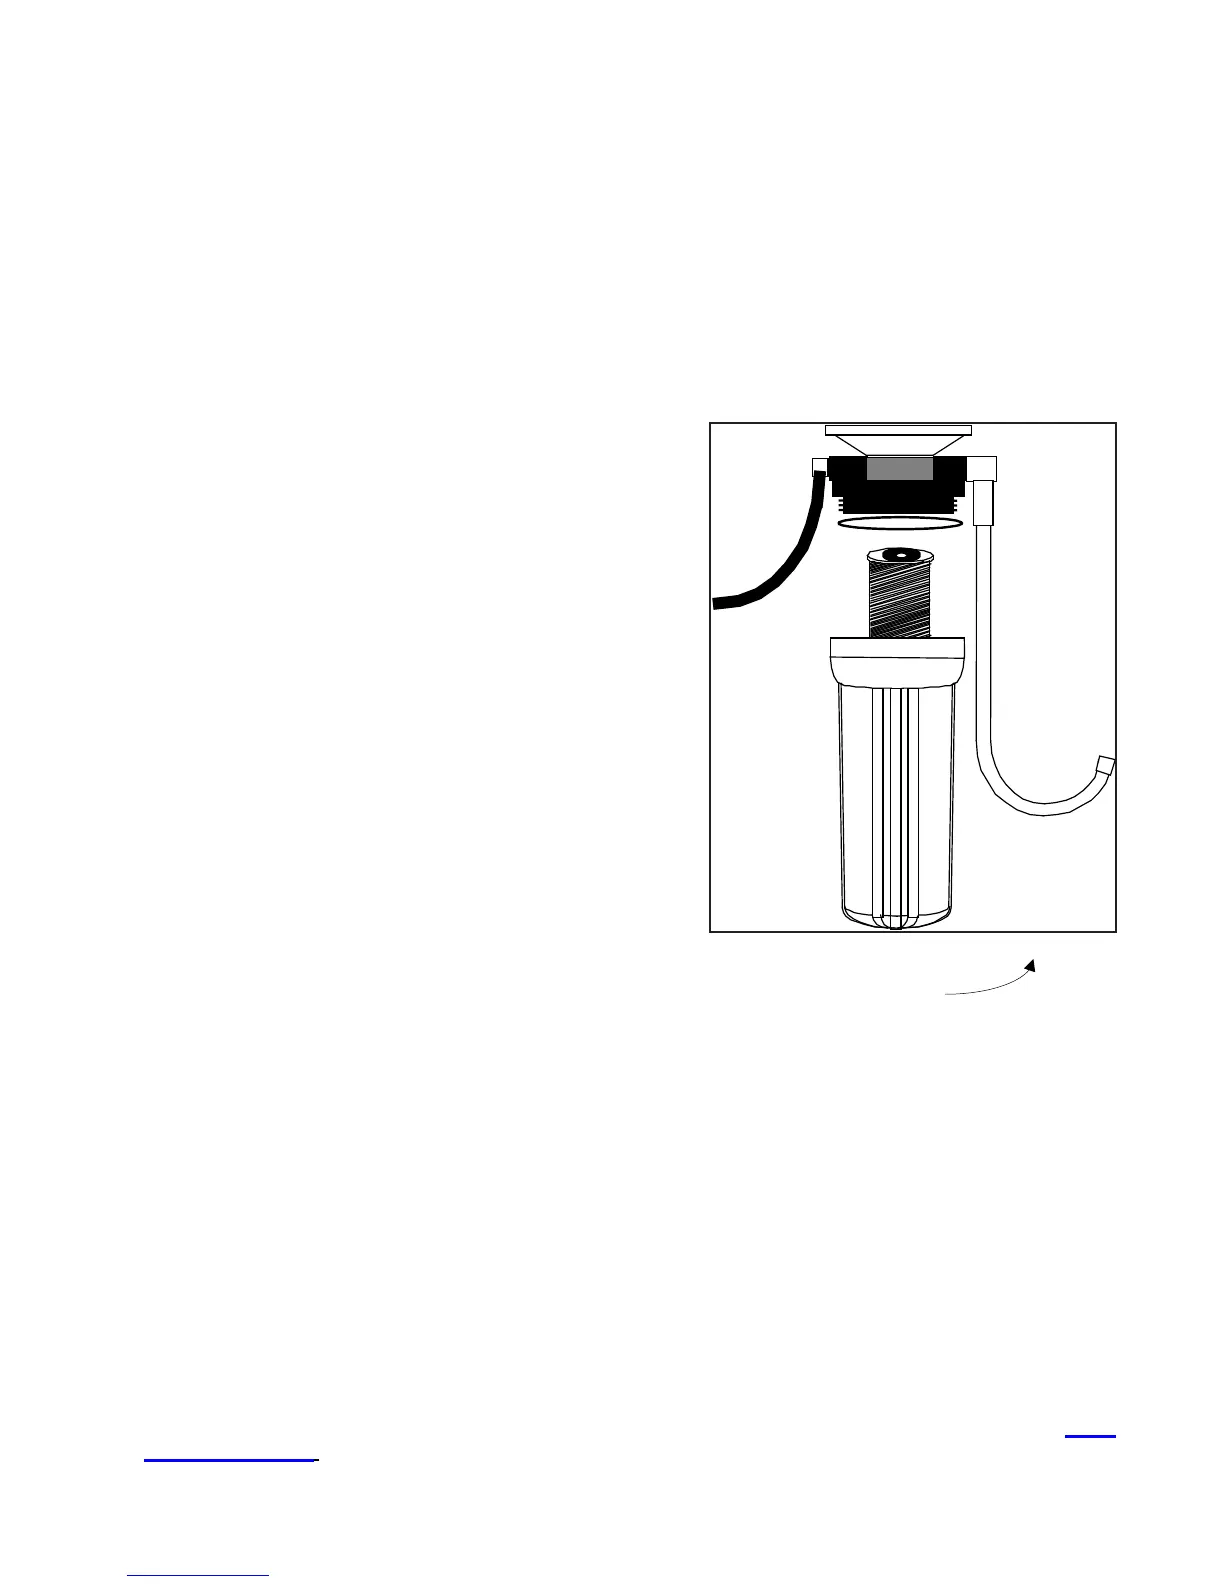
Note: There will be water in the CT-1 Filter
Housing. To prevent spillage, turn the CT-1 upside
down before removing Filter Housing from the
base. See gure D.
Step 1: Remove CT-1 lter housing from base by
unscrewing it in a counterclockwise direction as
shown in gure D.
Step 2: Slide out used Carbon Block and filter
cartridge gaskets and discard. NOTE: Do not
discard the CT-1 lter housing O-Ring.
Step 3: Clean inside the of the CT-1 lter housing with warm
soapy water. Rinse the CT-1 Housing with warm clean water
to remove soap.
Step 4: Lubricate lter housing O-Ring with a water-soluble
lubricant (i.e. K-Y Jelly ® or Silicone lubricant) NOTE: Do
not use Petroleum based lubricant (i.e. Vaseline ®).
Watts Premier Customer Service Department (toll free within the United States) 1-800-752-5582. (Outside the
United States) 480-675-7995. M-F: 8:00AM – 5:00PM MST. Replacement lters are also available online at:
www.
wattspremier.com.
To Loosen
(Counterclockwise)
To tighten
(Clockwise)
4
FIGURE D
Step 5: Seat O-Ring into lter housing grove.
Step 6: Slide new lter cartridge into lter housing and screw CT-Filter housing onto base.
Step 7: Repeat Step C (From initial instalation)
For replacement lters or questions regarding installation or servicing, contact:
 Loading...