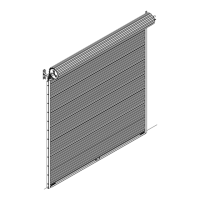
8
WARNING
until bottom bar angle easily clears sto ps. If the
door has a tendency to rise, secure in oving, tighten
blies.
in roll to rotate rapidly.
Securely
IDE BOLT LOCKS
lip will need to be installed. Only one bolt is
quired to secure the stop-clip to the bottom bar
hen attaching a lift handle on that side. Repeat
ssembly procedure for opposite side. Install lift
andle and pull rope at the center of the bottom bar.
ar.
his ensures smooth operation of the slide bolt. Place the
ide bolt lock so that the slot rides on the flange nuts.
hen, add the stop-clip and attach, using the flanged nuts.
Repeat assembly procedure for opposite side. Install lift
Lubricate the insides of the guides and wearstrips with weather resistant lubricating spray. Be sure to spray lubricant
over the flares at the tops of the guides. Move the door up and down to check for proper operation. Adjust the
guides and mounting angles if necessary to allow for proper clearance and operation.
ps. If the door has a tendency to close, secure in position using clam
position using a wood prop. While the door is secured from m
the bottom bar stop fasteners on both guide assem
Spring tension can cause curta
hold curtain roll from rotating while applying
pretension or serious injury or death could result.
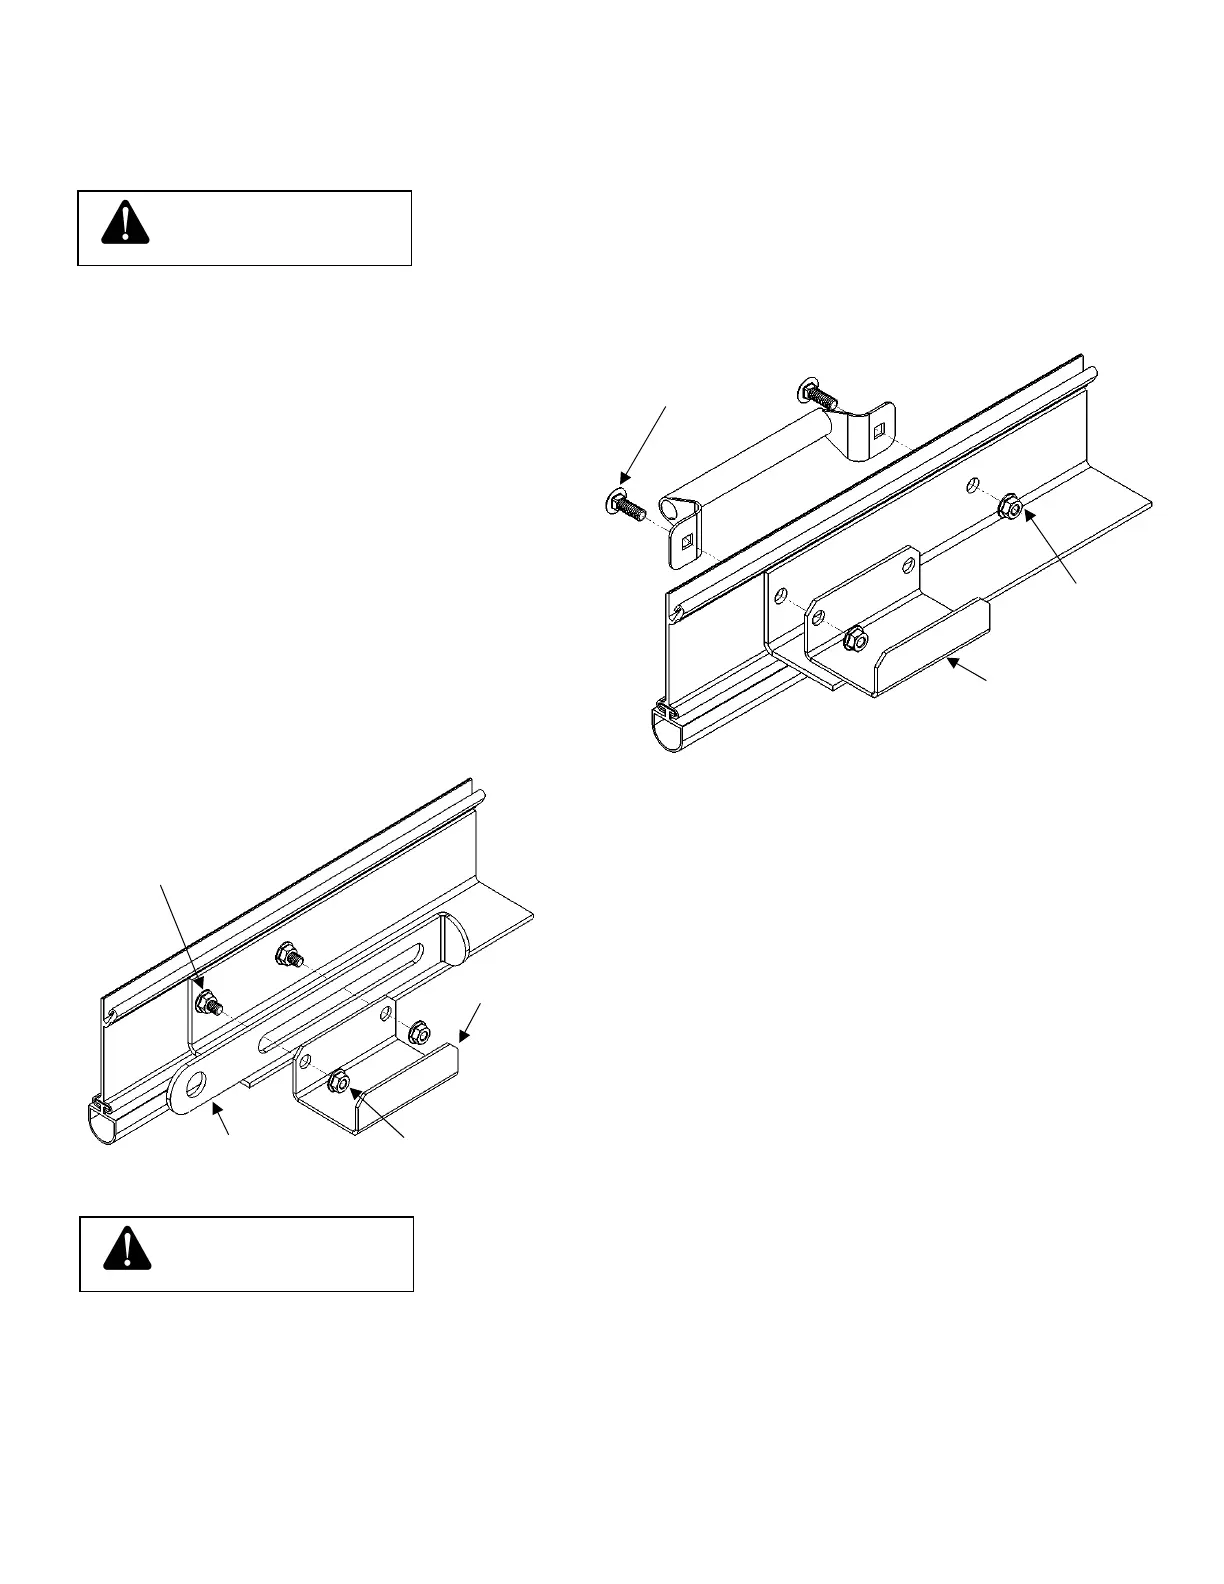
STEP 8 INSTALL STOP CLIPS AND SL
I: ‘C’ Stop-Clip Attachment:
For doors with an aluminum bottom bar, a ‘C’ stop-
c
re
w
a
h
II: ‘C’ Stop-Clip w/ Inside Slide Bolt Attachment:
For doors with inside slide bolt locks, install the ‘C’ stop-
clips as shown on the right. The bottom bar will have (4)
carriage bolts & flange nuts pre-attached. Verify that the
flat sides of the nuts are horizontal to the bottom b
(4) ¼ - 20 carriage bolts
T
sl
T
handle and pull rope at the center of the bottom bar.
(4) ¼ - 20
flange nuts
(2) ‘C’ stop-clips
(4) ¼ - 20 carriage bolts
(4) ¼ - 20 flange nuts
*pre-attached to btm bar
2
‘C’ sto
-cli
s
2
inside slide
4
¼ - 20 flan
e
Failure to properly install stop-clips to the bottom of the door
WARNING
may result in serious injury or death
STEP 9
LUBRICATE AND ADJUST THE GUIDES