(2) Remove the oil and dust from the outside of the
sunroof, tear off the sealing sponge adhesive layer, and
paste the sealing sponge on the side of the sunroof as
shown in the figure. It is required to paste it neatly, press
it flat and tightly without warping and deformation.
(3) Apply waterproof sealant on the outside of sunroof
sealing sponge(according to the actual situation of the
vehicle, the upper part of the sponge should also be
filled with sealant if necessary),At the same time, the
cutting opening is also filled with sealant.
(4) As shown in the figure, install the sponge cushion
pad and press it to the bottom of the sealing sponge.
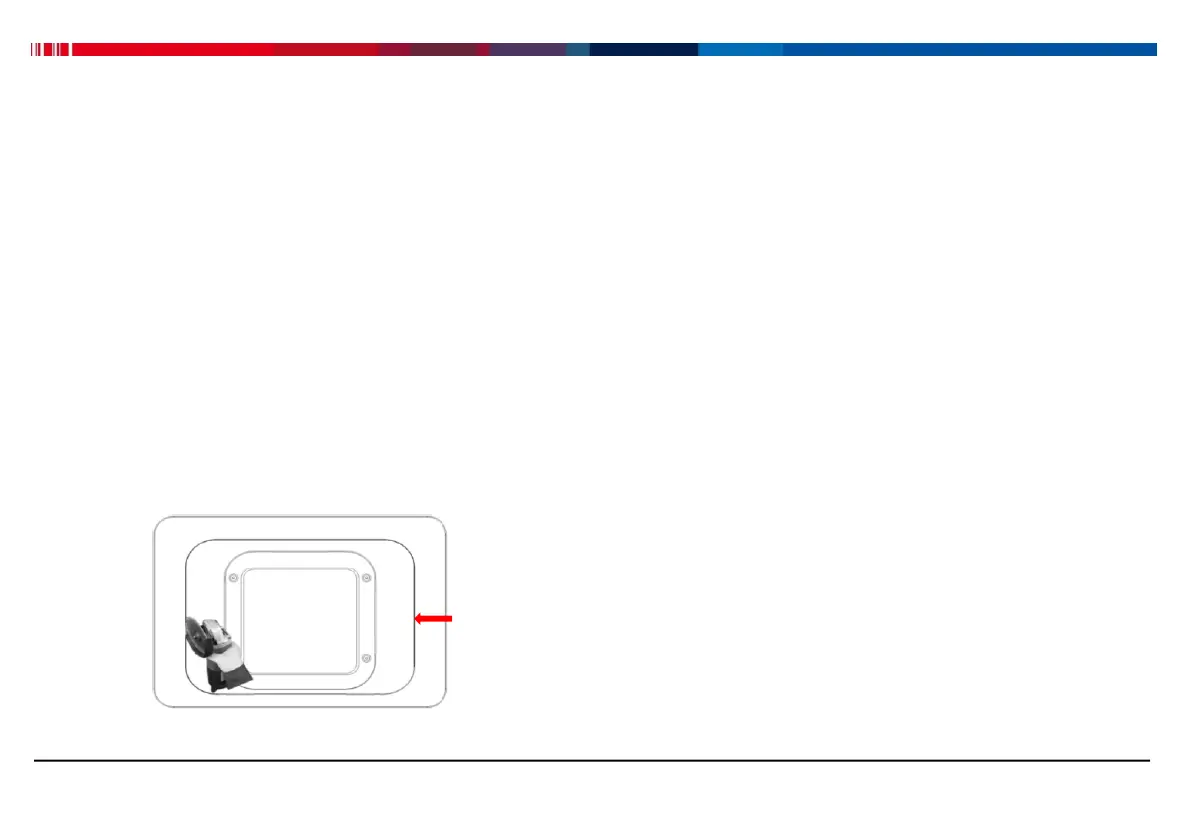
4.5 Universal interior plate cutting¬es
Fig.23 Interior plate cutting schematic
Interior plate cutting note:
(1) Please select the cutting size according to the
sunroof size and the actual installation situation.
(2) Use lb50h or
electrical grinder
with cemented
carbide saw blade to cut along the cutting line (groove
position) of interior plate. The cutting edge should be
neat and free of burr.
4.6 Fixing screws cutting¬es
Installation of M6x110 stud bolt cutting and precautions:
(1) The M6x110 stud bolt is used to fix the interior plate.
When installing, please install the 20 mm long end of the
screw tooth into the M6 inner and outer nut, and fix the
interior plate 40 mm at the other end. The cutting size
shall be selected according to the actual loading
situation.
(2) Please use an grinder for cutting, and deburring the
chamfer on the cutting end.