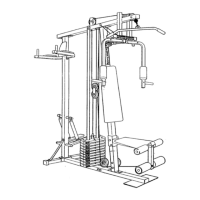
Assembly
......... . .............. iiiiiiiiii i
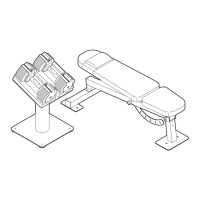
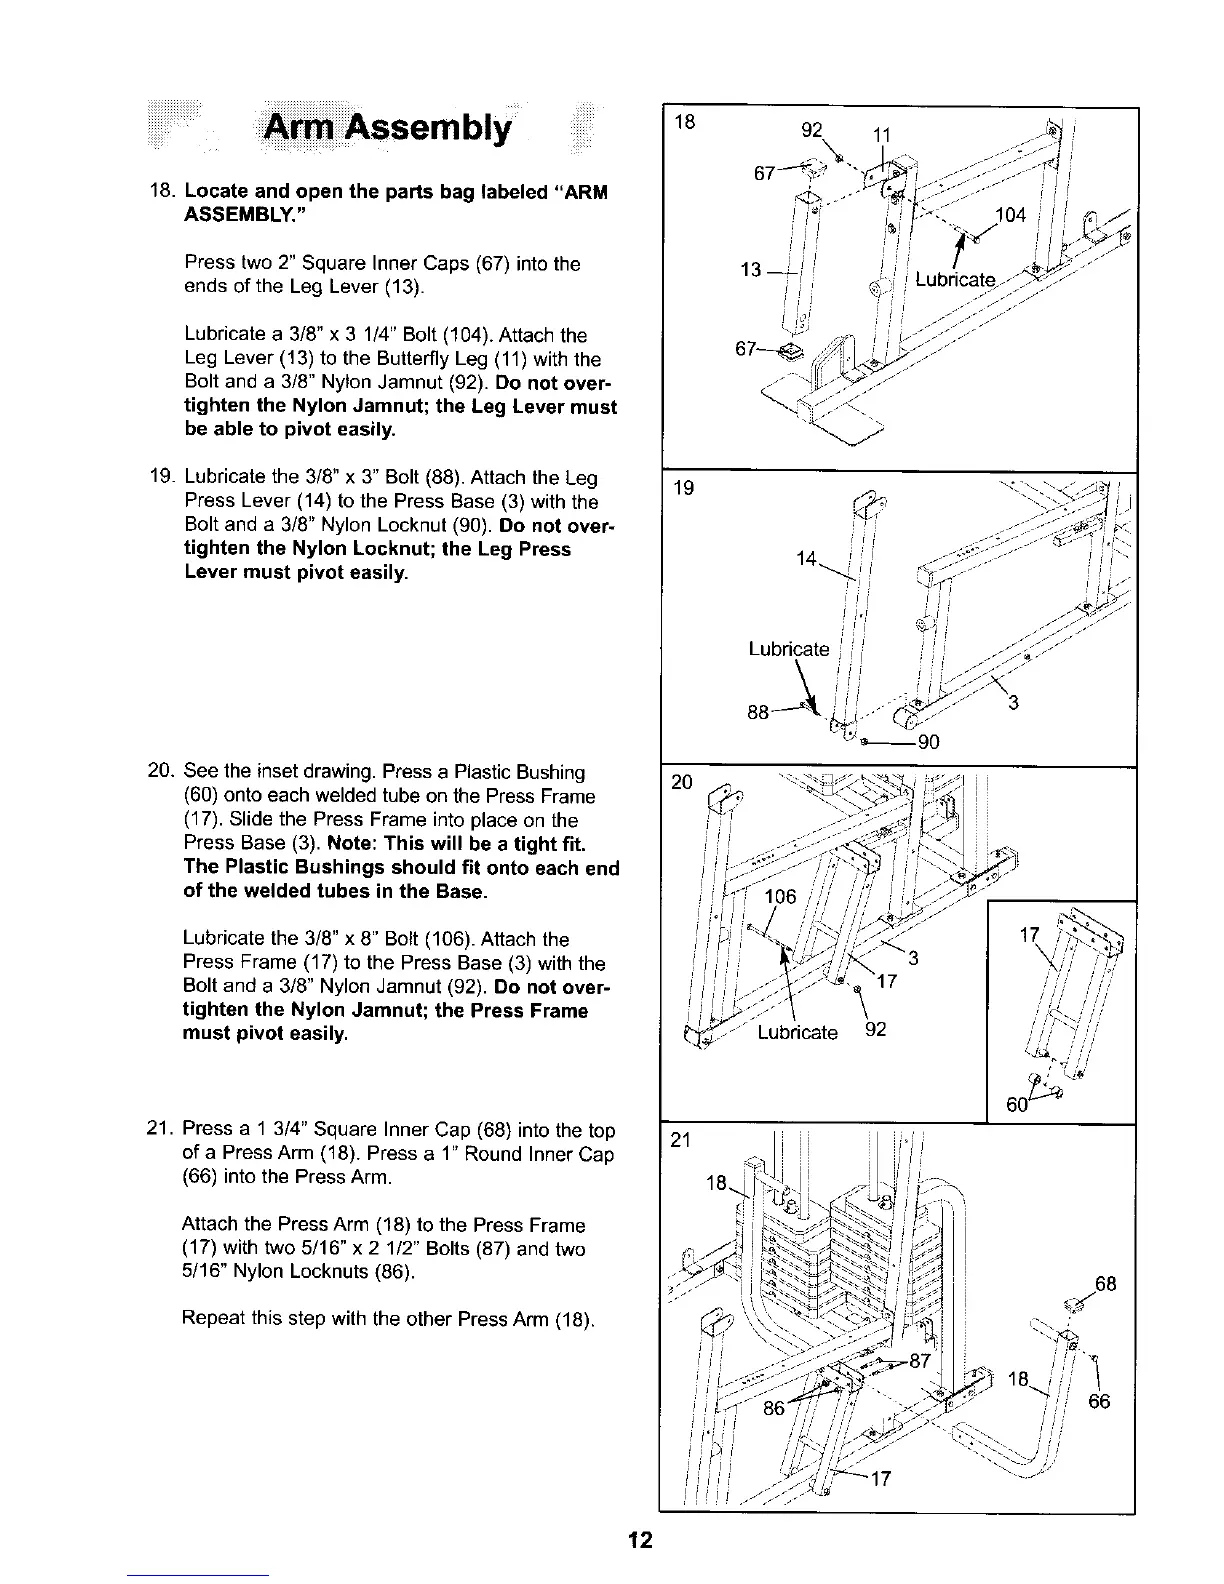
18. Locate and open the parts bag labeled "ARM
ASSEMBLY."
Press two 2" Square Inner Caps (67) intothe
ends of the Leg Lever (13).
Lubricate a 3/8" x 3 1/4" Bolt (104). Attach the
Leg Lever (13) to the Butterfly Leg (11) with the
Bolt and a 3/8" Nylon Jamnut (92). Do not over-
tighten the Nylon Jamnut; the Leg Lever must
be able to pivot easily.
19. Lubricate the 3/8" x 3" Bolt (88). Attach the Leg
Press Lever (14) to the Press Base (3) with the
Bolt and a 3/8" Nylon Locknut (90). Do not over-
tighten the Nylon Locknut; the Leg Press
Lever must pivot easily.
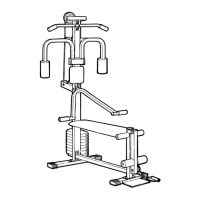
20. See the inset drawing. Press a Plastic Bushing
(60) onto each welded tube on the Press Frame
(17). Slide the Press Frame into place on the
Press Base (3). Note: This will be a tight fit.
The Plastic Bushings should fit onto each end
of the welded tubes in the Base.
Lubricatethe 3/8" x 8" Bolt (106). Attach the
Press Frame (17) to the Press Base (3) with the
Bolt and a 3/8" Nylon Jamnut (92). Do not over-
tighten the Nylon Jamnut; the Press Frame
must pivot easily.
21. Press a 1 3/4" Square Inner Cap (68) into the top
of a Press Arm (18). Press a 1" Round Inner Cap
(66) into the Press Arm.
Attach the Press Arm (18) to the Press Frame
(17) with two 5/16" x 2 1/2" Bolts (87) and two
5/16" Nylon Locknuts (86).
Repeat this step with the other Press Arm (18).
18
19
3
21
r
_ Lubricate 92
68
12