5
A: Measure the deviation and increase the margin setting
Vertical.
B: Measure the deviation and decrease the margin setting
Vertical.
C: Measure the deviation and increase the margin setting
Horizontal.
D: Measure the deviation and decrease the margin setting
Horizontal.
5. PrintJet control panel
Button 1: Power setting for fusing unit and temperature
This button allows you to adjust the power of the fusing
unit for various types of marker.
The unit is set to 100% power upon switching on, LED indicator
shows 100%.
Press once to switch the unit to 80% power, LED indicator
shows 80%.
Press twice to switch the unit to 60% power, LED indicator
shows 60%.
Press three times to switch off the fusing unit, e.g. for testing
the jets or adjusting the print head.
Press four times to switch the unit back to 100% power, LED
indicator shows 100%.
Button 2: Replace ink cartridge
Manual control for replacing an ink cartridge.
Button 3: Maintenance
For manual cleaning of ink cartridges.
LED 1: Warning (red LED)
There is a fault with the printer.
LED 2: Operation (green LED)
The PrintJet is ready for operation when the green LED remains
on constantly.
LED 3: Temperature
Shows an overheating from the system
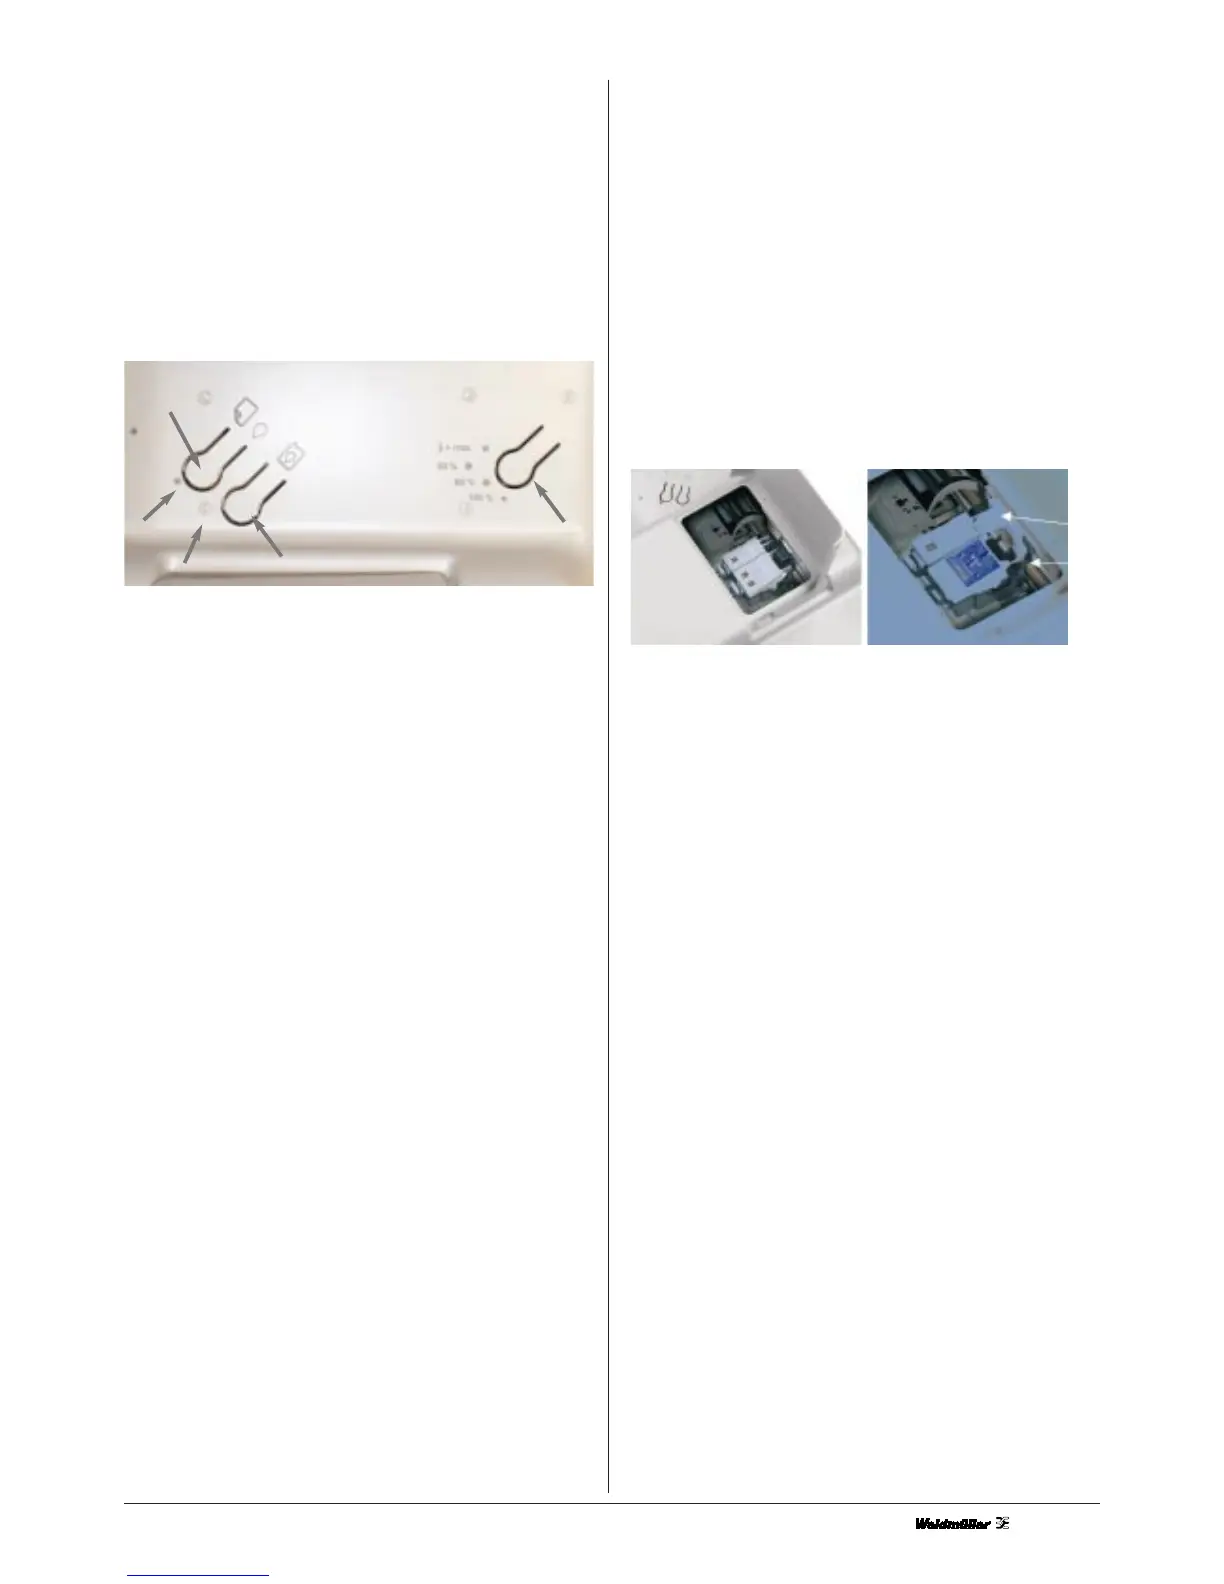
6. Replacing an ink cartridge
The ink cartridges are sealed units. No ink leaks from the
cartridge under normal conditions.
If you get ink on your skin, clean thoroughly with soap
and water. If you get ink in your eyes, immediately rinse
thoroughly with water.
1. Press the Replace ink cartridge button.
2. The print head travels to the middle automatically.
Never move the print head manually.
3. Press the locking clip on the ink cartridge to be replaced
and fold back the clip out of the way.
4. Remove the label on which .Remove. is printed.
5. Insert the cartridge (with the label on top and the
chip facing the input rail) onto the hinges.
6. Carefully press the locking clip down until this clicks
into position.
7. Close the cover of the printer.
8. Press the Replace ink cartridge button.
The ink feed system has now been activated and this process
takes approx. 1-2 minutes. Afterwards, the print head returns
to the start position (on the far right) and the green operating
LED remains on. Never switch off the printer while the green
LED is flashing.
Caution
Use only Weidmüller ink cartridges.
• Remove the old ink cartridge only after first obtaining
a replacement cartridge and ensuring this is ready for
installation. Otherwise, the ink remaining in the jets could
dry and clog the jets.
• Do not refill the ink cartridge. The PrintJet calculates the
remaining level of ink in the cartridge with the help of the
IC chip on the cartridge itself. If you refill the ink cartridge,
the IC chip does not calculate the new level of ink and so
the cartridge will be treated like an empty cartridge.
Note
• Once one of the ink cartridges is empty, you cannot
continue printing. The empty cartridge must first be
replaced before you can continue printing.
• Ink is consumed not only when printing MultiCards but
also when cleaning the print head, when replacing the
ink cartridge and during the self-cleaning cycle, which
takes place every time you switch on the PrintJet.
If you change one cartridge you always open both cover
of the ink cartridges.
Button 2
Button 3
LED1
Button 1
Red LED
LED 2
Locking clip
Hinges
 Loading...