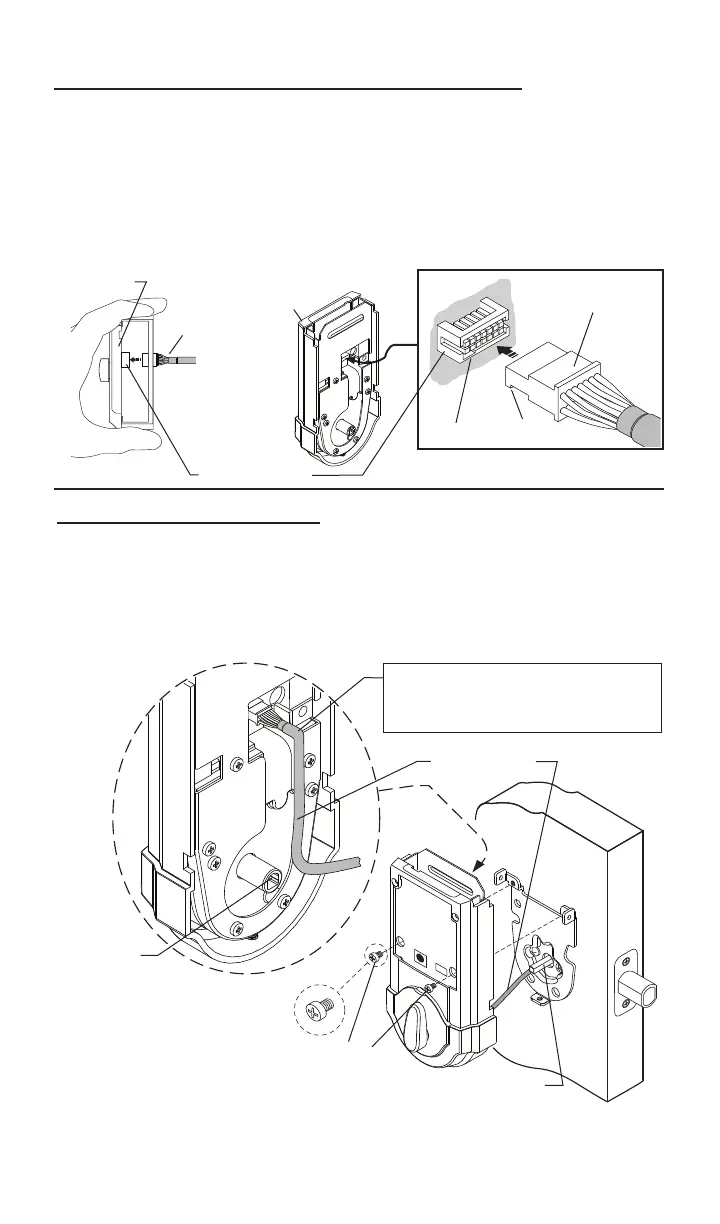
Wire Harness
Small
Screws
Torque Blade
Important Note: To prevent damage, always handle the wire harness
at the connector (do not pull wires).
4
Routewiresdown-avoidingany
excessbulgeatcurve,whichcould
interferewithbatterypackinstallation.
5.AttachtheConnectortotheInteriorAssembly.
Connector Port
Interior
Assembly
Connector
Connector
Notch
Slot
a. Makingsurewiresareclearofpinchingandwireharnessisroutedas
shown,placetheinteriorassemblyondoor,aligningtorquebladeinsidethe
turnpieceshaft.
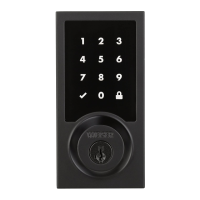
6.InstallInteriorAssembly.
Turnpiece
Shaft
b.Onceushondoor,
insert and tighten small screws
tosecureassemblyontothe
mountingplate.Note: To aid insertion of screws,
approach the screw holes with the screw loaded onto the screwdriver.
Note: Turnpiece may be difcult to turn until step 8 “Automatic - Bolt Direc-
tion Determination” is completed.
a.Aligntheconnectorwiththeconnectorportoftheinteriorassembly,
matchingnotchtoslot.
c.Oncealigned,pushtheconnectorinrmlytoconnect.
b.Foreasierorientation,viewthealignmentofconnectionfromthetopof
theinteriorassembly.
Top view