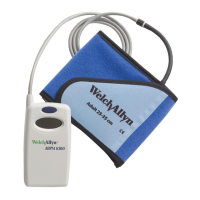
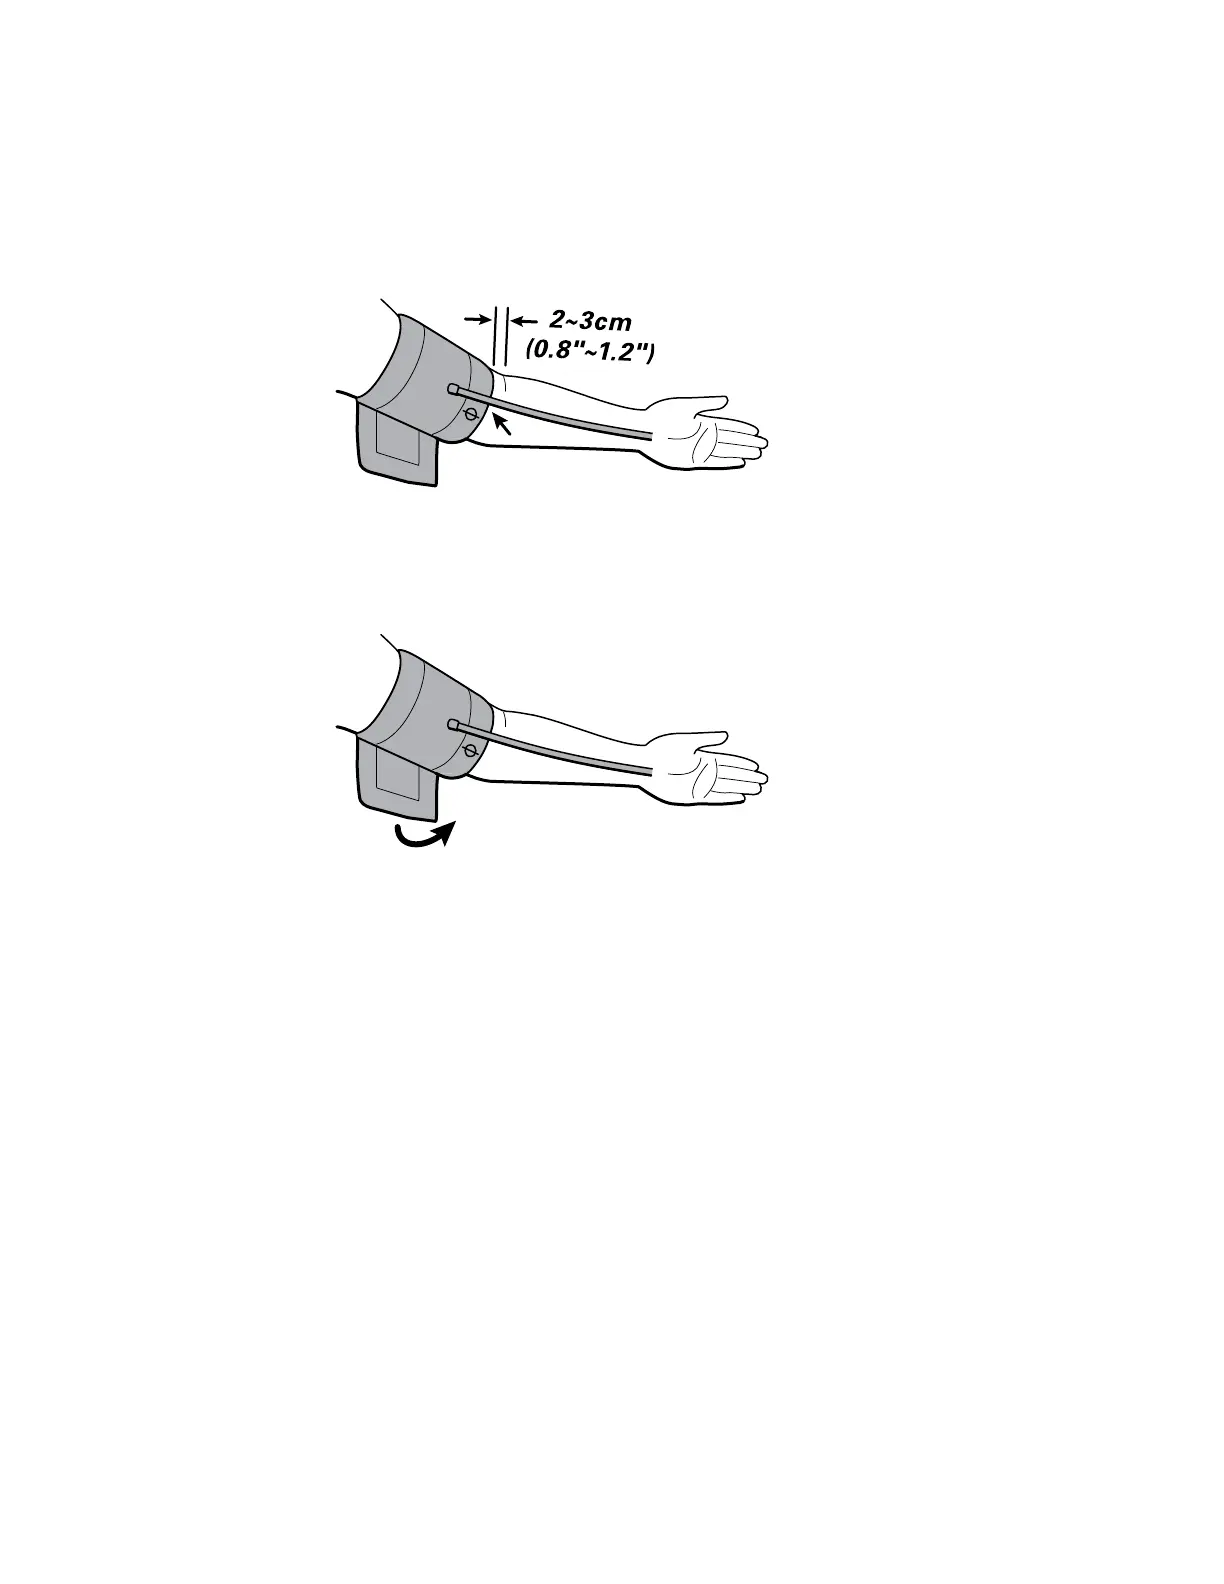
3. Open the cuff to resize it as needed and slide it over your bare upper arm. The
bottom edge of the cuff should be 2 to 3 centimeters (0.8 to 1.2 inches) above the
bend in your arm, and the tube and artery marker should appear on your arm as
shown.
4. Keeping the artery marker and the tube in place, wrap the cuff snugly around your
arm, but not too tight. If you can insert just two fingers between the cuff and your
arm, the tightness is acceptable.
Start the measurement
1. Prepare yourself to take your blood pressure.
a. Sit comfortably in a chair that supports your back.
b. Keep legs uncrossed.
c. Place feet flat on the floor.
d. Support your arm on a flat surface.
e. Ensure the cuff is level with your heart (right atrium).
f. Rest for 5 minutes after sitting down and positioning the blood pressure cuff.
2. Verify that the cuff is positioned correctly with the tube running down the middle of
your forearm.
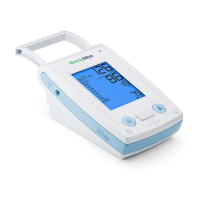
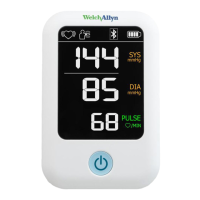
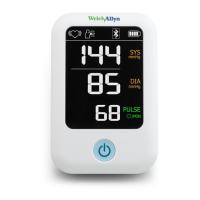
3. Press the Power button to power up the monitor and begin the blood pressure
measurement.
The cuff inflates and tightens around your arm until it completes the measurement.
A vertical stack of segments appears onscreen to show increasing pressure in the
cuff. The heart icon in the upper-left corner blinks to indicate your pulse rate until the
measurement is complete.
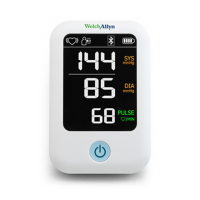
Note If you press the Power button to stop the measurement,
dotted lines replace the SYS and DIA numbers onscreen.
14 Measuring blood pressure Welch Allyn Remote Monitoring Blood Pressure Device RPM-BP100SBP
 Loading...