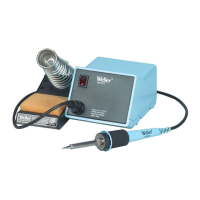
2.
Set temperature
set
knob fully
CW
and
then
CCW
to
745°F (395°C). Carefully
remove
knob
by
sliding
off
of
pot. shaft without rotating shaft.
3. Remove retaining nut
and
washer from temperature
set
pot.
4.
Note how front panel is
engaged
with base
and
then lift front panel free
of
base.
5. Lift control board
clear
of
front panel
to
gain access
to
the calibration pots.
Check
that RIO (see figure) is centered.
6.
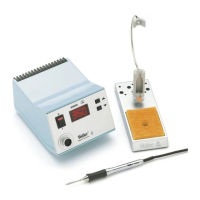
Connect the WC I 000 Calibration Reference Unit
to
the tool receptacle on
the
power unit
and
select resistor "B".
Do
not connect tool to the
WC!OOO
at this
time!
7. Connect
power
cord
and
turn
power
unit
on
. Allow
30
minute warm-up before
continuing.
CAUTION:
The
power
unit should
not
be turned
above
350°F
(l75
°C) for
more
than I minute with the tool connected to the
WC!OOO
to prevent damage
to
the
tool
heat:ng element.
8.
Connect tool
to
the
WCIOOO
receptacle as a load. Adjust R25 (see figure) until
indicator lamps
just
stop flashing.
9. Hold the board in position
on
the front panel, slide
the
knob
on temporarily
and
set
CCW
to
395
°F (200"C).
Remove
knob
without rotating
pot
shaft.
l
0. Select resistor "A" on the WC I 000
and
adjust
R24
(see figure) until indicator
lamps
just
stop
flashing.
II.
Turn power unit
off
and
dis-connect
power
cord
and
WC I 000.
12. Position board
on
front panel such that alignment pins are engaged. Place washer
and nut
on
temperature set pot., tighten
nut
I 3. Install temperature set
knob
on temperature set pot. shaft.
14.
Position front panel
on
base
as
noted above.
15.
Perform Calibration Check
to
verify calibration.
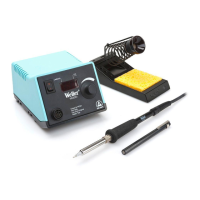
16. Install top
cover
on station
and
replace 4 screws
and
rubber feet.
Troubleshooting Guide
WARNING:
AC line voltage is present inside
power
unit even when
power
switch is off. Refer service to qualified personneL
NOTE:
Access to internal parts may be
gained
by
removing
four
rubber
feet, four screws
under
feet
and
top
case.
~DoestVot}{ea(
With line cord unplugged
and
power
switch
on,
check for about
21
ohms at line
cord blades (55
ohms
for
230V
unit).
•Check fuse, located on bottom
of
case
- replace
if
required. Use
slow
blow
fuse-
0.6A for 120V,
0.3A
for
230V.
•Check
power
switch
-replace
if
defective.
•Check line
cord-
repair
or
replace
if
defective.
•Check transformer
primary-
replace transformer
if
defective.
EC1002S
Page 5