7
6. Once the wire cap is removed, untwist the motor wire from the other wires.
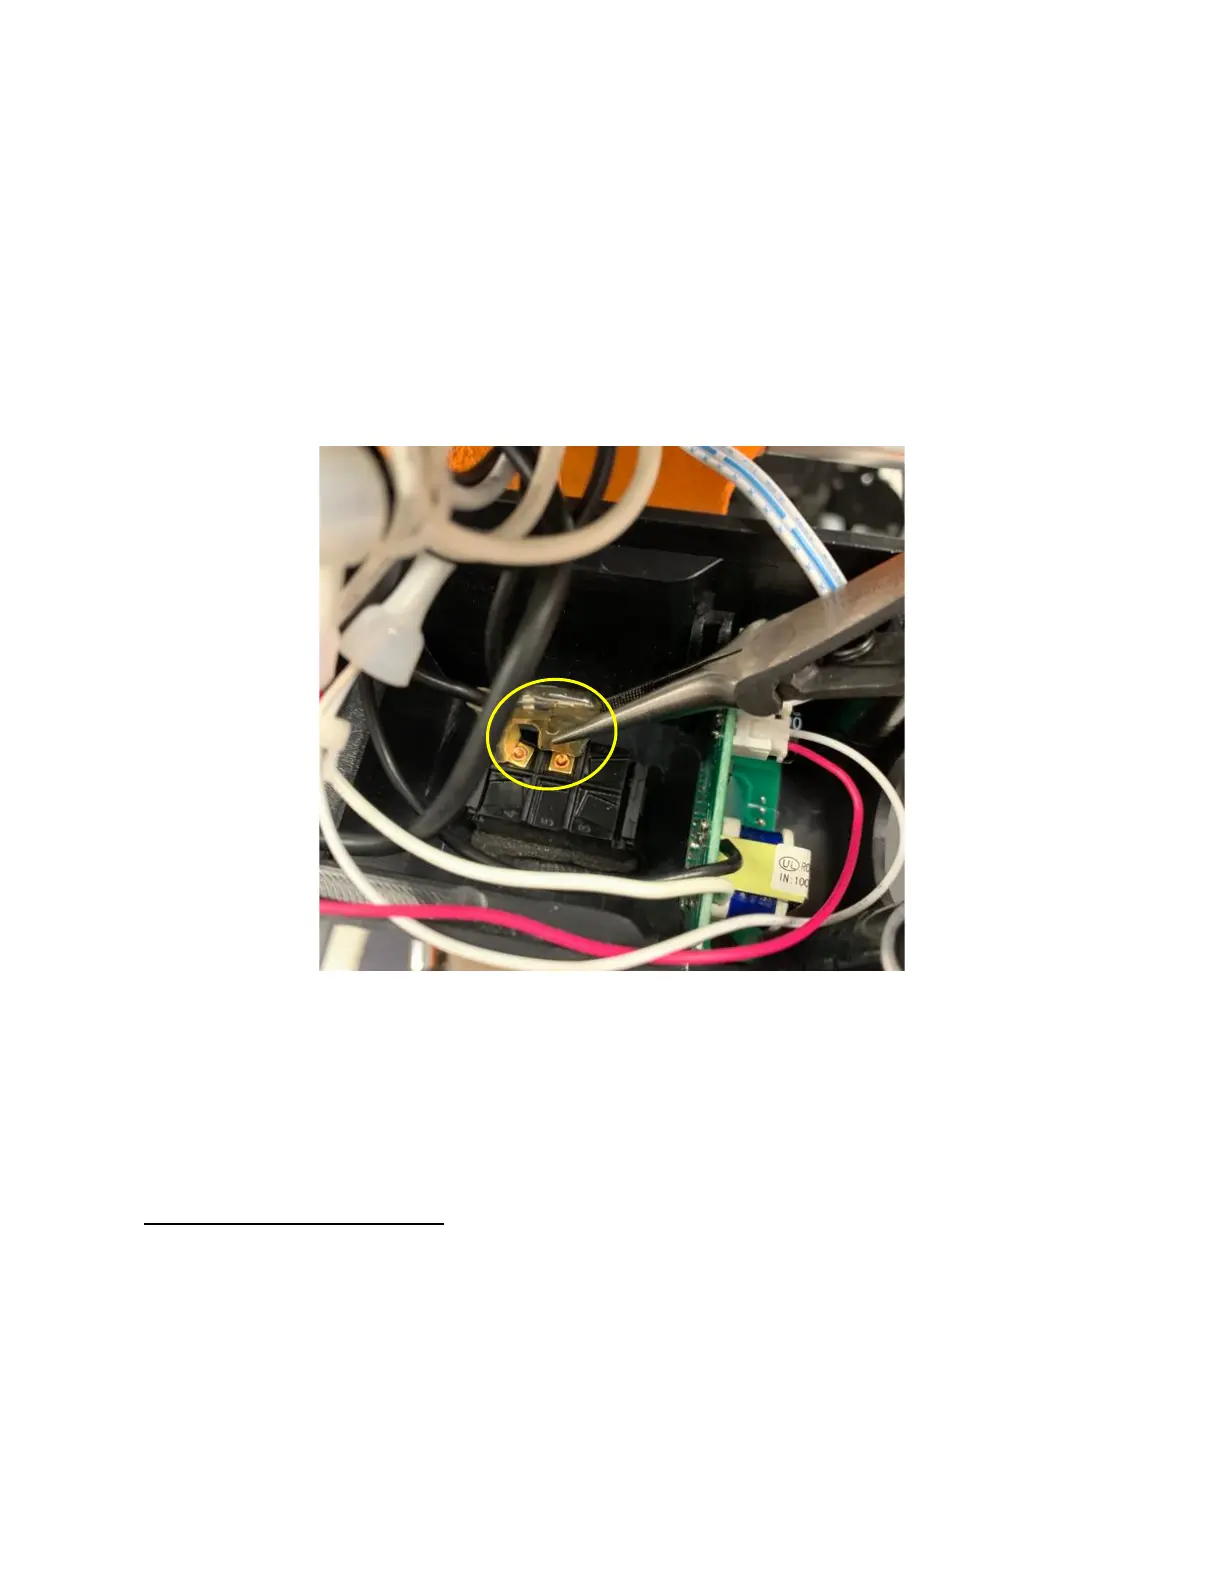
7. Next remove the black motor wire from its terminal location on the switch, as shown
in Figure 10. Using needle-nose pliers, gently and firmly pull the motor wire
connector from the switch terminal. Pull directly up from the switch terminal (not at
an angle but 90 degrees upward) so that the terminal does not bend or become
strained.
Figure 10. Motor Wire Switch Connection
8. Once the motor wires are disconnected, un-thread the wire cable through the drill
press lid. Note how the wires are threaded and connected, as you will need to re-
thread and connect the wires of the replacement motor.
REPLACING THE MOTOR
1. Once the motor was been unwired, the motor can be unbolted from the drill press head.
Using a 13mm wrench in combination with an adjustable wrench (or another 13mm
wrench), unbolt the motor as shown in Figure 11. TAKE CARE WHEN REMOVING
THE LAST BOLT, AS THE MOTOR WILL FALL OFF AND COULD CAUSE
INJURY TO FEET OR BODY. HAVE AN ASSITANT HELP HOLD THE MOTOR
WHILE THE FINAL BOLT IS REMOVED.

 Loading...


